 Save
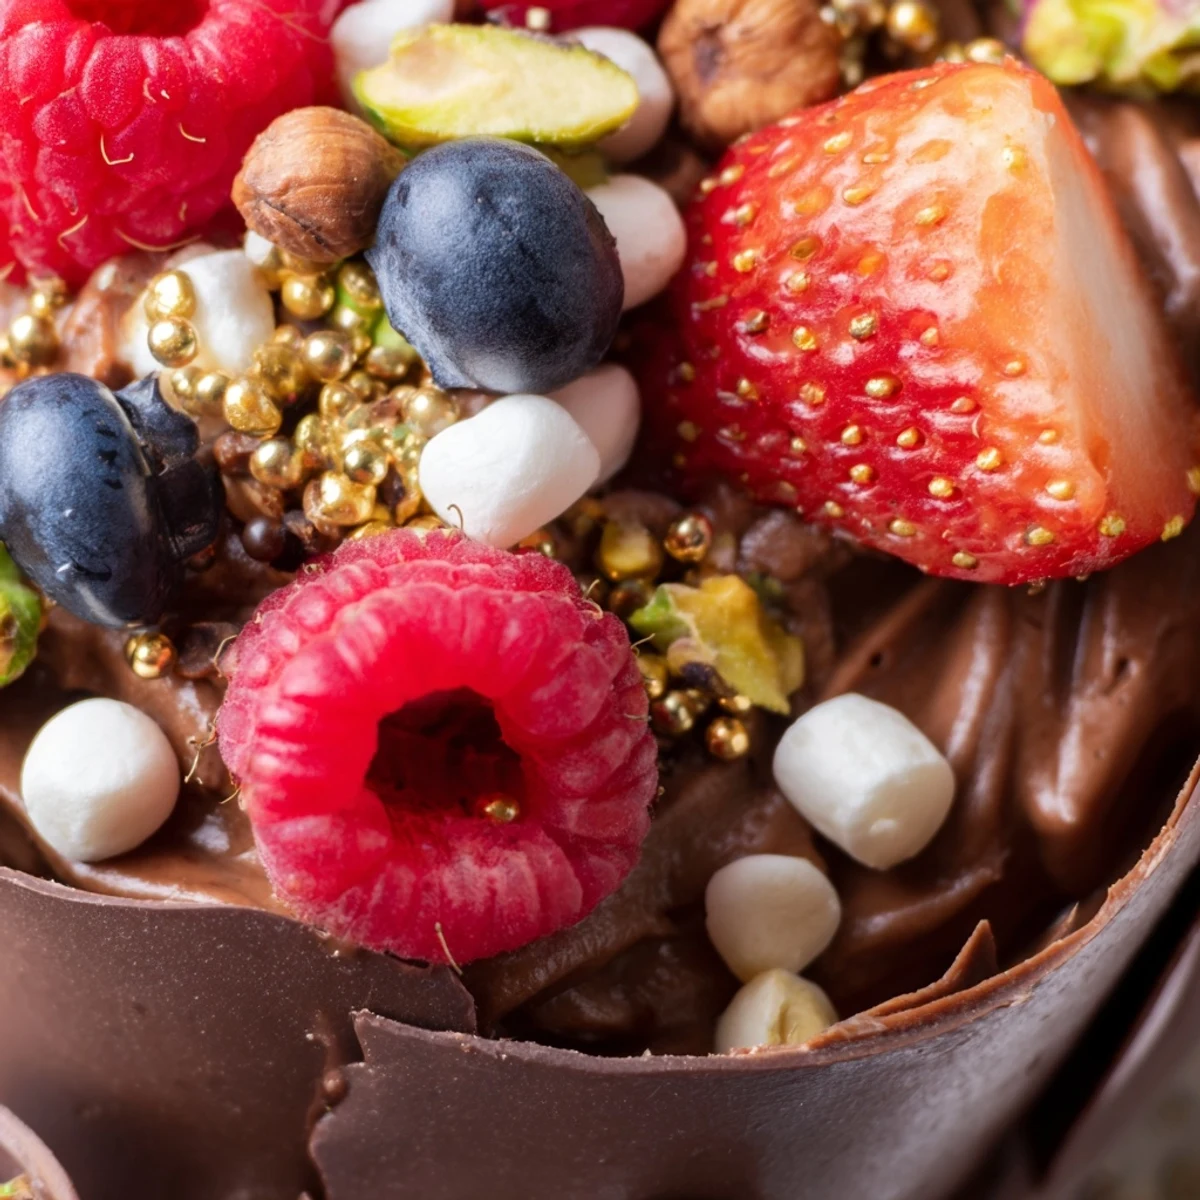
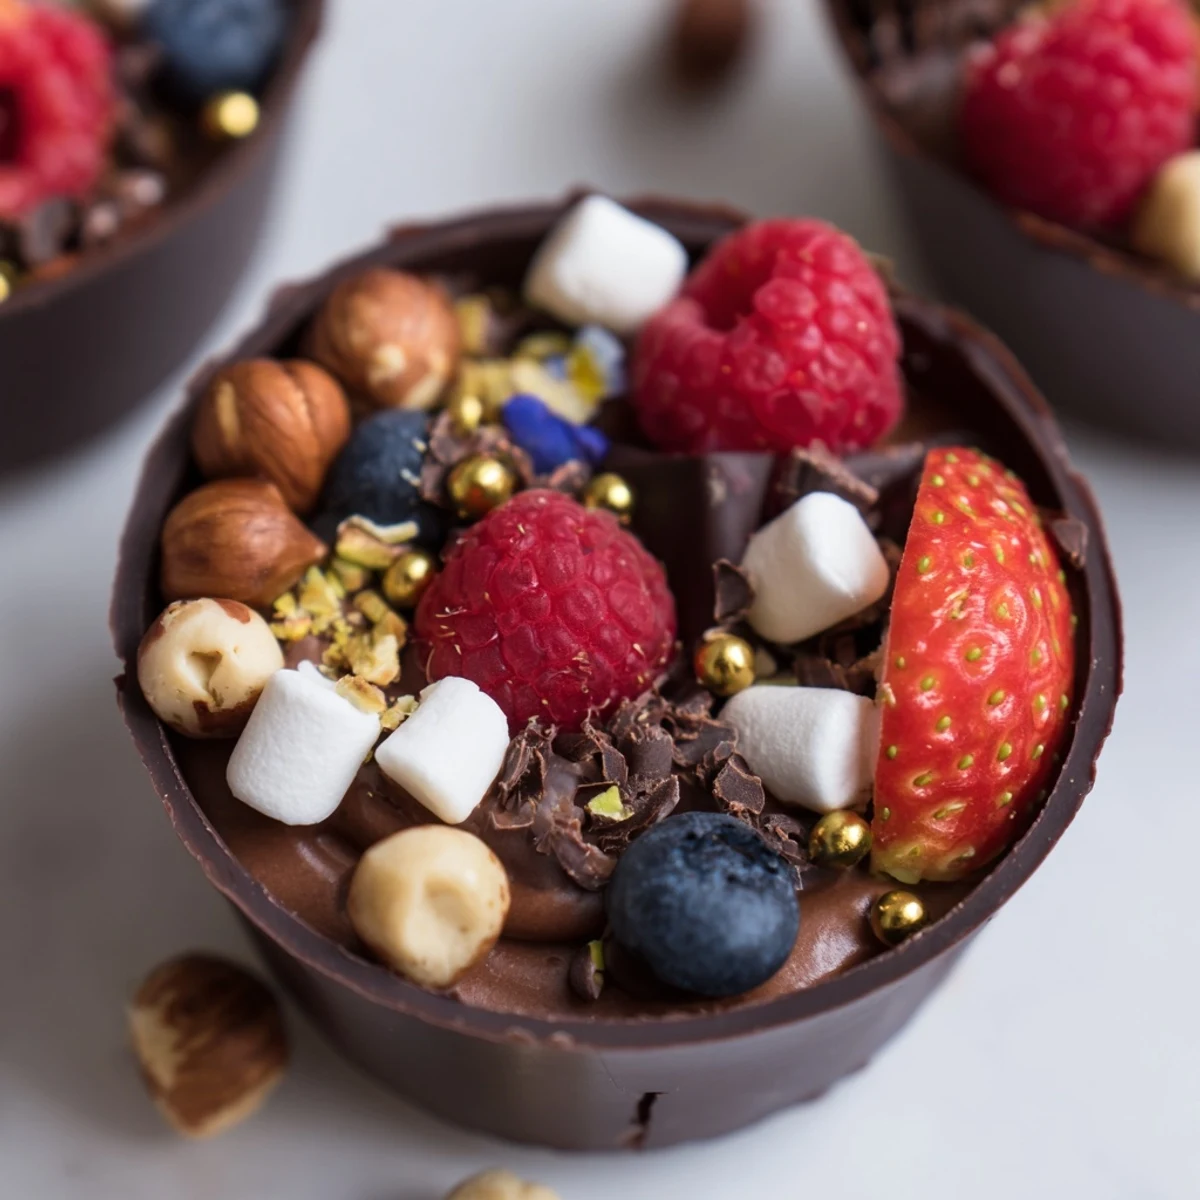
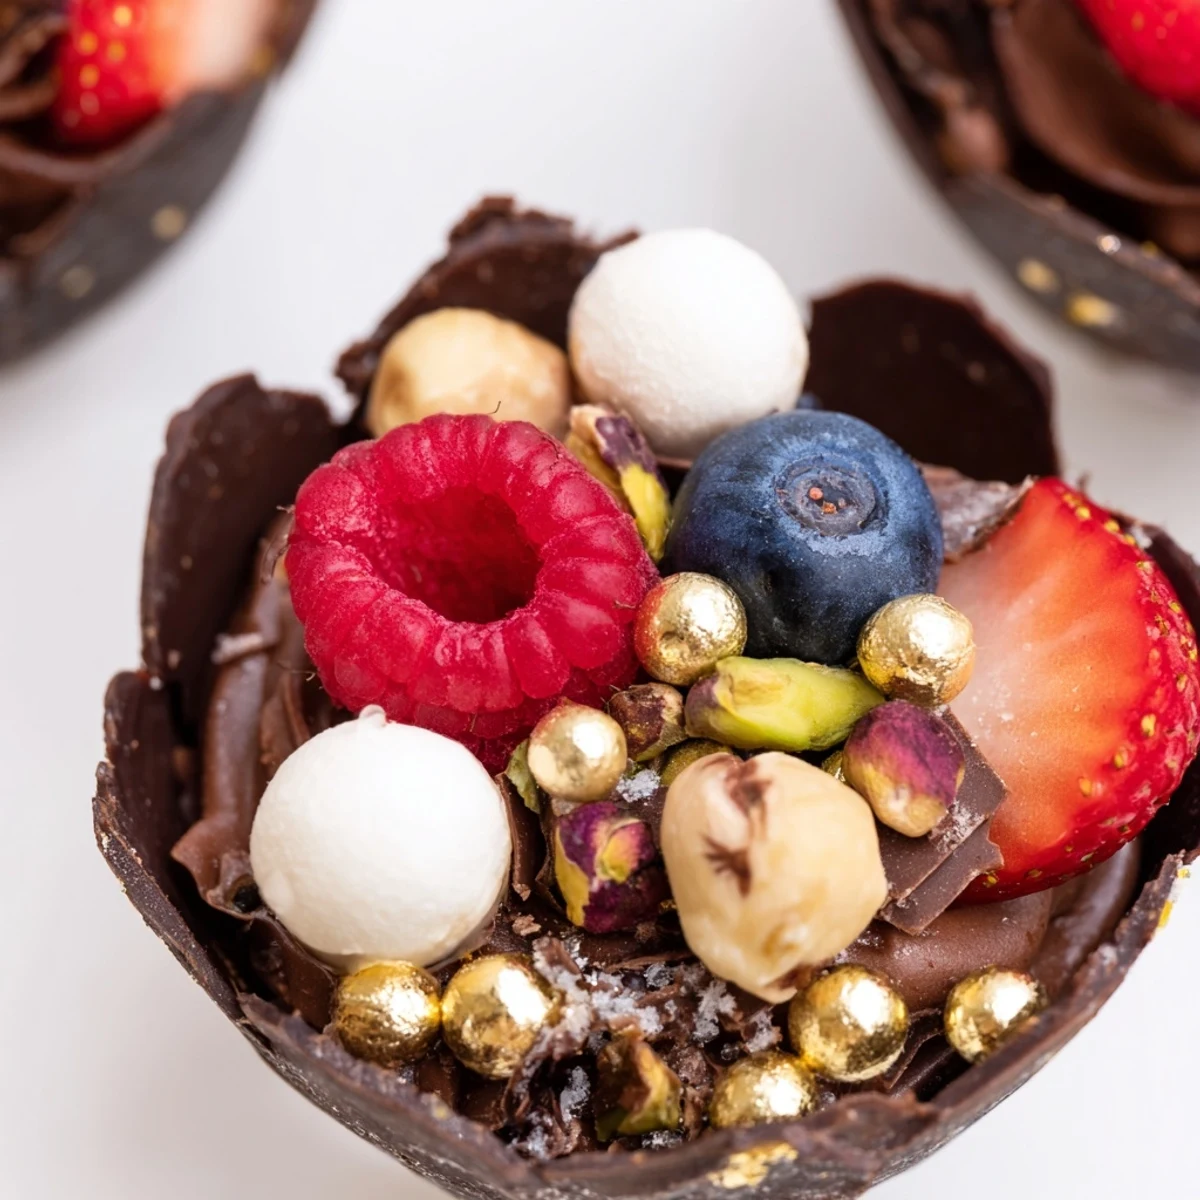
Save Create stunning chocolate grazing cups featuring handmade dark chocolate shells filled with silky chocolate mousse. These elegant individual desserts showcase layers of rich, creamy mousse topped with fresh mixed berries, crunchy nuts, mini marshmallows, and chocolate curls. Perfect for dessert tables, dinner parties, or special celebrations, these indulgent cups combine contrasting textures and flavors in a beautiful presentation.
The first time I attempted edible chocolate cups, my kitchen looked like a crime scene. There was chocolate smeared on the countertop, my apron, and somehow in my hair. But when those delicate cups finally set and I filled them with silky mousse, I understood why pastry chefs bother with the fuss. Now I make these for dinner parties and watch guests eyes light up when they realize they can eat the entire cup.
Last summer I served these at my best friends engagement party, and honestly, they were the star of the show. People kept asking where Id ordered them from, and when I explained Id made everything that afternoon, half the table pulled out their phones to take notes. Theres something magical about finger food that feels decadent enough for a wedding dessert table but casual enough to eat while mingling.
Ingredients
- 200 g dark chocolate: Go for at least 60% cocoa—the cups need chocolate with backbone to hold their shape without cracking
- 200 ml heavy cream: Ice cold straight from the fridge, it whips up faster and holds those crucial air bubbles
- 100 g dark chocolate: This melts into the mousse, so choose something youd eat plain
- 2 tbsp powdered sugar: Essential for stabilizing the whipped cream and subtle sweetness
- 1 tsp vanilla extract: Pure extract makes a difference you can actually taste
- Fresh mixed berries: The tartness cuts through all that rich chocolate
- Chopped nuts: Hazelnuts are my favorite, but whatever you choose adds irresistible crunch
Instructions
- Crafting your chocolate cups:
- Melt your chocolate slowly and patiently, then brush it into your liners in thin, even coats. The chocolate needs to be completely smooth before you start—any lumps will create weak spots in your cups.
- Setting the cups:
- Let them chill until theyre firm to the touch, usually about 20 minutes. I learned the hard way that rushing this step ends in tragedy when you try to peel off the liners.
- Preparing the mousse base:
- Gently melt your second batch of chocolate and let it cool until its barely warm to the touch. Meanwhile, whip your cream with the sugar and vanilla until soft peaks form—you want it thick but still slightly movable.
- Combining everything:
- Start by folding a dollop of whipped cream into the chocolate to lighten it up. Then gently fold that mixture back into the remaining cream, moving slowly to preserve all that air you just whipped in.
- Assembly time:
- Spoon or pipe your mousse into each chocolate cup, filling them about two-thirds full. Arrange your toppings however you like—I like to cluster berries on one side and scatter nuts and marshmallows across the rest.
- The final chill:
- Give the cups at least 20 minutes in the fridge to set completely. They need this time to firm up enough that each bite holds its shape beautifully.
 Save
Save My niece helped me make a batch last holiday season, and she took such pride in arranging the toppings on each cup. We made a little assembly line, and she decided every cup needed exactly three raspberries arranged in a triangle. Sometimes the simplest moments in the kitchen become the memories that stick with you longest.
Choosing Your Chocolate
After testing probably a dozen brands, Ive found that baking chocolate bars chop and melt more predictably than chocolate chips. Chips are designed to hold their shape in the oven, which means they contain stabilizers that can make your cups or mousse slightly less smooth. Break your chocolate into pieces before melting—it heats more evenly and prevents those frustrating scorched spots.
Making Ahead
You can absolutely make the chocolate cups and mousse separately up to a day in advance. Store the cups in an airtight container between sheets of parchment paper so they dont stick together. Keep the mousse covered in the fridge, but assemble everything within a few hours of serving—those crisp cups start softening after about 4 hours once theyre filled.
Topping Variations
While the classic berry and nut combo is hard to beat, Ive had fun with seasonal variations through the years. Crushed candy canes in winter, fresh figs and honey in fall, or tropical fruits in summer all work beautifully. The key is balancing textures—something creamy, something crunchy, something fresh.
- Sprinkle sea salt over the chocolate curls for a salted chocolate effect
- Add a teaspoon of espresso powder to the melted mousse chocolate for mocha flavor
- Brush the inside of each cup with crushed nuts or freeze-dried fruit before adding mousse
 Save
Save These little cups have become my go-to whenever I want to make people feel special without spending my entire day in the kitchen. Sometimes the most elegant things are also the simplest.
Recipe FAQs
- → How far in advance can I make these chocolate cups?
-
The chocolate cups can be made up to 2 days ahead and stored in an airtight container. The mousse filling can be prepared 24 hours in advance. Assemble the cups 4-6 hours before serving for optimal texture and freshness.
- → Can I use milk or white chocolate instead?
-
Absolutely! Milk or white chocolate works beautifully for both the cups and mousse. Keep in mind that white chocolate has a lower melting point, so work quickly when coating the liners and chill thoroughly.
- → What other toppings work well with these cups?
-
Fresh raspberries, blackberries, sliced strawberries, toasted coconut flakes, crushed pretzels, cookie crumbs, caramel drizzle, whipped cream rosettes, or fresh mint leaves all make excellent toppings.
- → How do I prevent the chocolate cups from cracking when removing liners?
-
Ensure the chocolate is completely set before attempting to remove the liners. Chill for at least 20 minutes. Gently peel from the top edge downward, working slowly. If resistant, chill for an additional 10 minutes.
- → Can I make these dairy-free?
-
Yes! Use dairy-free dark chocolate and coconut cream or whipped plant-based cream alternative for the mousse. Check that all chocolate and toppings are certified dairy-free.