 Save
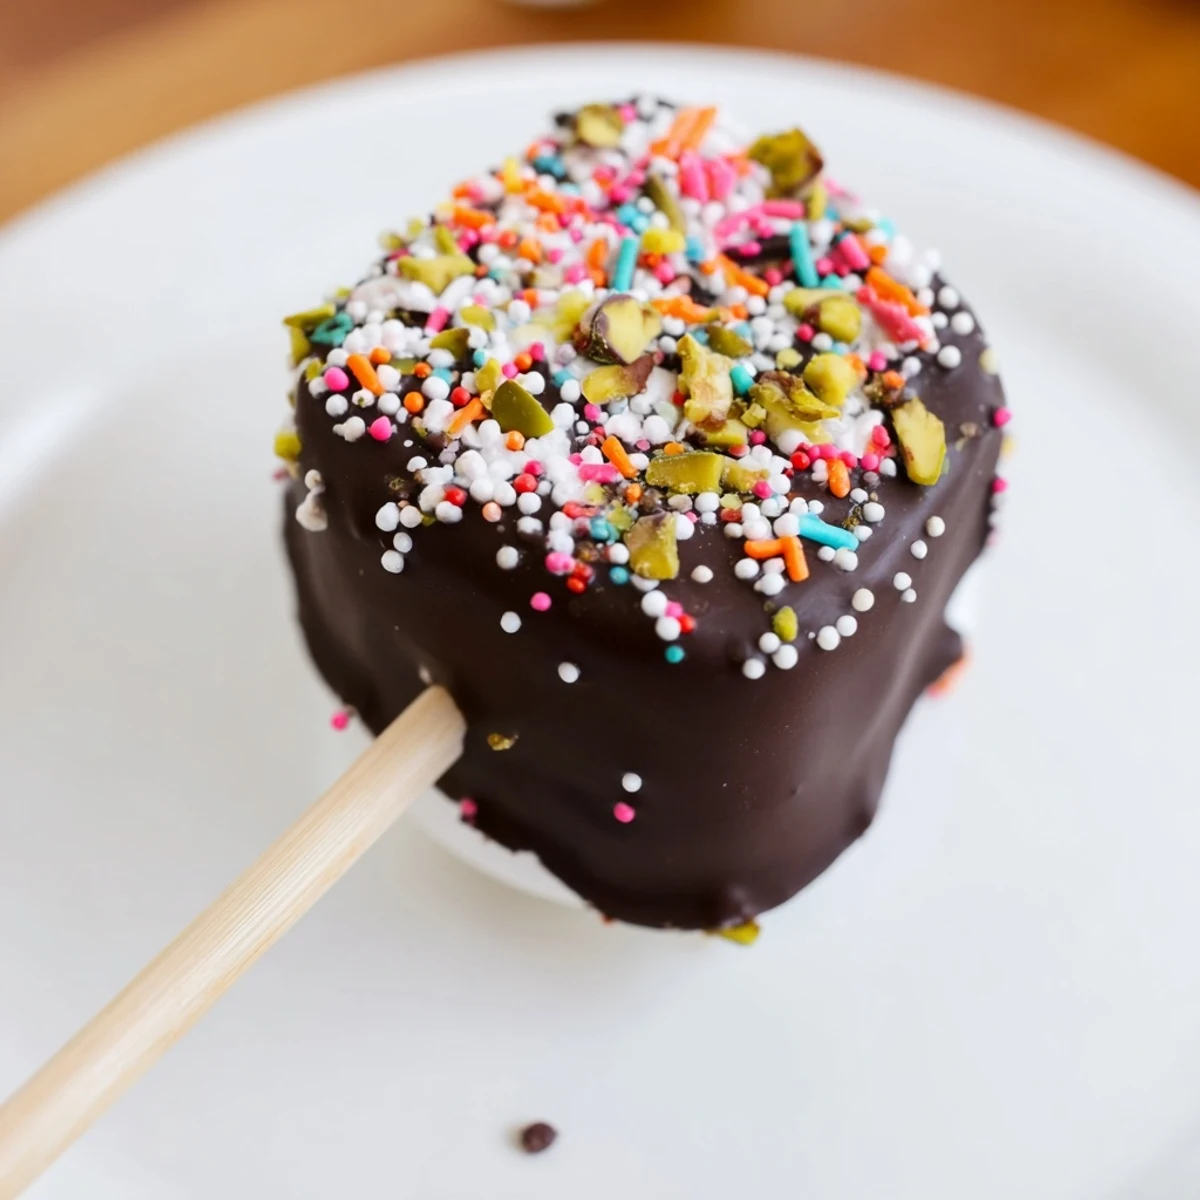
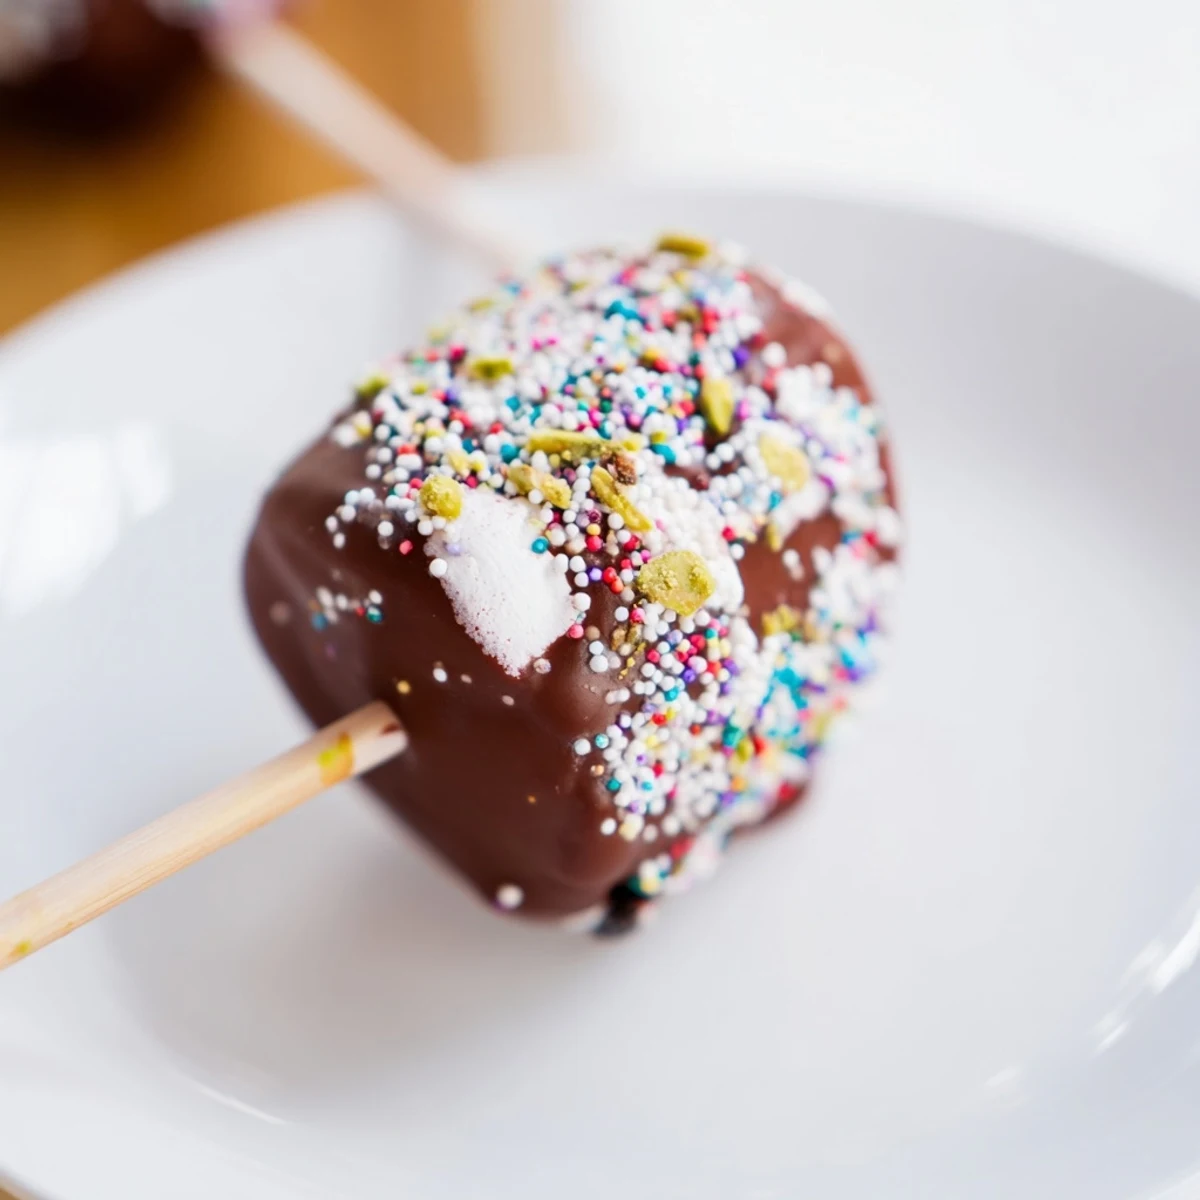
Save Create delightful chocolate-covered marshmallows by inserting wooden sticks into large marshmallows, then dipping them into melted chocolate. Apply your choice of toppings like rainbow sprinkles, chopped nuts, or desiccated coconut immediately before the coating sets. Chill for 20-30 minutes until firm. Perfect for parties, gifts, or satisfying a sweet craving in just 30 minutes of active preparation.
The first time I made chocolate marshmallows on a stick was for my niece's winter birthday party. Standing in my kitchen on a snowy afternoon, I remember how the chocolate aroma filled the room while little footprints of powdered sugar tracked across the counter. What started as a simple activity to keep the kids busy turned into the unexpected hit of the party, with adults sneaking them from the dessert table throughout the evening.
Last summer, I brought these to a backyard campfire gathering as an alternative to traditional smores. My friend Elenas daughter, who normally refuses anything sweet that isnt ice cream, quietly ate three in a row while the fireflies danced around us. The simple act of putting treats on sticks somehow transforms them into something magical for both kids and grown-ups alike.
Ingredients
- Large marshmallows: Go for the premium brand if you can, as they hold their shape better when dipped and dont dissolve as quickly when they hit warm chocolate.
- Semi-sweet chocolate: I once tried using fancy single-origin chocolate for these and honestly, good quality baking chips work just as well and melt more consistently.
- Lollipop sticks: Paper sticks actually work better than wooden ones as they dont splinter the marshmallows when inserted.
- Toppings: The more colorful and varied, the better, as each person can customize their own marshmallow adventure.
Instructions
- Prep your marshmallows:
- Insert a lollipop stick into each marshmallow, pushing it about halfway through so its secure but doesnt poke through the top. Line a baking sheet with parchment paper to prevent any sticky situations later.
- Melt that chocolate:
- In a heatproof bowl over simmering water, melt the chocolate slowly, stirring occasionally until silky smooth. The gentle steam bath prevents scorching and gives you that perfect glossy dip.
- Dip and decorate:
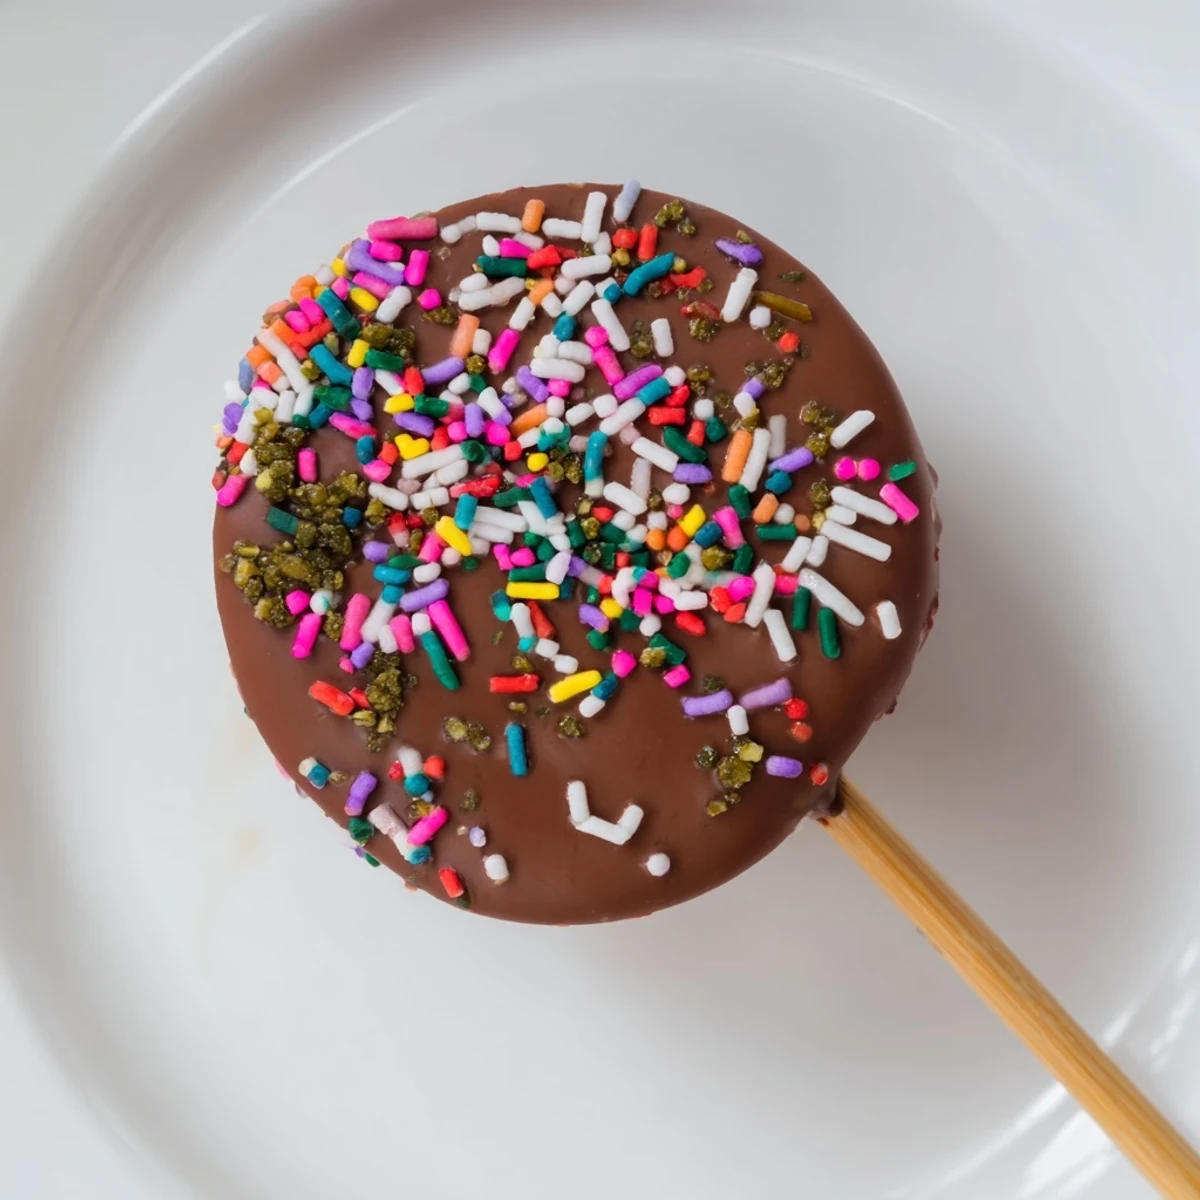
- Hold each marshmallow by its stick and dip it into the melted chocolate, giving it a little twirl to coat evenly. While the chocolate is still wet, sprinkle your chosen toppings over it, turning to cover all sides.
- Set and chill:
- Stand your chocolate-covered creations upright on the prepared baking sheet, using a small blob of excess chocolate as glue if needed. Pop them in the refrigerator for 20-30 minutes until the coating hardens to a perfect snap.
 Save
Save These treats became my signature contribution after bringing them to my book club one evening. We were discussing a particularly heavy novel, and the sight of these whimsical, chocolate-dipped clouds on sticks somehow lifted the mood instantly. Theres something about the childlike joy of eating dessert on a stick that cuts through even the most serious conversations.
Festive Variations
During holiday seasons, I adapt these treats to fit the occasion, switching up sprinkles for red and green at Christmas or orange and black for Halloween. For my brothers engagement party, we dipped them in white chocolate with gold edible glitter, and his fiancée joked that they upstaged her ring.
Storage Secrets
I learned the hard way that these treats are somewhat ephemeral beings. After making a batch too far in advance for a party, I discovered the marshmallows had begun softening the chocolate from the inside. Now I know to make them no more than a day ahead and store them in a single layer, never stacked, in an airtight container.
Troubleshooting Tips
Over dozens of batches, Ive encountered every possible mishap, from chocolate that seized to toppings that refused to stick. The most valuable lesson was learning that patience with the temperature of the chocolate makes all the difference.
- If your chocolate looks grainy or thick, try adding a teaspoon of neutral oil to smooth it out.
- For toppings that wont stick, press them gently into the chocolate with clean fingertips rather than just sprinkling.
- Allow the marshmallows to come to room temperature for about 10 minutes before serving for the best texture contrast.
 Save
Save These chocolate marshmallows on a stick represent everything I love about simple desserts, bringing joy disproportionate to their effort. Every time I make them, Im reminded that sometimes the most memorable treats arent the most complex ones, just the ones made with a little creativity and love.
Recipe FAQs
- → How do I prevent the marshmallows from sliding off the stick?
-
Push the stick about halfway through the marshmallow for optimal stability. The marshmallow's firm exterior will grip the stick securely. Avoid pushing too deep or the stick may protrude from the top.
- → What's the best method to melt chocolate without burning it?
-
Use a double boiler by placing a heatproof bowl over simmering water, ensuring the bowl doesn't touch the water. Stir frequently until smooth. Alternatively, microwave chocolate in 30-second intervals, stirring between each burst to prevent overheating.
- → Can I prepare these ahead of time?
-
Yes, store finished marshmallows in an airtight container at room temperature for up to 2 days. They can also be chilled longer if needed. For best results, keep them away from moisture and heat.
- → What chocolate varieties work best for coating?
-
Semi-sweet and milk chocolate are classic choices. For deeper flavor, use dark chocolate. White chocolate offers a sweeter alternative. Ensure the chocolate is quality and melts smoothly for even coating.
- → Are there creative topping combinations?
-
Mix and match toppings: try crushed cookies, chopped dried fruit, mini chocolate chips, sprinkles, or toasted coconut. Create themed variations with festive sprinkles for special occasions or drizzle with contrasting chocolate for elegant presentation.
- → How should I handle nut allergens?
-
If using nuts as toppings, keep them separate from nut-free versions. Use dedicated tools and baking sheets to prevent cross-contamination. Always clearly label which sticks contain nuts when serving or gifting.