 Save
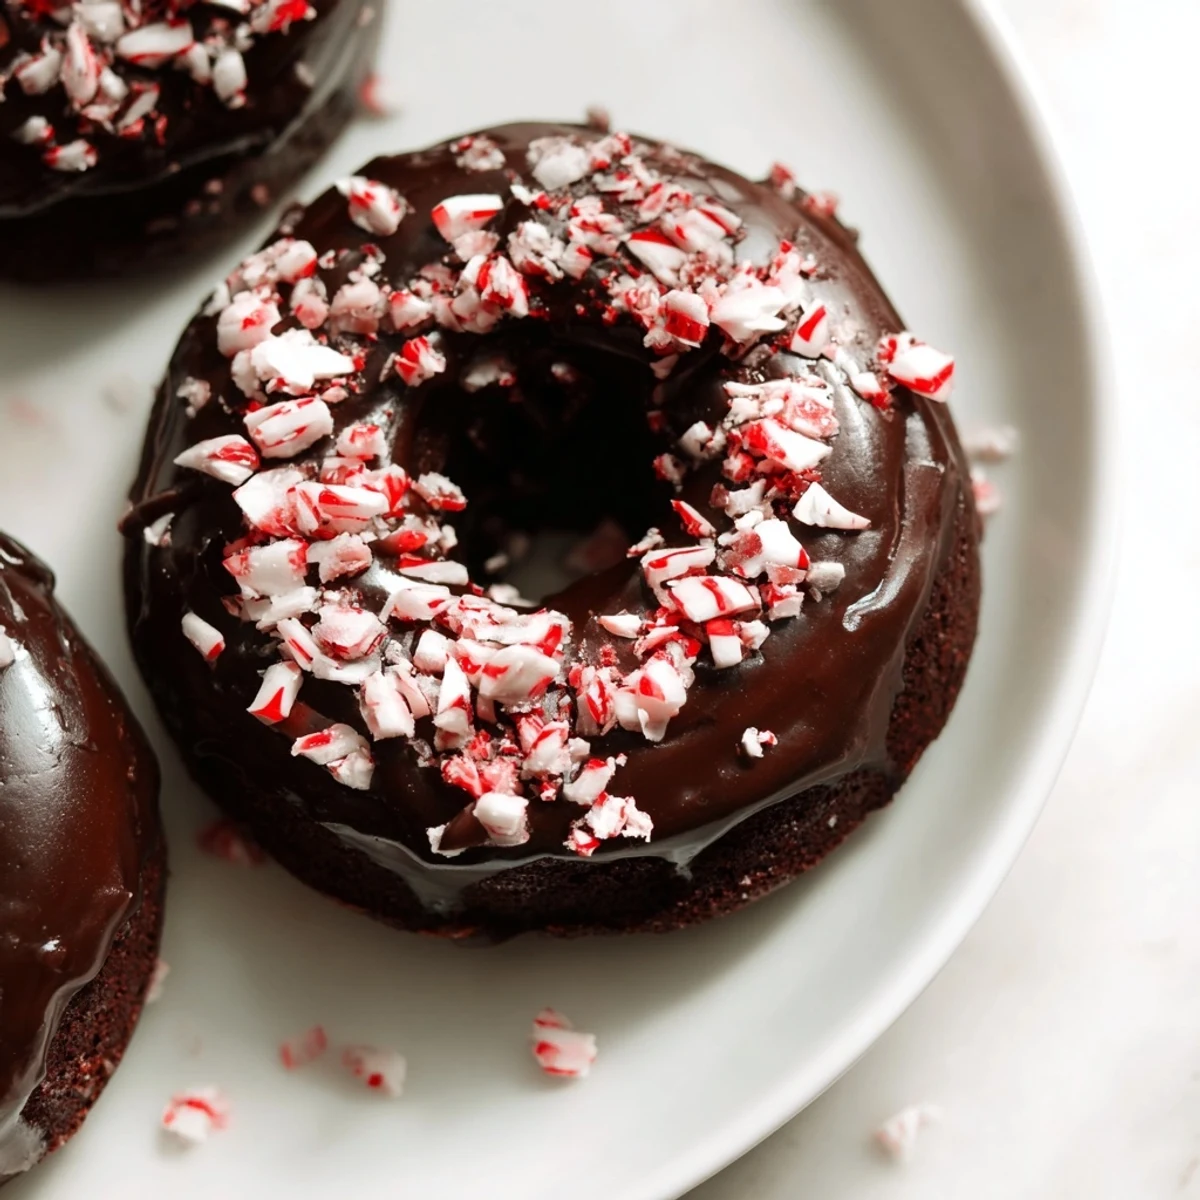
Save These soft and chewy chocolate donuts combine Japanese mochiko flour with classic American donut flavors. The result is a uniquely textured treat that's pillowy yet substantial, with a satisfying bounce in every bite. Peppermint extract infuses the chocolate batter with refreshing coolness, while a rich cocoa glaze adds sweetness and depth. Crushed candy canes provide festive crunch and a pop of holiday color.
Perfect for winter gatherings or holiday baking, these donuts come together in just 40 minutes. The gluten-free sweet rice flour creates a tender crumb that stays fresh longer than wheat-based versions. They're ideal for anyone seeking a festive dessert that's naturally gluten-free and vegetarian-friendly.
The first time I made mochi donuts, I was experimenting with gluten-free baking and accidentally created something that made my entire kitchen smell like a chocolate mint wonderland. These chewy, pillowy treats became an instant winter tradition in our household. Now every December, my friends start asking when I'm making that chocolate peppermint version again.
Last Christmas morning, I made a double batch and my sister-in-law ate three before anyone else even woke up. She's gluten-free and usually skips holiday treats, so watching her face light up was genuinely heartwarming. Now she requests them for every family gathering, birthday or not.
Ingredients
- Sweet Rice Flour (Mochiko): This is the magic ingredient that creates that signature chewy texture, and I've learned regular rice flour just doesn't give the same bounce
- Unsweetened Cocoa Powder: Use a high-quality Dutch-processed cocoa for the deepest chocolate flavor without any bitterness
- Peppermint Extract: A little goes a long way, so start with one teaspoon and add more only if you love that intense minty kick
- Candy Canes: Crushing them yourself gives you bigger, more satisfying chunks than store-bought peppermint bits
Instructions
- Prep Your Oven and Pan:
- Preheat to 350°F and grease your donut pan thoroughly, even if it's nonstick, because mochi batter loves to stick
- Mix Your Dry Ingredients:
- Whisk together the mochiko, sugar, cocoa powder, baking powder, and salt until completely combined
- Combine Wet Ingredients:
- In another bowl, whisk the eggs, milk, oil, and both extracts until the mixture looks smooth and slightly frothy
- Make the Batter:
- Pour the wet ingredients into the dry and stir until you have a glossy, thick batter that's slightly sticky
- Fill the Donut Cavities:
- Spoon or pipe the batter into each well, filling them about three-quarters full, and smooth the tops with a wet finger
- Bake to Perfection:
- Bake for 15-18 minutes until they spring back when touched, then cool in the pan for exactly 5 minutes before moving them
- Make the Glaze:
- Whisk powdered sugar, cocoa powder, 2 tablespoons of milk, and peppermint extract, adding more milk until it's thick but pourable like warm honey
- Dip and Decorate:
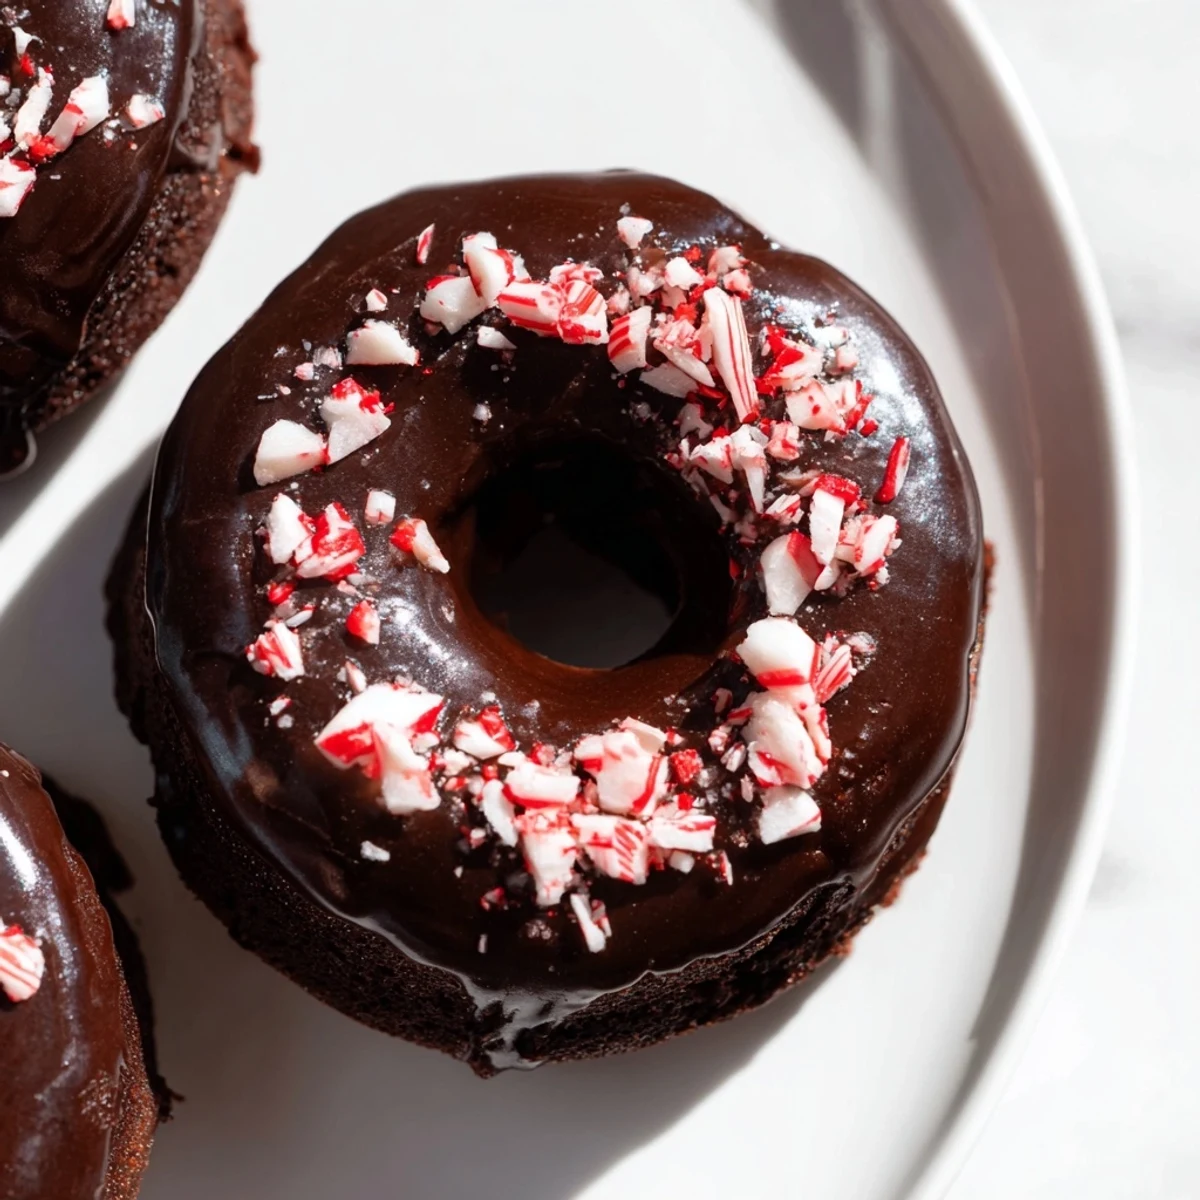
- Dip each cooled donut halfway into the glaze, let the excess drip off for a moment, then immediately press the top into crushed candy canes
 Save
Save My neighbor smelled these baking through our shared wall and knocked on my door with an empty plate, asking what I'd made. We ended up sitting on her front steps in the cold, sharing donuts and talking for two hours. Sometimes food is just an excuse for connection.
Getting That Perfect Chew
The secret to authentic mochi texture is not overmixing the batter once you combine wet and dry ingredients. Too much stirring develops the proteins in the rice flour and makes the donuts tough instead of tender. Just fold until no dry streaks remain and you're good to go.
Crushing Candy Canes Like a Pro
Unwrap the candy canes and place them in a heavy ziplock bag, then use a meat mallet or rolling pin to crush them. I like leaving some bigger pieces for texture, but if you want a fine dust, just keep pounding longer. The sound is oddly satisfying.
Making These Ahead
You can bake the donuts up to 24 hours ahead and store them in an airtight container, but wait to glaze until just before serving. Fresh glaze makes all the difference in both appearance and texture.
- Donuts are best served within 24 hours of glazing
- Freeze unglazed donuts for up to a month and thaw at room temperature
- If the glaze hardens too much, a quick 10-second zap in the microwave brings it back to life
 Save
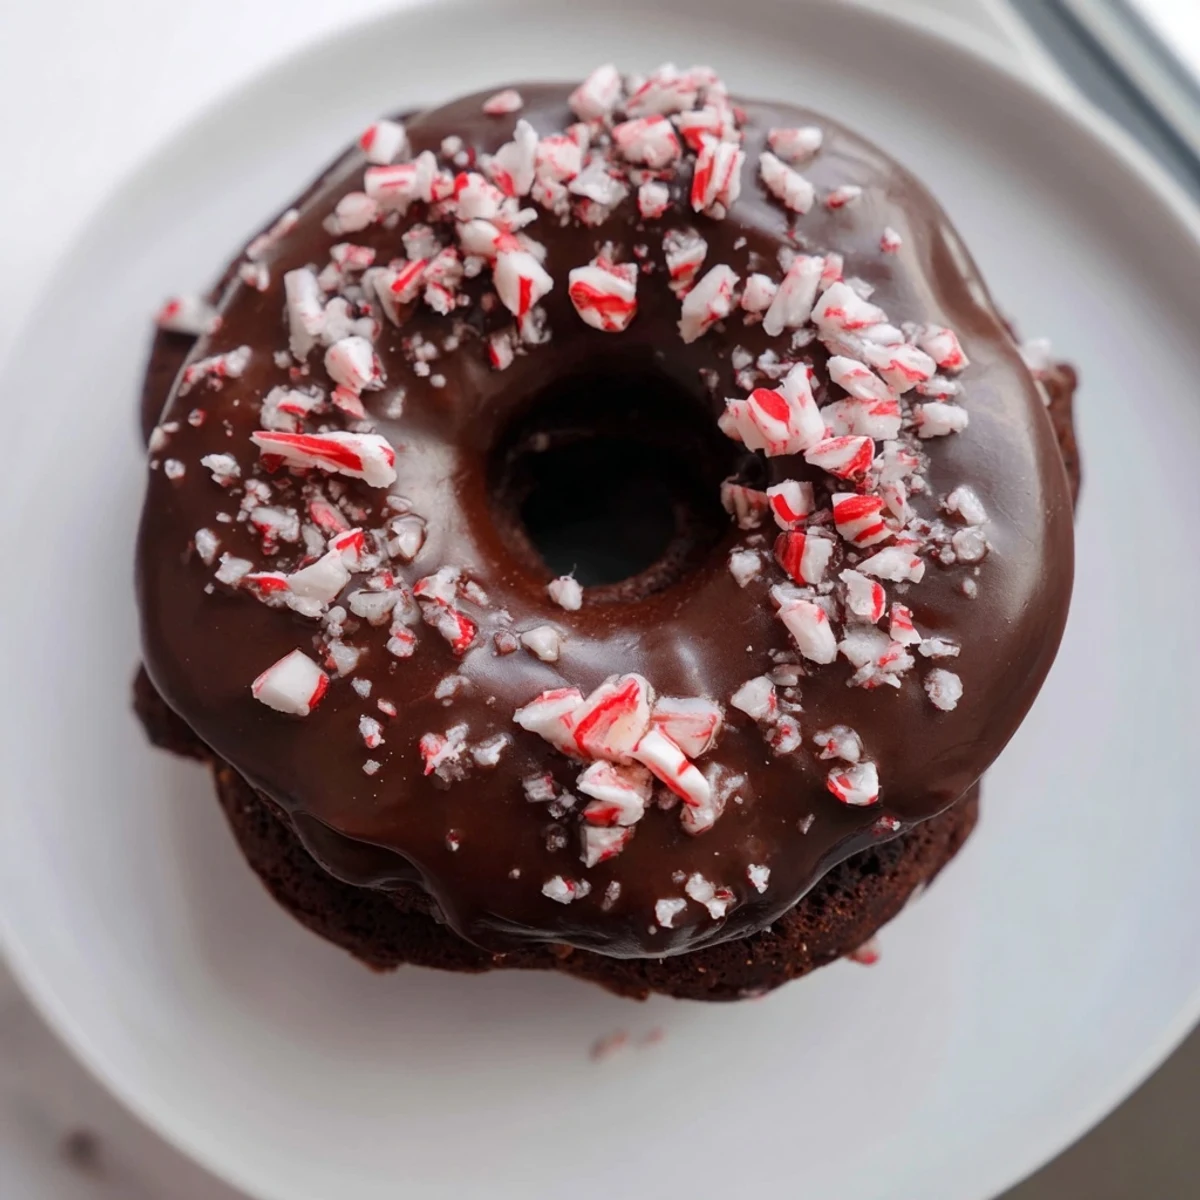
Save There's something magical about biting through that crisp glaze and hitting the soft, chewy chocolate underneath. These donuts have become my go-to for bringing joy to gray winter days.
Recipe FAQs
- → What makes these donuts chewy instead of cakey?
-
Sweet rice flour, also known as mochiko, creates the signature chewy texture. Unlike wheat flour, glutinous rice flour develops a soft, bouncy consistency when baked, similar to traditional Japanese mochi.
- → Can I make these without a donut pan?
-
Yes, you can use a muffin tin instead. The baking time may increase slightly to 18–22 minutes. Alternatively, shape the batter into balls and bake on a parchment-lined sheet for donut holes.
- → How should I store these donuts?
-
Keep them in an airtight container at room temperature for up to 2 days. The glaze may soften over time, so add crushed candy cane topping just before serving for the crunchiest texture.
- → Can I reduce the peppermint flavor?
-
Start with 1/2 teaspoon of peppermint extract in both the batter and glaze, then taste and adjust. The extract is potent, so a small amount makes a significant difference in flavor intensity.
- → Are these completely gluten-free?
-
The main ingredients are naturally gluten-free, but always verify your baking powder and candy canes are certified gluten-free. Some brands use wheat-based fillers or process candies in facilities with wheat.
- → Can I use a different topping?
-
Absolutely. Try sprinkling with crushed peppermint bark, white chocolate chips, or colorful holiday sprinkles. A dusting of powdered sugar works well for a simpler presentation.