 Save
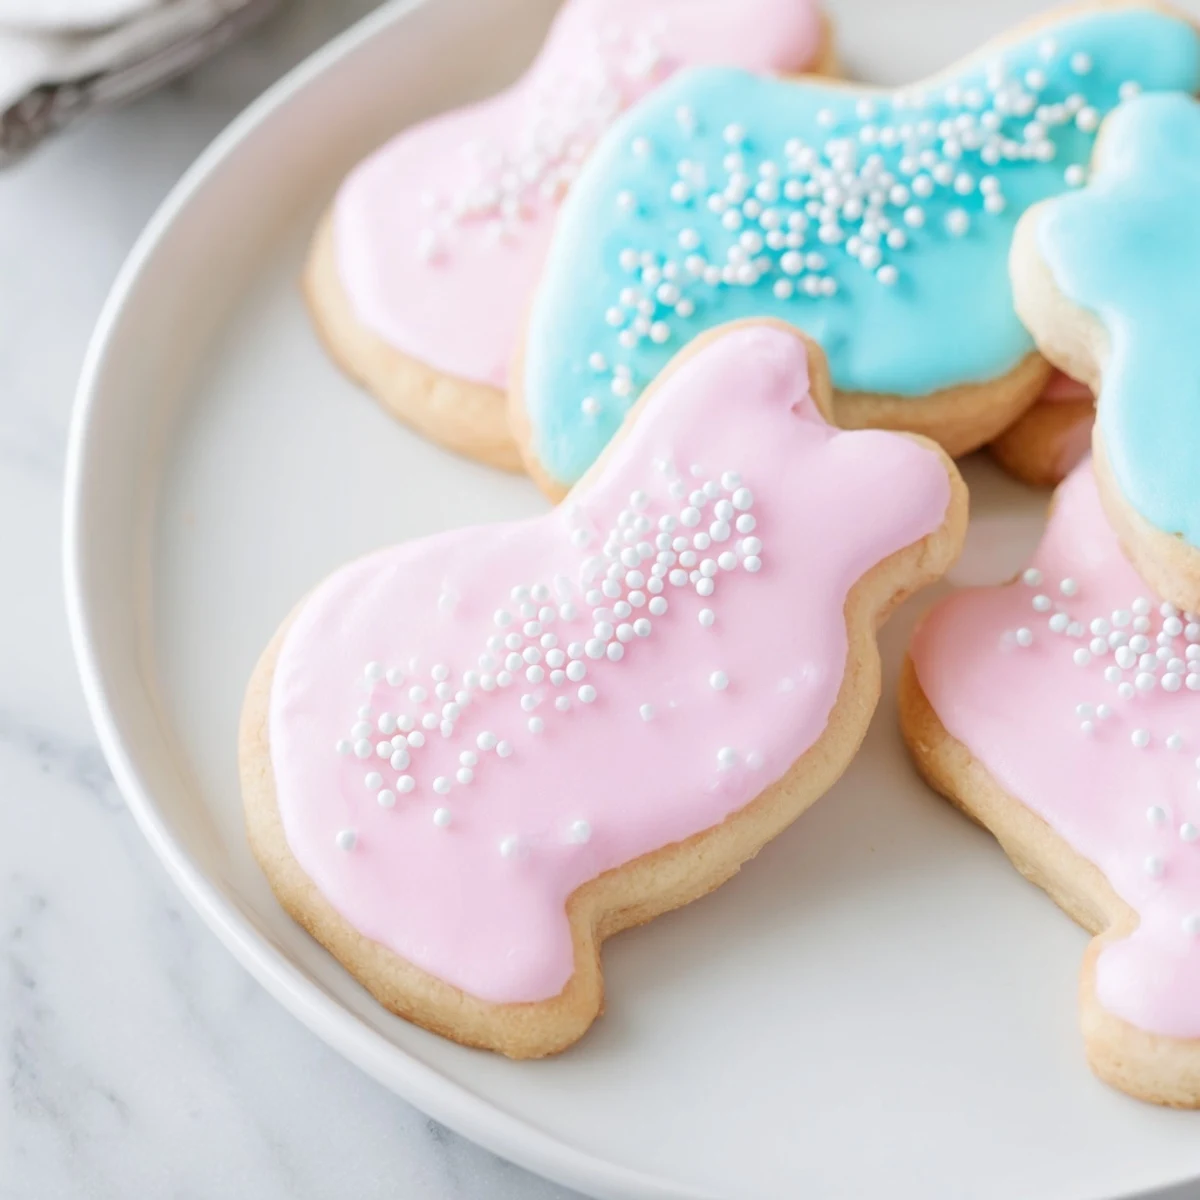
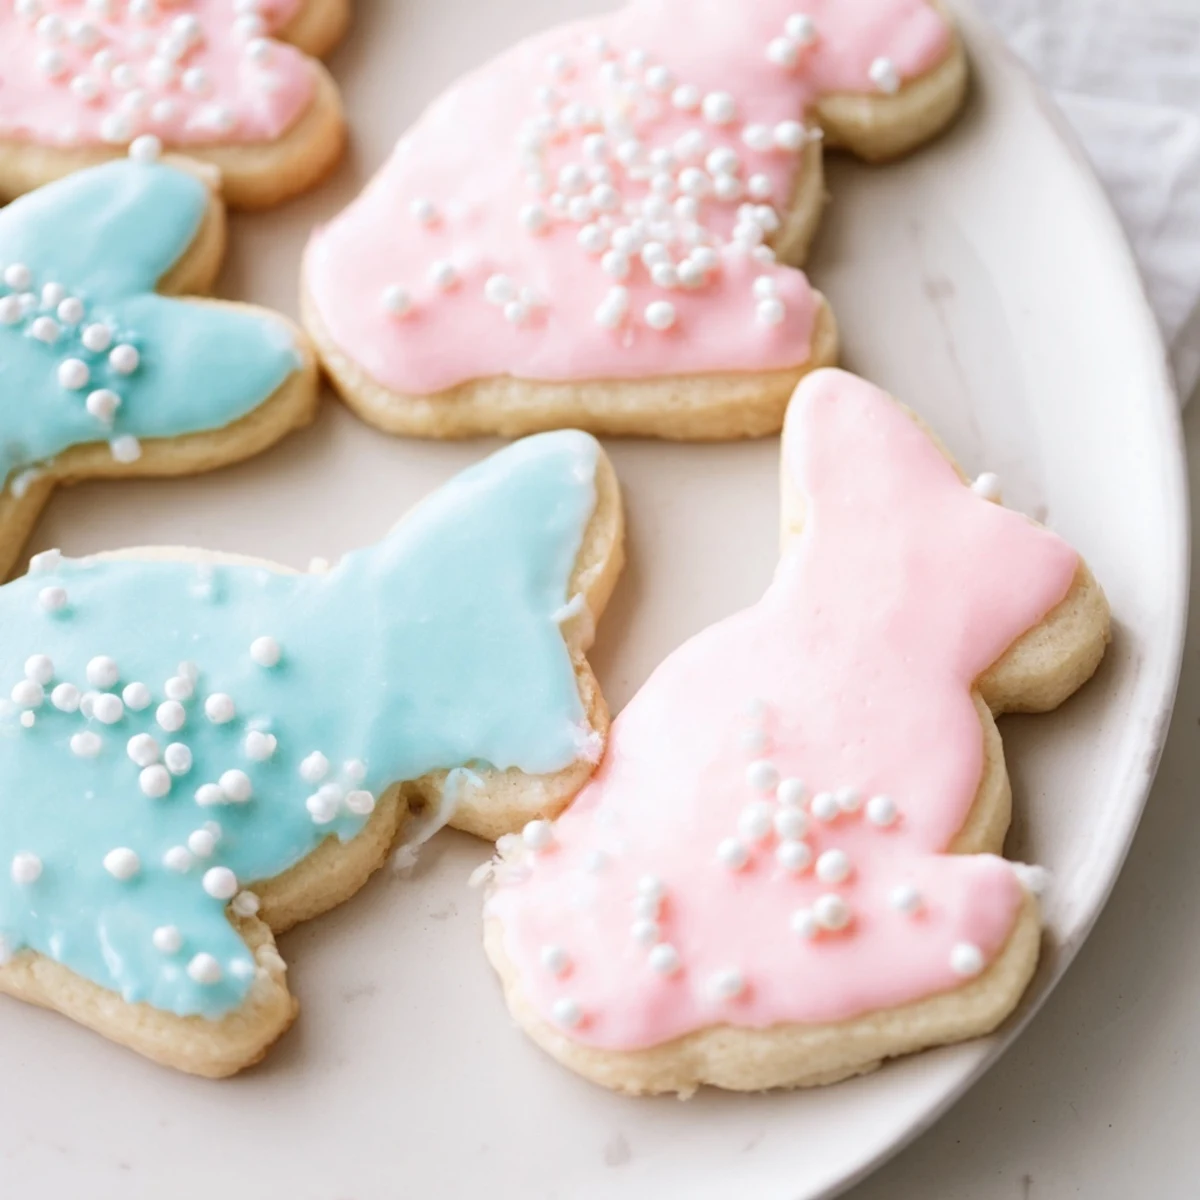
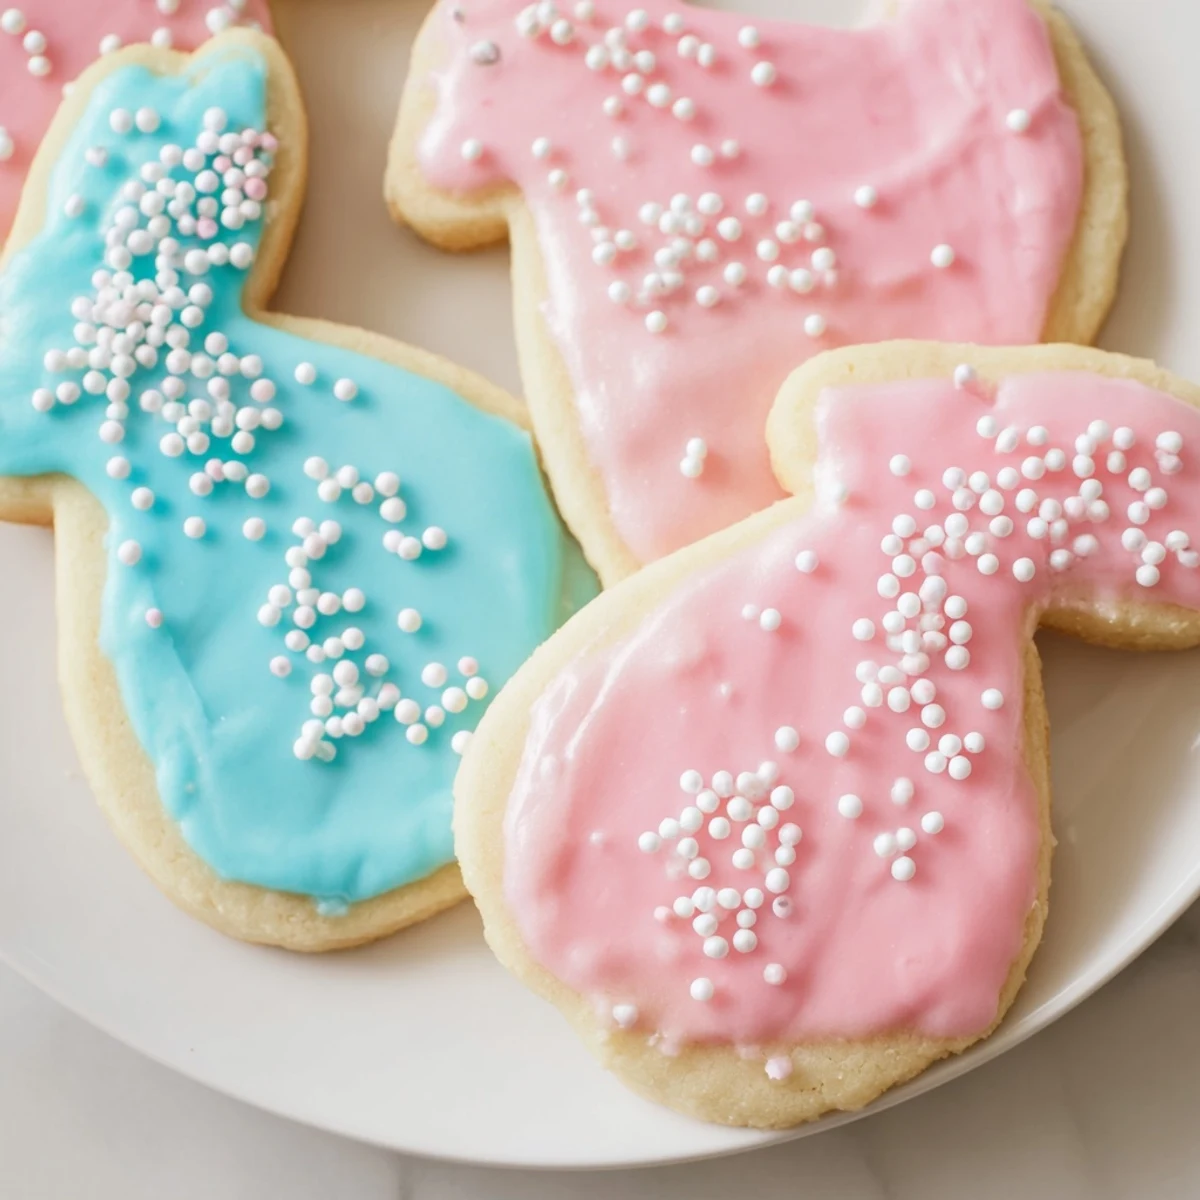
Save These buttery sugar confections are crafted into charming Easter bunny shapes, perfect for celebrating spring. The dough blends flour, baking powder, salt, softened butter, granulated sugar, egg, and vanilla extract. After chilling, the dough is rolled and cut with bunny-shaped cutters, then baked until lightly golden. A smooth vanilla icing, optionally tinted and sprinkled, adds a festive finishing touch. Baking time adjustments ensure your preferred crispness. These treats offer a delightful balance of sweetness and buttery texture, ideal for family decorating moments and sharing during the season.
My kitchen was covered in a blizzard of flour last April when my niece discovered she could make bunny footprints with her frosting bag. What started as an attempt at perfectly shaped Easter cookies turned into the most joyful mess I've ever cooked through, with flour dusting every surface and tiny fingers sneaking dough when they thought I wasn't looking.
Last year I made triple batches for a school bake sale, and watching kids' faces light up when they spotted the bunny shapes reminded me why simple traditions matter so much. One little girl told me the Easter bunny must have stopped by personally, which was absolutely the best compliment I could have received.
Ingredients
- All-purpose flour: The foundation that gives these cookies their structure, and sifting it first prevents any lumpy surprises in your dough
- Baking powder: Just enough to give the cookies a subtle lift without making them too cakey or puffy
- Salt: A small amount that balances the sweetness and makes all the flavors sing together
- Unsalted butter: Softened to room temperature so it creams perfectly with sugar, creating those irresistible buttery pockets throughout
- Granulated sugar: Sweetens the dough while helping the edges crisp up beautifully in the oven
- Large egg: Binds everything together and adds richness for that classic sugar cookie texture
- Pure vanilla extract: The aromatic backbone that makes these taste professionally made
- Powdered sugar: Creates a smooth, pipeable icing that sets firm enough for stacking but soft enough to bite into happily
- Milk: Thins the powdered sugar to the perfect consistency, whether you're flooding or piping
- Food coloring and sprinkles: Completely optional but absolutely necessary when you're baking with anyone under twelve
Instructions
- Whisk the dry ingredients:
- In a medium bowl, combine the flour, baking powder, and salt until they're well incorporated, setting this mixture aside while you work on the wet ingredients
- Cream butter and sugar:
- Beat the softened butter and granulated sugar in a large bowl for 2 to 3 minutes until the mixture looks pale and fluffy, which incorporates air for lighter cookies
- Add egg and vanilla:
- Mix in the egg and vanilla extract until everything is thoroughly combined and the batter looks smooth and glossy
- Combine wet and dry:
- Gradually add the flour mixture to your butter mixture, mixing just until a dough forms and you no longer see dry streaks
- Chill the dough:
- Divide the dough in half, press each portion into a flat disk, wrap tightly in plastic wrap, and refrigerate for at least 30 minutes so the cookies hold their shape
- Prep for baking:
- Preheat your oven to 350°F and line baking sheets with parchment paper to prevent sticking and make cleanup effortless
- Roll the dough:
- On a lightly floured surface, roll one disk at a time to exactly 1/4 inch thickness, rotating frequently to prevent sticking
- Cut and arrange:
- Press your bunny cookie cutter into the dough and transfer shapes to the prepared baking sheets, leaving about 1 inch between each cookie for spreading
- Bake to perfection:
- Bake for 8 to 10 minutes until you notice the edges just beginning to turn a pale golden color, then let them rest on the hot baking sheet for 5 minutes
- Prepare the icing:
- Whisk together the powdered sugar, milk, and vanilla in a small bowl until completely smooth, then divide and tint with food coloring if you're feeling colorful
- Decorate your bunnies:
- Once the cookies are completely cool, spread or pipe the icing onto each bunny and add sprinkles before the icing sets for best adhesion
 Save
Save My sisterinlaw started a tradition where each person decorates one bunny to represent themselves, and now our Easter dessert platter tells a story through frosting and sprinkles. Last year my brother made a bunny wearing what was supposed to be a tiny tie, though it looked more like a blob until we all laughed and decided it was abstract art.
Getting The Perfect Texture
I've learned that 8 minutes produces soft, tender cookies while 10 minutes gives you those crispy edges that some people absolutely crave in a sugar cookie. The key is watching the oven like a hawk during that last minute because the difference between perfect and overbaked happens in seconds.
Decorating With Kids
Set up separate bowls of colored icing with spoons instead of piping bags when children are helping, and accept that perfection isn't the point. The most charming cookies are always the ones with slightly wobbly eyes and more sprinkles than any reasonable person would apply.
Making These Ahead
You can prepare the dough disks up to three days in advance and store them wrapped tightly in the refrigerator, or freeze them for up to a month if you're really planning ahead. Just let the frozen dough thaw in the refrigerator overnight before rolling, and you'll have fresh baked cookies whenever the mood strikes.
- Bake the cookies a day before decorating so they're completely cool and the icing sets properly
- Store undecorated baked cookies in an airtight container with parchment paper between layers
- Wait to add sprinkles until just before serving if you want them to stay vibrant and crunchy
 Save
Save These bunnies have become such a staple that I honestly can't imagine Easter without them, or without the floury fingerprints that somehow always end up on my apron. Happy baking, and may your Easter be filled with sweet moments and even sweeter memories.