 Save
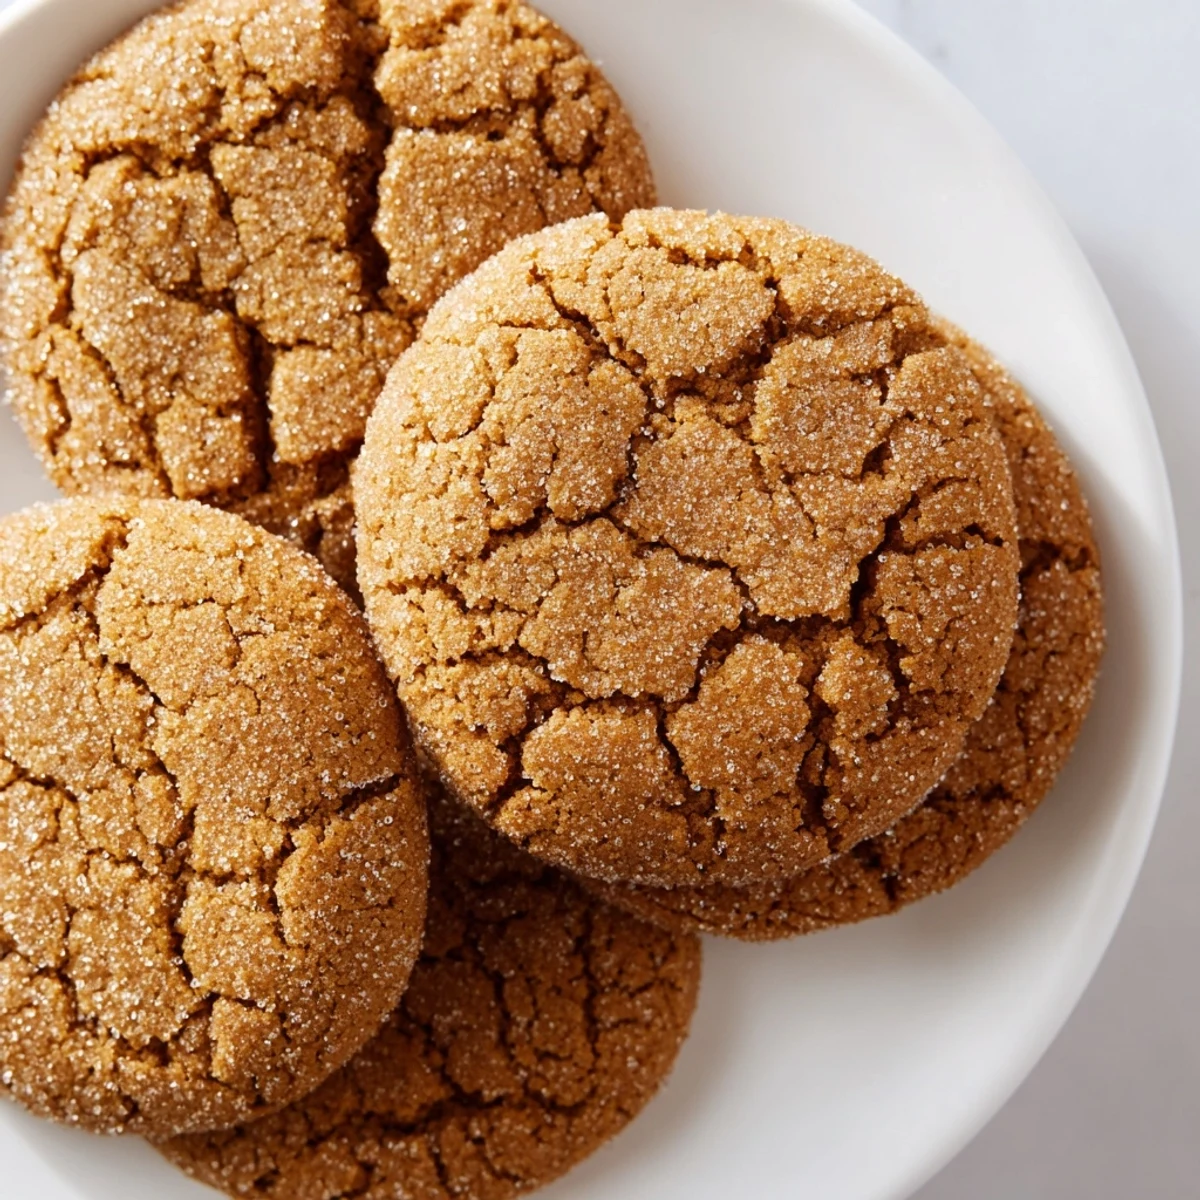
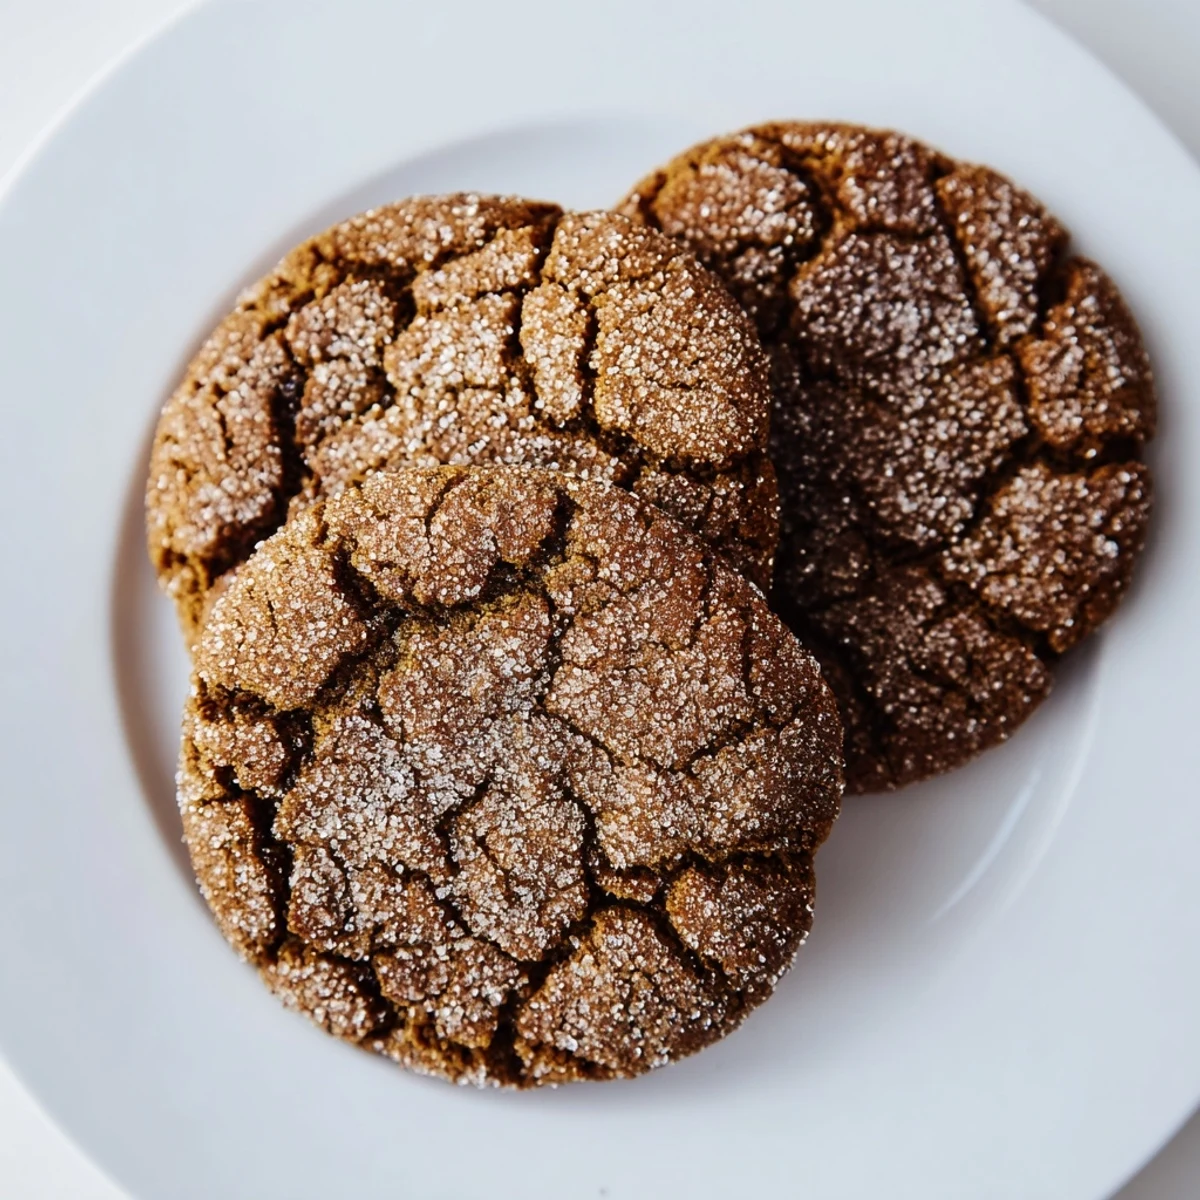
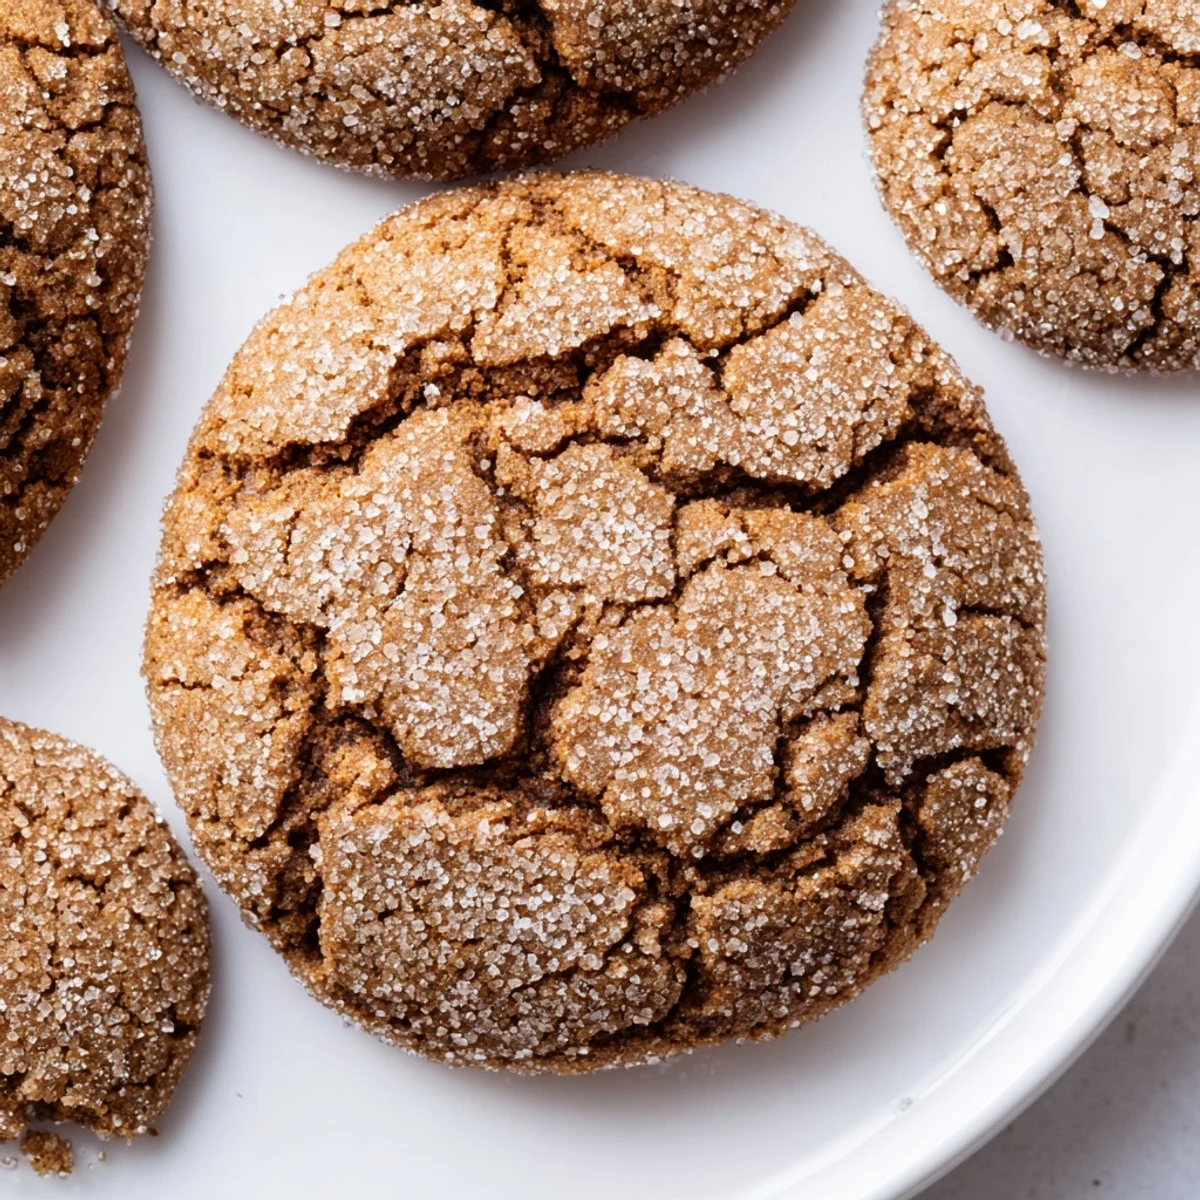
Save Create these beloved classic cookies featuring the perfect balance of warm spices and satisfying crunch. The signature crackled surface comes from rolling dough balls in granulated sugar before baking, creating that irresistible textured exterior.
The warming blend of ginger, cinnamon, cloves, and nutmeg delivers traditional spice cookie flavor that evokes cozy holiday memories. With just 27 minutes from start to finish, you'll have three dozen homemade treats perfect for sharing.
Bake for 10-12 minutes for chewy centers, or extend to 14 minutes for maximum crunch. These store beautifully for up to a week, making them ideal for advance preparation or gift-giving.
The first time I made gingersnaps, I was babysitting my niece on a rainy December afternoon. We needed something to warm the kitchen, and that spicy molasses fragrance filled every corner of the house. She sat on the counter swinging her legs, watching the sugar coating crackle in the oven light. Now every winter, that smell pulls me back to that cozy afternoon.
Last year I brought a tin of these to my book club meeting, and before we even discussed the novel, three people had asked for the recipe. Something about the combination of crackled sugar and warm spices makes people feel instantly at home. They've become my go-to hostess gift.
Ingredients
- 2 1/4 cups all-purpose flour: The foundation that gives these cookies their satisfying structure
- 2 teaspoons ground ginger: The star of the show that delivers that signature warmth
- 1 teaspoon ground cinnamon: Adds familiar comfort without overpowering the ginger
- 1/2 teaspoon ground cloves: Deep, earthy notes that make these taste like holidays
- 1/4 teaspoon ground nutmeg: A subtle sweetness that rounds out the spice blend
- 2 teaspoons baking soda: Creates those beautiful crackles as the cookies spread
- 1/4 teaspoon salt: Balances all that sugar and lets the spices sing
- 3/4 cup unsalted butter, softened: Room temperature butter creams perfectly for that tender crumb
- 1 cup granulated sugar: Use part in the dough and save extra for that sparkling coating
- 1/4 cup unsulphured molasses: Dark, robust molasses gives these their deep flavor and chewy texture
- 1 large egg: Binds everything together while adding richness
Instructions
- Preheat your oven:
- Get your oven to 350 degrees Fahrenheit and line two baking sheets with parchment paper so nothing sticks
- Whisk the dry ingredients:
- In a medium bowl, combine the flour with ginger, cinnamon, cloves, nutmeg, baking soda, and salt until well blended
- Cream the butter and sugar:
- Beat the softened butter and granulated sugar together in a large bowl for about two to three minutes until it looks light and fluffy
- Add egg and molasses:
- Beat in the egg first, then pour in the molasses and mix until everything is smoothly combined
- Combine the dough:
- Gradually add your dry ingredients to the wet mixture, mixing just until you no longer see streaks of flour
- Shape and sugar coat:
- Scoop tablespoon sized portions of dough, roll them into balls, then coat each one generously in extra granulated sugar
- Arrange for baking:
- Place the sugar coated dough balls on your prepared baking sheets, leaving about two inches of space between each
- Bake until crackled:
- Bake for ten to twelve minutes until the cookies are puffed and their tops show that signature crackled surface
- Cool completely:
- Let them rest on the baking sheets for five minutes before moving them to a wire rack to finish cooling
 Save
Save My grandmother always said the crackle pattern tells you when the spices have properly bloomed. I still check each batch before taking them out, just like she taught me forty years ago in her tiny kitchen.
Getting The Perfect Crackle
That beautiful crackled surface happens because the sugar coating forms a crust as the cookie spreads in the oven. The underneath continues expanding while the top sets, creating those signature splits. Roll the dough balls generously in sugar for the most dramatic effect.
Making Them Your Own
A tiny pinch of black pepper adds sophisticated heat that makes people ask what your secret is. You can also dip half the cooled cookies in white chocolate for an indulgent twist, or sandwich two together with cream cheese frosting for an impressive dessert.
Storage And Sharing
These cookies actually improve after a day or two in an airtight container as the flavors meld together. They freeze beautifully for up to three months if you want to get ahead of holiday baking. Package them in pretty tins with wax paper between layers for effortless gift giving.
- Place a slice of bread in the container if they start to get too crisp
- Bring cookies to room temperature before serving for the best texture
- These travel well and make perfect care package additions
 Save
Save May your kitchen smell like spices and your cookie jar never stay full for long.
Recipe FAQs
- → What makes gingersnaps crackle on top?
-
The signature crackled surface appears when rolled dough balls are coated in granulated sugar before baking. As the butter melts and the dough spreads, the sugar crust forms distinctive cracks while creating a delightfully crispy exterior.
- → How do I make cookies chewier versus crunchier?
-
Bake for the shorter 10-12 minute timeframe for softer, chewy centers with slightly crisp edges. For maximum crunch throughout, extend baking to 14 minutes until cookies feel completely firm when lightly touched.
- → Can I freeze the dough for later?
-
Absolutely. Scoop and roll dough balls, then freeze on a baking sheet until firm. Transfer to an airtight container and freeze for up to 3 months. Roll in sugar just before baking and add 1-2 minutes to baking time.
- → What's the purpose of molasses in these cookies?
-
Unsulphured molasses provides deep caramel notes, creates moisture for chewiness, and contributes to the dark golden color. Its robust flavor perfectly balances the warming spices while helping achieve that classic snap.
- → Why do my cookies spread too much?
-
Excessive spreading typically occurs when dough is too warm or butter was overly softened. Chill dough for 15-20 minutes before scooping if needed. Also ensure accurate flour measurement using the spoon-and-level method.