 Save
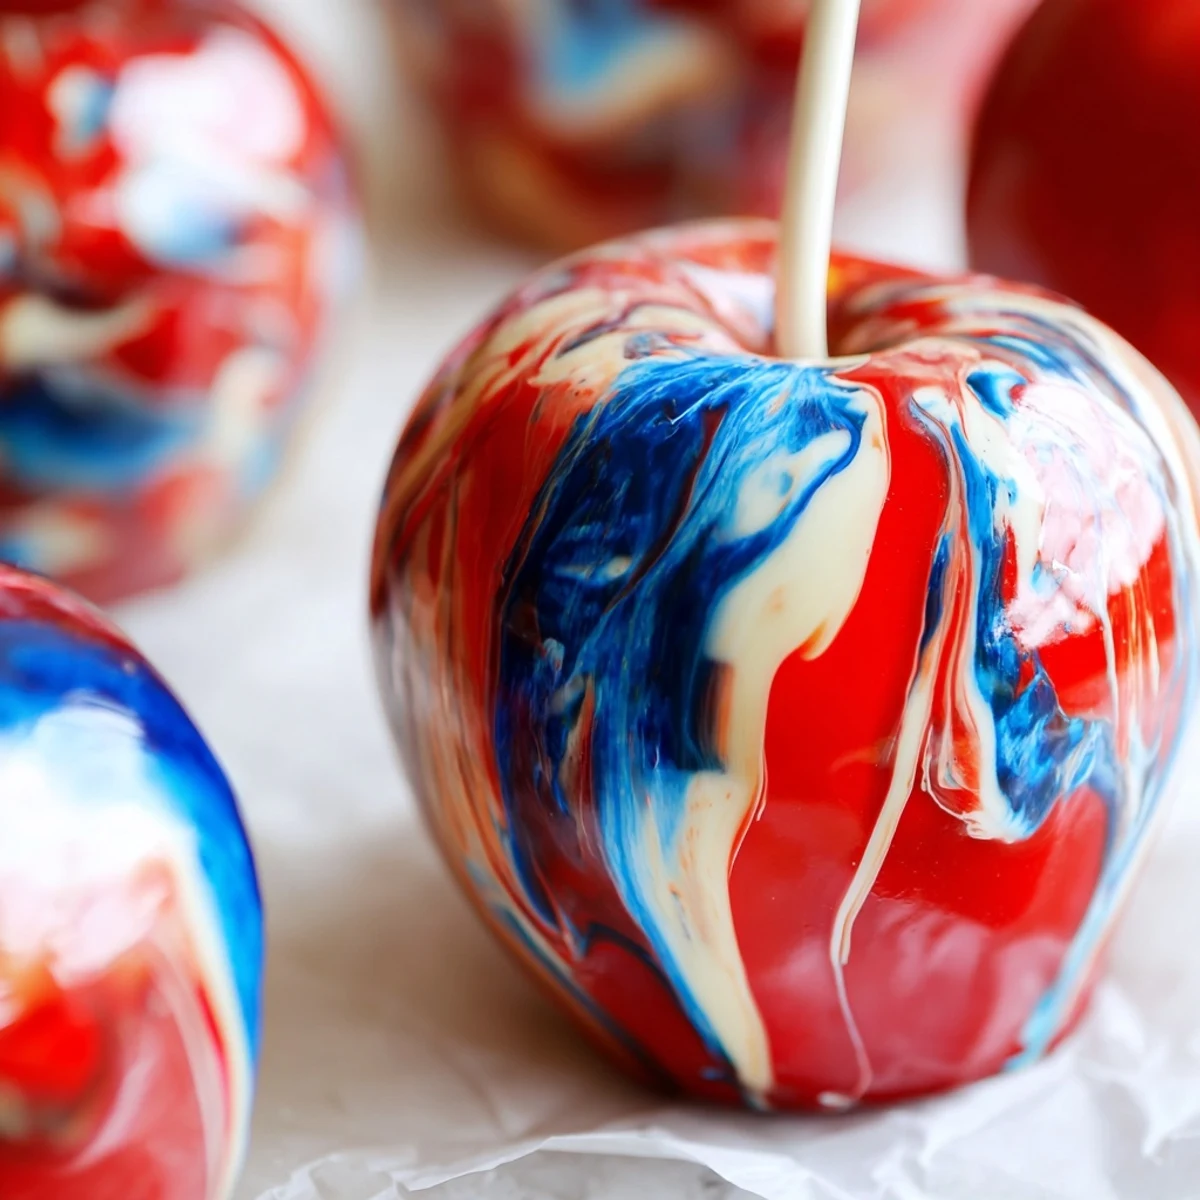
Save Transform ordinary apples into stunning marbled candy treats with this easy technique. The secret lies in creating a hard candy shell with vibrant food coloring streaks that create beautiful marbled patterns. Using gel food coloring ensures vivid, distinct colors that won't fully mix, resulting in eye-catching swirls on each apple. This medium-difficulty dessert requires careful temperature control but delivers impressive results perfect for parties and special occasions.
The first time I made these marbled candy apples, I stood in my kitchen at midnight completely mesmerized by how the colored syrup swirled together like edible galaxies. My daughter had begged me for Halloween party treats, and suddenly there we were, creating something that looked almost too beautiful to eat. Now every autumn, the smell of boiling sugar takes me back to that spontaneous late night baking session.
Last year I made a huge batch for my neighborhood fall festival and watched childrens eyes light up as they chose their favorite color combinations. One little girl told me she was saving hers for two days because it was too pretty to eat right away. That moment of pure wonder made every minute of sugar cleanup absolutely worth it.
Ingredients
- 8 medium apples: Granny Smith or Fuji varieties work beautifully because their tartness balances the sweet candy coating and their firm texture holds up well during dipping
- 2 cups granulated sugar: This precise amount creates enough syrup for all eight apples without leaving you with excess hardened candy to clean later
- 3/4 cup water: Just enough to dissolve the sugar initially but will cook off completely during the boiling process
- 1/2 cup light corn syrup: The secret ingredient that prevents crystallization and gives your candy shell that perfect glasslike shine
- Red blue and white gel food coloring: Gel colors are essential here because liquid coloring would interfere with your sugar chemistry
Instructions
- Prep your station:
- Line a baking sheet with parchment paper or a silicone mat and insert wooden sticks firmly into the stem end of each thoroughly dried apple
- Create the sugar base:
- Combine sugar water and corn syrup in a heavybottomed saucepan over medium heat stirring until the sugar completely dissolves
- Reach hard crack stage:
- Increase heat to high and boil without stirring until your candy thermometer reaches exactly 300°F then immediately remove from heat
- Add the magic:
- Stir in vanilla if using then drop in several dots of each gel color around the syrup and gently swirl once or twice with a skewer
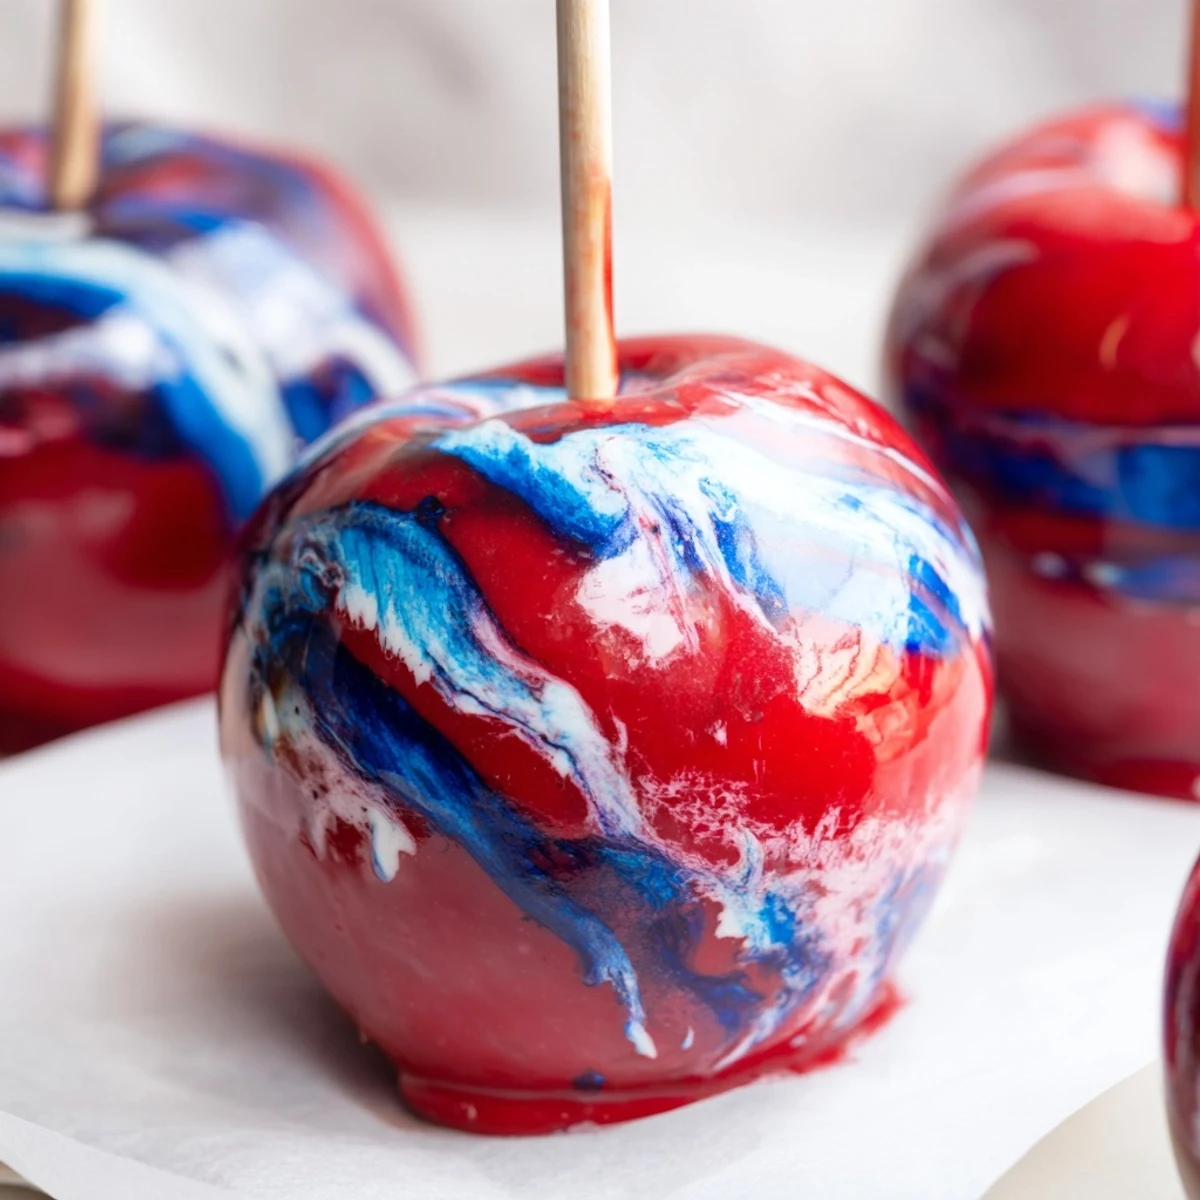
- Dip and swirl:
- Quickly dip each apple turning gently to coat and catch those beautiful marbled streaks before letting excess drip off
- Set and admire:
- Place each apple on your prepared sheet and let cool completely until the candy shell is hard about 15 minutes
 Save
Save These apples have become my goto gift for teachers and neighbors during the holidays. I love wrapping them in clear cellophane with twine and watching people unwrap them like precious jewels. There is something deeply satisfying about creating something so whimsical and joyful with just simple ingredients and patience.
Choosing Your Apples
I have learned through trial and error that smaller apples work better than massive ones. The candy to apple ratio stays perfect and they are easier to dip without making a mess. Also try to find apples with relatively smooth skins because bumps can create uneven spots in your marble pattern.
Timing Is Everything
Work quickly once your syrup reaches temperature because it begins setting almost immediately. I keep all my apples lined up and ready before I even start boiling sugar. The difference between a successful batch and a frustrating one often comes down to those precious seconds of preparation.
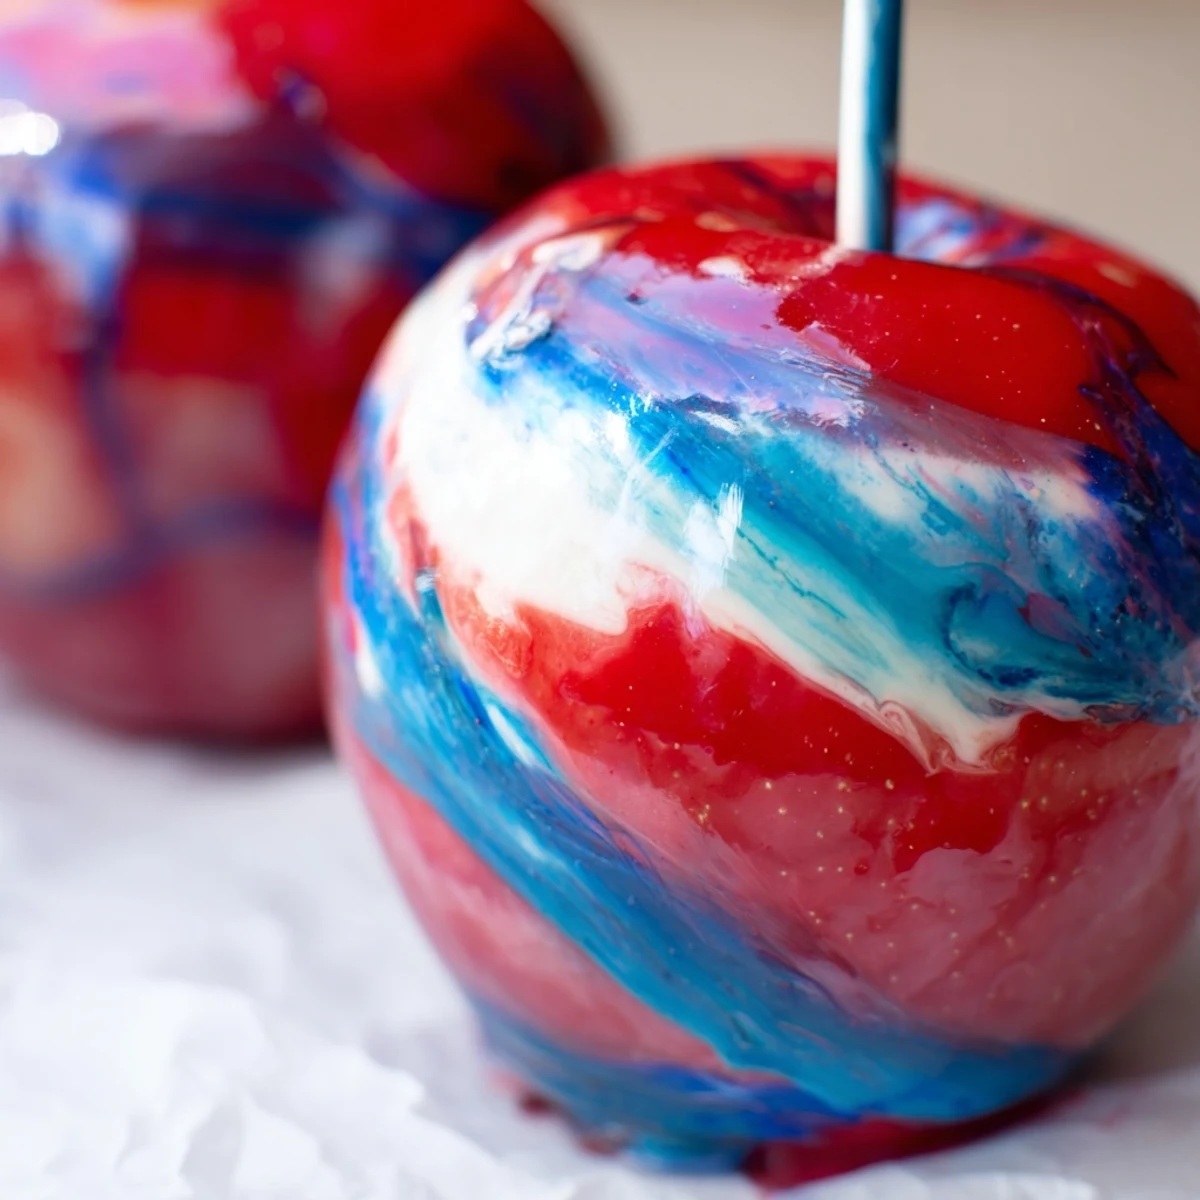
Color Combinations Worth Trying
Beyond the classic red white and blue consider purple and pink for a galaxy effect or orange and yellow for autumn warmth. I once did a green and white batch that looked like jade and they were stunning.
- Pastel colors create a softer dreamier look
- Adding a tiny bit of white gel to any color makes it look dimensional
- Less swirling actually gives you more defined patterns
 Save
Save These marbled candy apples never fail to make people smile and that is really what cooking is all about. Enjoy creating something magical in your kitchen.
Recipe FAQs
- → What type of apples work best for candy coating?
-
Granny Smith or Fuji apples are ideal as they're firm and hold up well to the hot candy coating. Make sure apples are thoroughly dried before dipping to ensure proper adhesion of the candy shell.
- → How do I achieve the marbled effect?
-
Add drops of different colored gel food coloring to the hot candy syrup, then gently swirl with a skewer. Don't fully mix - the goal is to create visible streaks that will transfer to the apples during dipping.
- → What's the hard crack stage and why is it important?
-
The hard crack stage occurs at 300°F (150°C) when the sugar syrup becomes hard and brittle. This temperature is crucial for creating a stable, non-sticky candy coating that will harden properly on the apples.
- → Can I use liquid food coloring instead of gel?
-
Gel food coloring is recommended for vibrant, distinct marbling. Liquid coloring may not provide the same intensity and could affect the candy's texture and consistency.
- → How long do these candy apples last?
-
Store finished apples at room temperature for up to 24 hours. The candy coating will harden and become crisp, creating a delicious contrast with the tender apple underneath.