Save
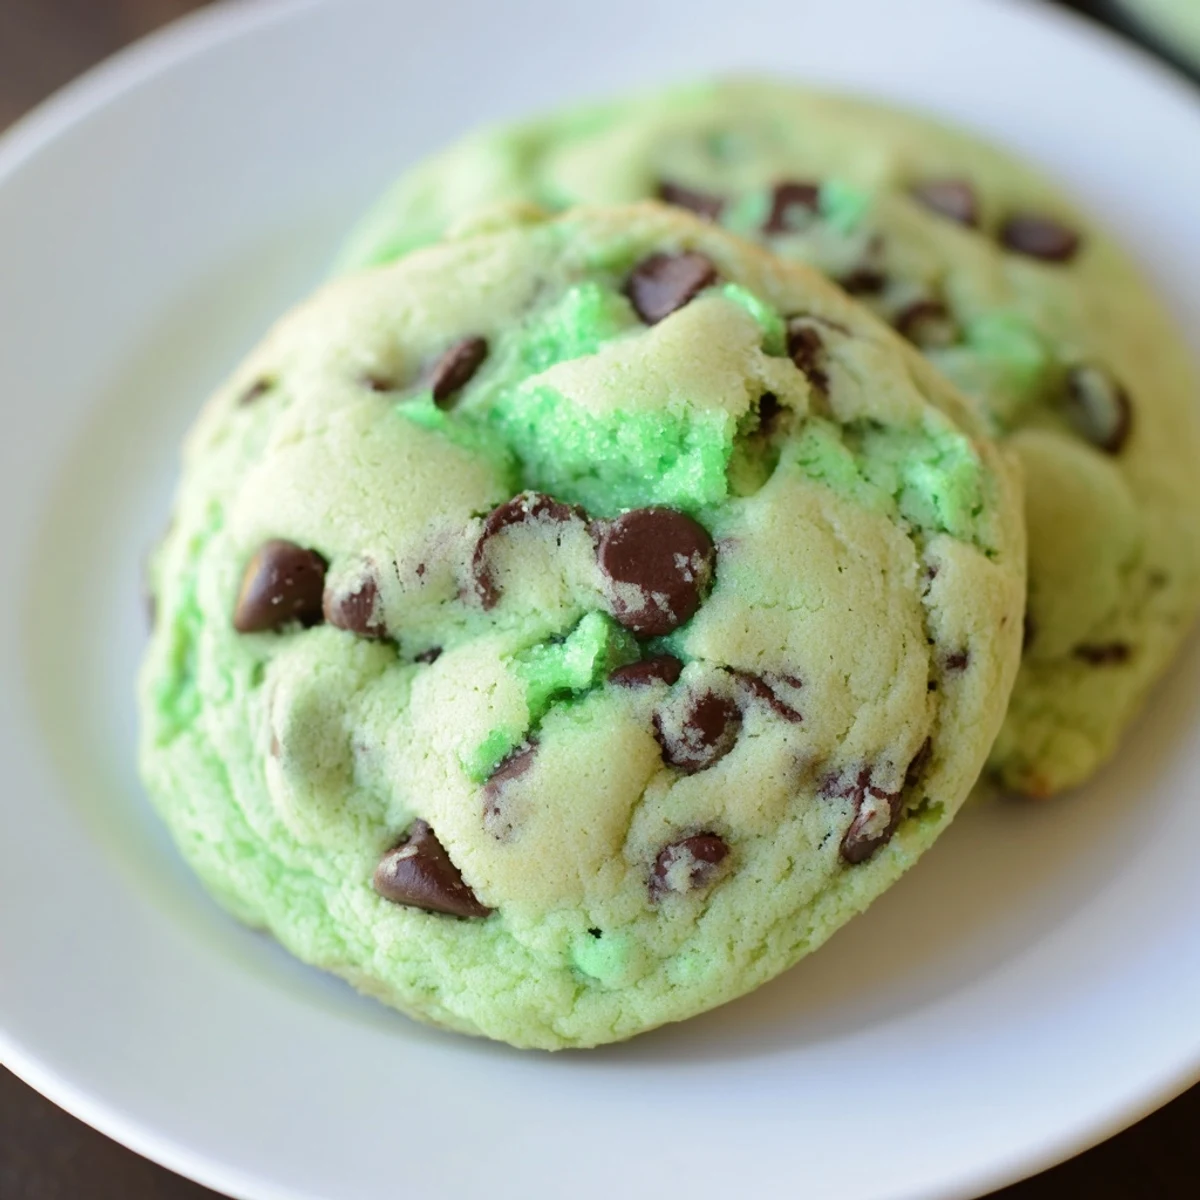
Save Discover soft, chewy cookies bursting with refreshing mint flavor and studded with rich chocolate chips. The dough is tinted a festive green, adding visual appeal perfect for celebrations. Combining classic baking ingredients and a hint of mint extract, these cookies bake to tender perfection with slightly underbaked centers for added softness. Easy to prepare and ideal for sharing, they bring both color and flavor to your dessert table.
The first time I made these mint chocolate chip cookies, my kitchen smelled like a bakery and a candy shop had a beautiful accident together. My roommate walked in mid-bake, stopped dead in her tracks, and asked if I'd secretly become a professional pastry chef overnight. We ate half the batch straight from the cooling rack, burning our fingers and not caring one bit.
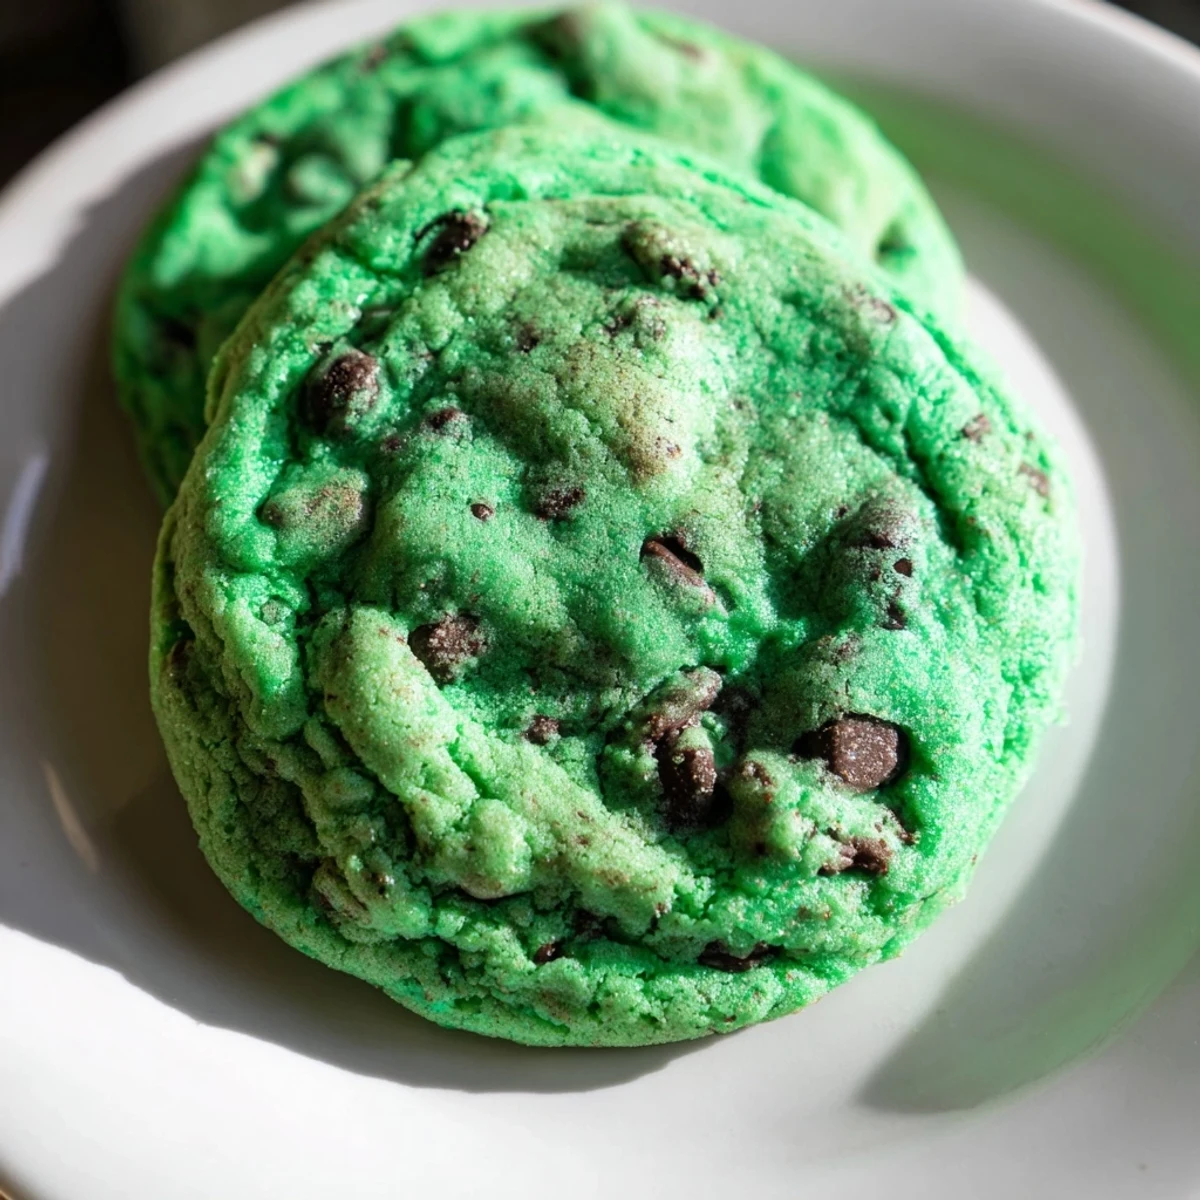
I've since made these for St. Patrick's Day parties, Christmas cookie exchanges, and just random Tuesdays when my sweet tooth demanded satisfaction. My nieces argue over who gets to lick the green-stained spatula, and honestly, I don't blame them. There's something about that vibrant green dough that makes people smile before they even take a bite.
Ingredients
- All-purpose flour: This structure is crucial. Too little and the cookies spread into thin, crispy disks. I measure by weight when I can, but the spoon-and-level method works fine if you don't have a scale.
- Baking soda: The leavening agent that gives these cookies their subtle rise and chewy texture. Make sure it's fresh, otherwise they'll turn out flat and dense.
- Salt: Don't skip it. Salt amplifies both the chocolate and mint flavors, taking these from good to can't-stop-eating-them territory.
- Unsalted butter: Softened to room temperature so it creams properly with the sugars. I've tried melting it, but it makes the cookies spread too much and lose that perfect chewy center.
- Granulated and brown sugar: The combination gives you crispy edges from the white sugar and chewy centers from the brown. The molasses in the brown sugar also adds depth that complements the mint beautifully.
- Eggs: Room temperature eggs incorporate better into the dough, giving you a more consistent texture throughout the batch.
- Pure mint extract: This is the star of the show. Start with two teaspoons, but taste your dough. Some people love a subtle hint, others want to feel like they're biting into a mint leaf.
- Vanilla extract: Always rounds out the mint, keeping it from tasting like toothpaste and more like something you'd happily devour by the dozen.
- Green food coloring: Gel coloring gives you that vibrant grass-green shade with just a few drops, while liquid works but might need more. Either way, add it gradually.
- Semi-sweet chocolate chips: The bitterness balances the sweet mint perfectly. I've used dark chocolate too, and it's fantastic if you prefer less sweetness in your chips.
Instructions
- Preheat your oven:
- Get it to 350°F and line those baking sheets. Parchment paper is non-negotiable for me. It saves cleanup and prevents the cookies from sticking, which is heartbreak no one needs.
- Whisk the dry ingredients:
- Flour, baking soda, and salt in a medium bowl. This step ensures the leavening is evenly distributed so every cookie rises consistently. No one wants a random flat cookie in the batch.
- Cream the butter and sugars:
- Beat them together for a full two minutes. I set a timer because I used to rush this part. Properly creamed butter means fluffy, tender cookies with that classic bakery texture.
- Add eggs and extracts:
- Drop in those eggs one at a time, giving each a moment to shine. Then comes the mint, vanilla, and enough green food coloring to make the dough look like something a leprechaun would approve of.
- Combine everything:
- Pour those dry ingredients into the wet mixture and mix just until combined. Overmixing here makes tough cookies, and nobody wants that. Some flour streaks are okay at this stage.
- Fold in the chocolate chips:
- Use a spatula or wooden spoon to gently incorporate the chips. I aim for chocolate in every single bite, which means being generous with the folding action.
- Scoop and space:
- Heaping tablespoons, about two inches apart. These cookies spread, and if they're too close, they'll bake into each other. I've made many a mutant cookie that way, and while delicious, they're not pretty.
- Bake to perfection:
- Nine to eleven minutes is the sweet spot. The edges should look set, but the centers still slightly underbaked. They finish cooking on the hot baking sheet, giving you that soft, chewy middle everyone fights over.
- Cool patiently:
- Five minutes on the sheet, then to the wire rack. I know the temptation to eat them immediately, but they need this time to set. Plus, a slightly warm cookie is better than a crumbly mess.
 Save
Save Last Christmas, I made these for my cookie exchange and they were the first to go. My friend's five-year-old took one look, whispered wow, you made Grinch cookies, and immediately asked for seconds. Watching kids and adults alike light up over that unexpected green dough has become one of my favorite parts of making them.
Getting the Right Mint Balance
Mint extract is powerful stuff, and it's easy to overdo it. I've made batches that tasted like I'd brushed my teeth with chocolate chips, and it wasn't pleasant. Start with two teaspoons, taste the dough, and add more drop by drop if needed. The mint should complement, not overpower, the chocolate.
Making Them Ahead
Scoop the dough onto a baking sheet, freeze the balls until solid, then store them in a freezer bag. Fresh cookies in ten minutes whenever the craving strikes. I do this constantly during the holidays, and it's saved me more than once when unexpected guests arrive.
Chocolate Chip Variations
Semi-sweet is classic, but don't be afraid to mix it up. Half semi-sweet and half white chocolate makes these extra festive for Christmas. Dark chocolate chips cut through the sweetness and create a more sophisticated cookie. Or go wild and use mint chocolate chips for double the minty impact.
- Try adding crushed Andes mints to the dough for extra mint chocolate flavor
- A pinch of peppermint oil instead of some extract gives an even stronger, cleaner mint taste
- Roll the dough balls in colored sugar before baking for a sparkly, bakery-style finish
 Save
Save These cookies have become my go-to for bringing joy to unexpected moments. Whether it's a Tuesday afternoon pick-me-up or a festive celebration, there's something about that green dough and chocolate combo that just works. Hope they become a favorite in your kitchen too.
Recipe FAQs
- → What gives the cookies their green color?
-
Green food coloring, either gel or liquid, is added to the dough to achieve a festive green hue without altering the flavor.
- → How can I enhance the mint flavor?
-
Adjust the amount of pure mint extract to taste, being careful not to overpower the balance with chocolate.
- → What type of chocolate chips works best?
-
Semi-sweet chocolate chips provide a perfect balance of sweetness and richness that complements the mint flavor well.
- → Can these cookies be stored for later?
-
Yes, store them in an airtight container for up to five days to maintain freshness and texture.
- → How do I achieve soft centers in the cookies?
-
Bake until edges are set but centers remain slightly underbaked, then allow cookies to cool on the baking sheet before transferring.