 Save
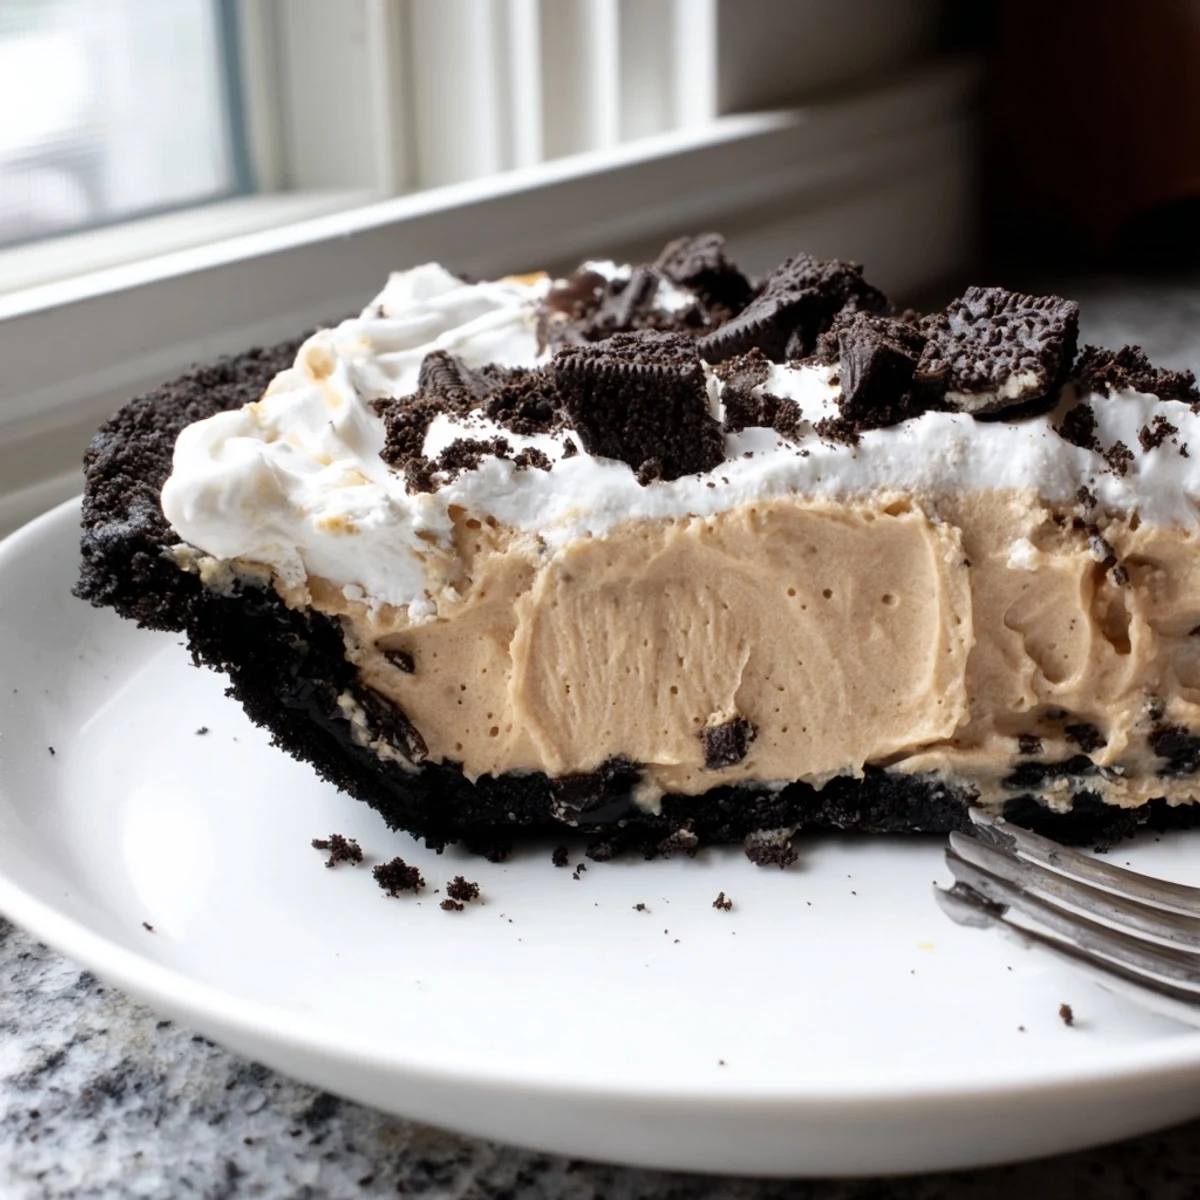
Save This luscious dessert features velvety peanut butter filling nestled in a crunchy chocolate Oreo crust. The combination of creamy peanut butter, smooth cream cheese, and sweetened whipped cream creates an irresistibly smooth texture that contrasts beautifully with the crisp cookie base.
Ready in under 30 minutes of active preparation, this pie needs at least 2 hours to chill before serving—making it perfect for preparing ahead of time for dinner parties or holiday gatherings. The final touch of whipped cream and crushed Oreos adds both visual appeal and extra chocolatey crunch.
Whether you stick with classic Oreos or experiment with golden or chocolate varieties, this crowd-pleasing treat delivers the perfect balance of sweet, salty, and chocolatey flavors in every bite.
The way my roommate's eyes lit up when she first tasted this pie made it an instant legend in our apartment. We'd been experimenting with no-bake desserts all summer, but this combination of creamy peanut butter and that chocolatey Oreo crust stopped us dead in our tracks. Now it's the dessert everyone actually requests, not just politely accepts.
I brought this to a potluck last fall and watched three different people ask for the recipe before they'd even finished their first slice. My friend Sarah texted me at midnight that same night saying she'd just made it for her family and her husband declared it the best dessert he'd ever had.
Ingredients
- Oreo cookies: Use the whole cookie, filling and all, for the crust. That creamy center helps bind everything together when mixed with butter.
- Unsalted butter: Melted just until it's liquid. I've tried salted but it makes the crust too salty alongside the peanut butter.
- Creamy peanut butter: Room temperature makes all the difference for smooth mixing. Natural peanut butter with oil on top won't set properly.
- Cream cheese: Absolutely must be softened. I once forgot to take it out early and ended up with tiny lumps I couldn't fix.
- Powdered sugar: Sift it first if it's been sitting in your pantry. Those tiny clumps will show up in your otherwise silky filling.
- Heavy whipping cream: Very cold whipping cream whips up faster and holds its shape better. Pop the bowl in the freezer for ten minutes first.
- Extra Oreo cookies: Crush these by hand for bigger, more visible pieces on top. The contrast of textures is worth the extra effort.
Instructions
- Build the chocolate crust:
- Crush those Oreos into fine crumbs and mix with melted butter until it feels like wet sand. Press firmly into your pie dish, going up the sides a bit. Bake for just ten minutes, then let it cool completely before adding filling.
- Create the silky peanut butter filling:
- Beat the peanut butter and softened cream cheese until they become one smooth mixture. Add powdered sugar and whip until fluffy. In another bowl, whip your heavy cream to stiff peaks, then fold it in gently until no white streaks remain.
- Let it set:
- Spread that beautiful filling into your cooled crust. Refrigerate for at least two hours. This isn't optional. I've rushed it before and the slices were sad and slumped instead of holding their shape.
- Top and serve:
- Whip the remaining cream with powdered sugar until it's thick enough to hold its shape. Spread it over the chilled pie and shower with those hand-crushed Oreos. Slice it cold and serve immediately.
 Save
Save This pie has become my go-to for birthdays because it feels fancy but takes maybe thirty minutes of actual work. My sister requested it instead of cake for her thirtieth, and watching her face light up when she took that first bite made all the chilling time completely worth it.
Making It Your Own
Sometimes I'll drizzle melted chocolate over the whipped cream topping for that restaurant-style finish. Other times I'll press a few extra Oreos into the sides while the crust is still warm for extra cookies poking out around the edges.
Texture Variations
Crunchy peanut butter adds this incredible nutty crunch throughout the filling. Golden Oreos in the crust give you a completely different but equally delicious flavor profile. My nephew actually prefers the crust made with vanilla wafers when he's feeling something less chocolate-forward.
Serving Suggestions
This pie is rich enough that small slices satisfy completely. I like to serve it with a cup of black coffee to cut through all that creamy sweetness. If you're feeling extra, a drizzle of warm chocolate sauce right before serving makes it absolutely restaurant quality.
- Let it sit at room temperature for ten minutes before slicing for cleanest cuts
- Dip your knife in hot water and wipe it clean between slices for picture-perfect pieces
- This keeps beautifully for three days in the fridge, though it rarely lasts that long in my house
 Save
Save There's something about watching people take their first bite of this pie, that moment of pure dessert joy, that makes all the simple steps worth it. Every time I make it, I remember that summer kitchen experimentation and how the best recipes often come from just having fun.
Recipe FAQs
- → How long should I refrigerate the pie before serving?
-
Refrigerate for at least 2 hours, or until the filling is completely set. For best results, chill 3-4 hours or overnight to ensure firm slices that hold their shape when cut.
- → Can I make this ahead of time?
-
Absolutely! This pie actually tastes better when made a day ahead, allowing flavors to meld. Store covered in the refrigerator for up to 3 days. Add the final whipped cream topping and Oreo garnish shortly before serving for freshest appearance.
- → Can I use natural peanut butter?
-
Natural peanut butter will work but may result in a slightly softer filling due to its oil content. For best texture, use commercial creamy peanut butter like Jif or Skippy. If using natural, consider reducing the heavy cream slightly and chilling longer.
- → Do I have to bake the Oreo crust?
-
Baking for 10 minutes helps set the crust and creates a slightly crunchier texture, but it's not strictly necessary. You can simply press the crumbs into the dish and chill for 30 minutes instead if you prefer a completely no-bake approach.
- → How should I store leftovers?
-
Cover the pie dish tightly with plastic wrap or transfer slices to an airtight container. Store in the refrigerator for up to 3 days. The crust may soften slightly over time but the flavor remains delicious. Avoid freezing as the texture of the filling and whipped cream may change.
- → Can I substitute the heavy cream?
-
Coconut cream can replace heavy cream for a dairy-free version, though it will add a subtle coconut flavor. For the filling, whipped topping works in a pinch but won't provide the same stability as freshly whipped cream.