 Save
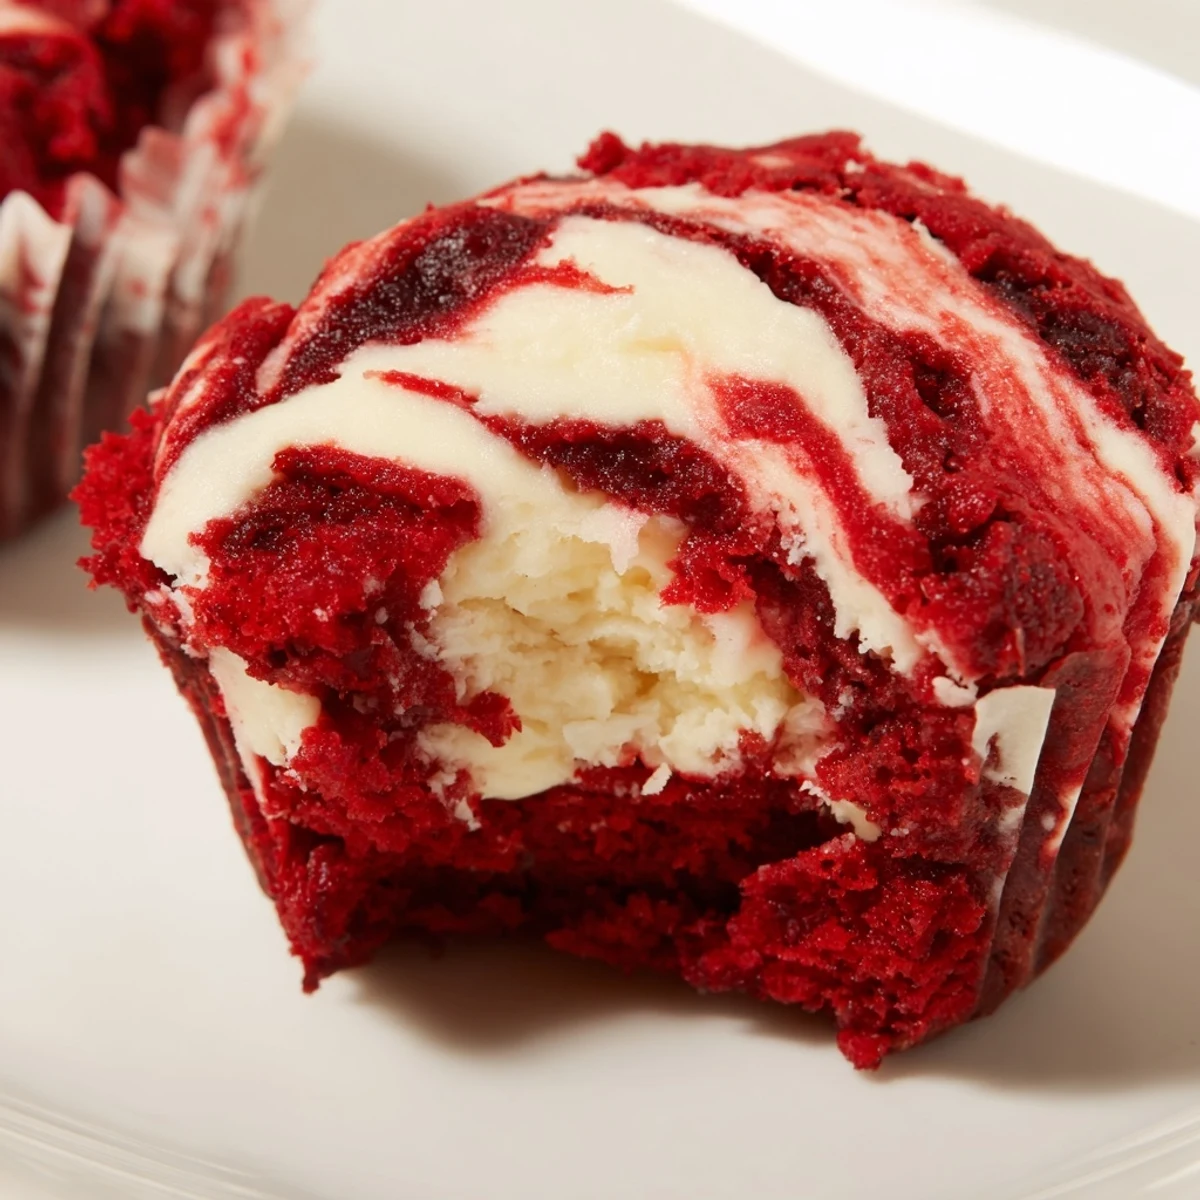
Save These indulgent red velvet brownie bites combine rich cocoa flavor with vibrant red coloring, topped with a velvety cream cheese swirl. The fudgy texture pairs perfectly with the tangy cream cheese layer, creating an elegant marbled appearance. Ideal for parties, holidays, or gift-giving, each batch makes 24 bite-sized treats that are easy to customize with chocolate chips or adjust the food coloring intensity.
The first time I made these little red velvet brownie bites, I was running late for a holiday potluck and needed something portable but impressive. My kitchen ended up looking like a crime scene with red food coloring everywhere, but when I pulled that mini muffin tin out of the oven, seeing that gorgeous cream cheese swirl staring back at me made all the mess worth it.
I brought a platter of these to my nieces birthday party last month and watched her eyes light up when she saw the bright red color peeking through the white cream cheese swirls. Within ten minutes, the adults had abandoned the main dessert table and were hovering around these little bites, each person claiming they would try just one but somehow three or four would disappear from their plates.
Ingredients
- Unsalted butter: Melting this first creates the fudgy texture that makes these brownies so incredibly dense and rich
- Red food coloring: Gel coloring gives you that vibrant red hue without adding extra liquid to your batter
- All purpose flour: Sifting this prevents any lumps and ensures the tender crumb texture you want
- Cream cheese: Make sure this is completely softened to avoid lumpy swirls that marbles into your batter
- Egg yolk: Adding just the yolk to your cream cheese mixture creates an extra creamy swirl that bakes up beautifully
Instructions
- Prep your baking station:
- Preheat your oven to 350°F and get your mini muffin tin ready with paper liners or a light coating of grease
- Mix the brownie batter:
- Whisk melted butter and sugar until smooth, then add egg, vanilla, and red food coloring until fully combined before sifting in your dry ingredients
- Prepare the cream cheese swirl:
- Beat softened cream cheese with sugar, egg yolk, and vanilla until completely smooth and creamy
- Assemble the bites:
- Spoon one tablespoon of brownie batter into each cup, top with one teaspoon of cream cheese mixture, then use a toothpick to swirl them together
- Bake to perfection:
- Bake for 23 to 25 minutes until centers are set and a toothpick comes out with just a few moist crumbs
 Save
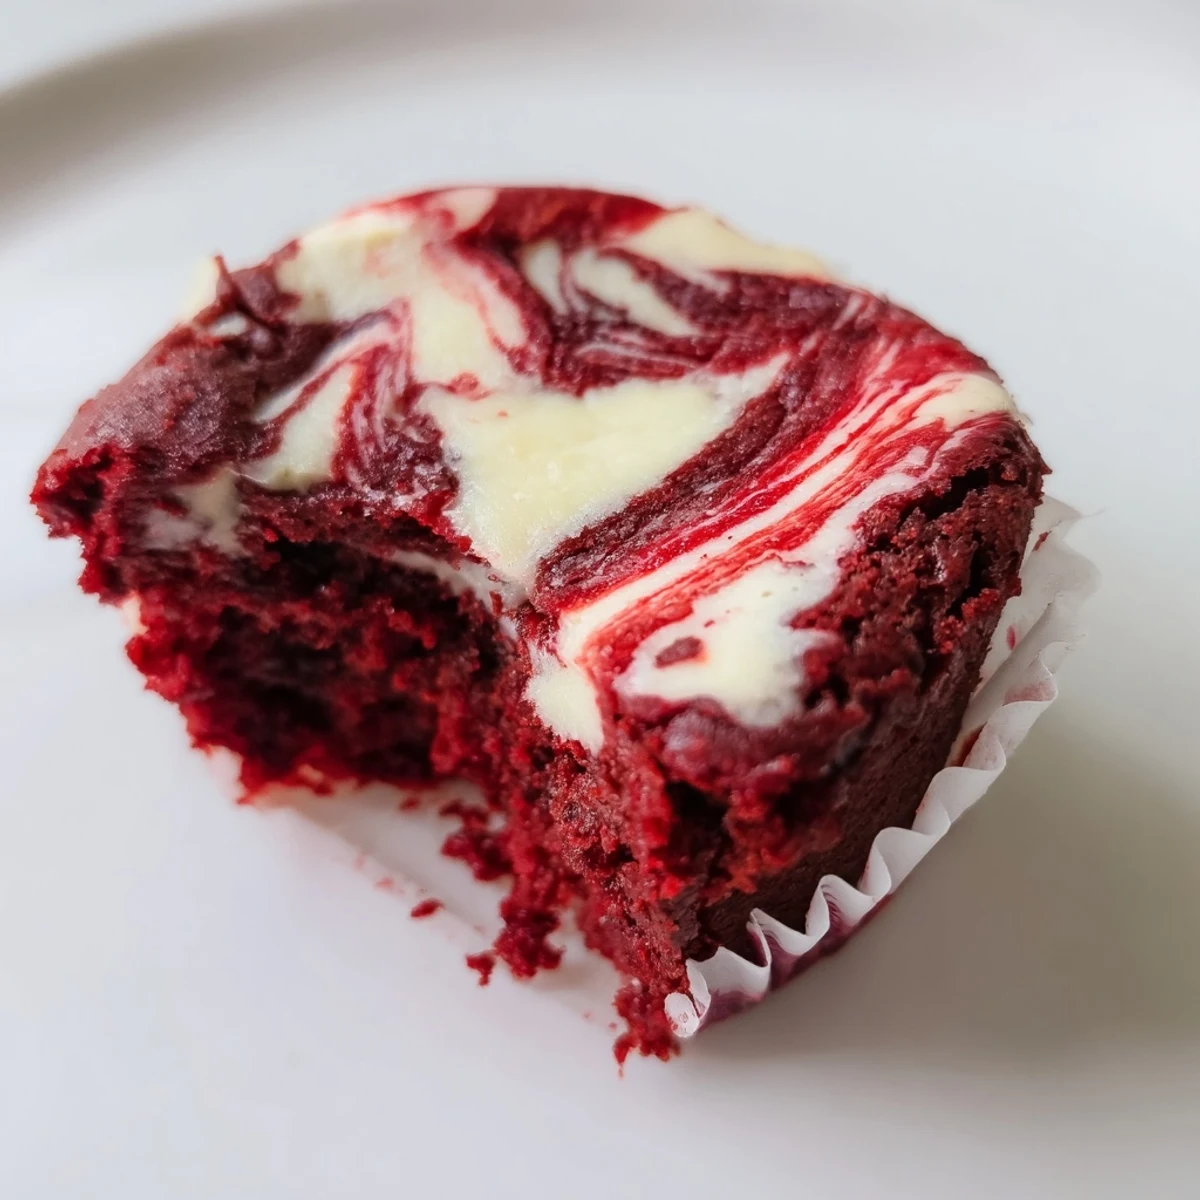
Save My neighbor texted me the day after I brought her a container of these brownie bites, confessing she ate three for breakfast because they were sitting right there on her counter looking so gorgeous and inviting. Now whenever I have extra cream cheese in my fridge, I find myself making these just because the swirled pattern makes them look like they came from a fancy bakery window.
Getting That Perfect Swirl
The trick to beautiful marbling is not overthinking it. Just dip your toothpick into the cream cheese and make two or three figure eight motions through the brownie batter. The less you manipulate it, the more elegant and natural the pattern will look when they emerge from the oven.
Timing Your Bake
Mini muffin tins bake faster than you expect. Start checking at 20 minutes, because the difference between perfect fudgy bites and dry cakey ones is literally just a couple of minutes in the oven.
Make Ahead Magic
These brownie bites actually taste better on day two when the flavors have had time to meld together. Bake them the night before your event and store them in the refrigerator, then let them come to room temperature for 30 minutes before serving.
- Keep the paper liners on for easy serving and cleanup
- Press any leftover crumbs into a small bowl and top with ice cream
- Freeze undecorated baked bites for up to a month
 Save
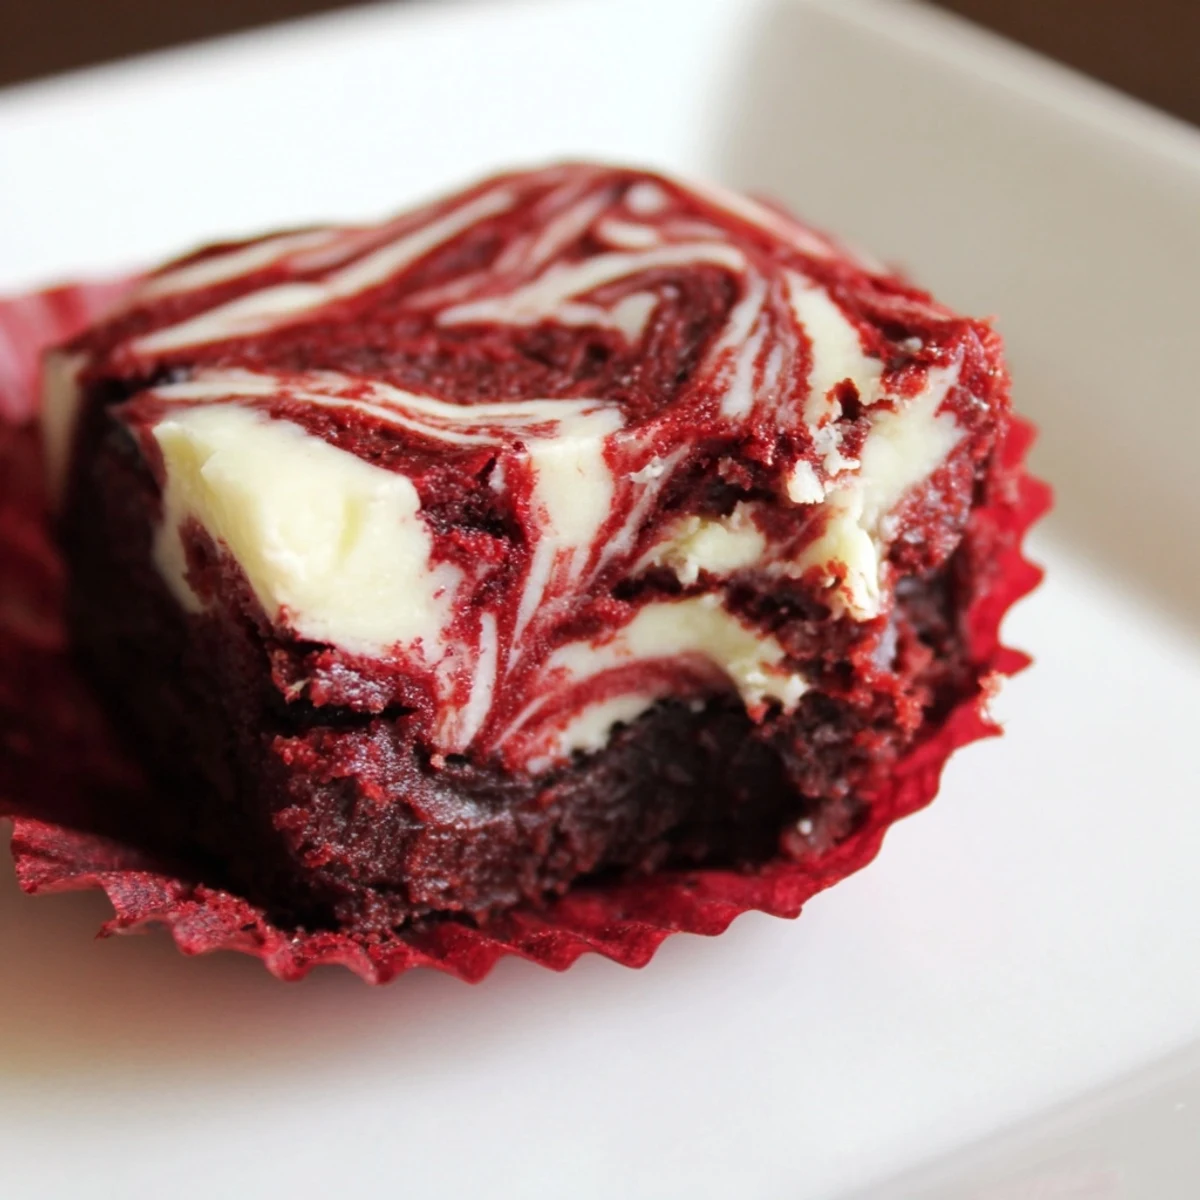
Save There is something so satisfying about biting into that fudgy red velvet exterior and hitting the tangy cream cheese center. These little bites have become my go to whenever I need to bring something that looks impressive but comes together in under an hour.
Recipe FAQs
- → How do I know when the brownie bites are done baking?
-
Insert a toothpick into the center of a brownie bite. It should come out with a few moist crumbs but not wet batter. The edges should be set while the centers remain slightly soft for that fudgy texture.
- → Can I make these ahead of time?
-
Yes, these brownie bites store beautifully in an airtight container in the refrigerator for up to 4 days. They actually develop more flavor after a day. Bring to room temperature before serving for the best texture.
- → What's the best way to achieve the marbled swirl effect?
-
Use a toothpick or skewer to gently circle through the cream cheese topping and brownie batter just once or twice. Don't over-swirl or you'll lose the distinct marble pattern. A light touch creates the most beautiful presentation.
- → Can I use liquid food coloring instead of gel?
-
Both work, but gel food coloring produces a more vibrant red shade with less liquid. If using liquid coloring, you may need slightly more to achieve the deep red hue. Liquid coloring can also affect the batter consistency slightly.
- → What's the easiest way to fill the mini muffin cups?
-
Use two small spoons or a cookie scoop with a trigger release. One spoon scoops the batter while the other pushes it off into the cups. This portioning method ensures even-sized brownie bites that bake uniformly.
- → Can I freeze these brownie bites?
-
Absolutely. Once completely cooled, place them in a single layer on a baking sheet and freeze until firm. Transfer to a freezer-safe container or bag with parchment paper between layers. Thaw overnight in the refrigerator.