 Save
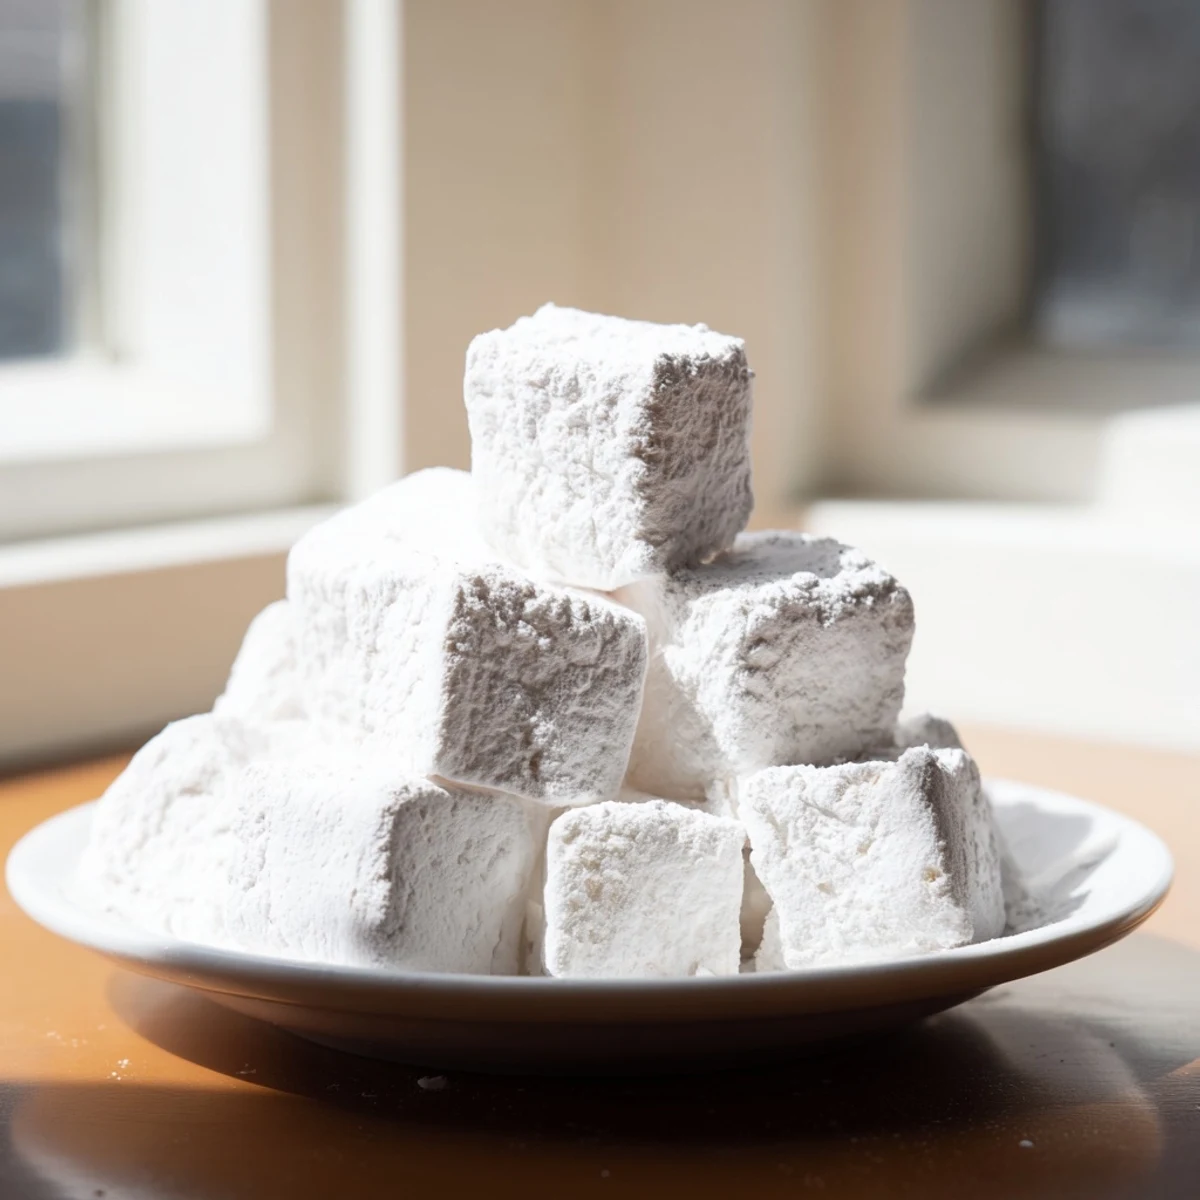
Save Craft your own soft, pillowy vanilla marshmallows with this straightforward method. The process involves blooming gelatin, cooking a sugar syrup to the precise temperature, then whipping until fluffy and tripled in volume. After setting for four hours or overnight, you'll have 24 airy squares ready for hot chocolate, s'mores, or straight-up snacking. Customizable with different extracts and food colorings.
The smell of sugar heating to exactly 240°F still takes me back to my tiny apartment kitchen, where I made my first batch of homemade marshmallows on a rainy Sunday afternoon. I'd always thought marshmallows were factory-made mysteries until I watched them transform from liquid syrup into fluffy white clouds right before my eyes. Now they've become my go-to gift for friends who need a little pick-me-up.
Last winter, I made triple batches for a hot chocolate bar party, and watching people's eyes light up when they tasted the difference made all the whisking time worth it. My neighbor now requests them for every holiday gathering, and I've learned to always keep gelatin in the pantry.
Ingredients
- Granulated sugar (200 g): The backbone that creates structure and sweetness
- Light corn syrup (240 ml): Prevents crystallization and keeps marshmallows soft
- Unflavored gelatin (21 g): Essential for that signature bounce and texture
- Pure vanilla extract (2 tsp): Use real stuff, the flavor really shines through
- Confectioners' sugar and cornstarch: This coating keeps marshmallows from sticking to everything
Instructions
- Prep your pan and bloom the gelatin:
- Line your 9x9-inch pan with parchment and dust generously with half the sugar-cornstarch mix. In your stand mixer bowl, sprinkle gelatin over cold water and let it sit for 10 minutes until it looks like wrinkled sponges.
- Cook the sugar syrup to the perfect temperature:
- Combine sugar, corn syrup, water, and salt in a saucepan. Heat until sugar dissolves, then boil without stirring until your candy thermometer hits exactly 240°F. This takes patience but makes all the difference.
- Whip until you see the transformation:
- With mixer running on low, carefully stream in that hot syrup. Gradually crank to high and whip for 8-10 minutes until the mixture turns white, thick, and triples in volume.
- Add flavor and set the marshmallows:
- Pour in vanilla and whip another 30 seconds. Quickly scrape mixture into your prepared pan, smooth the top with a wet spatula, and dust with remaining coating. Let it sit uncovered for at least 4 hours or overnight.
 Save
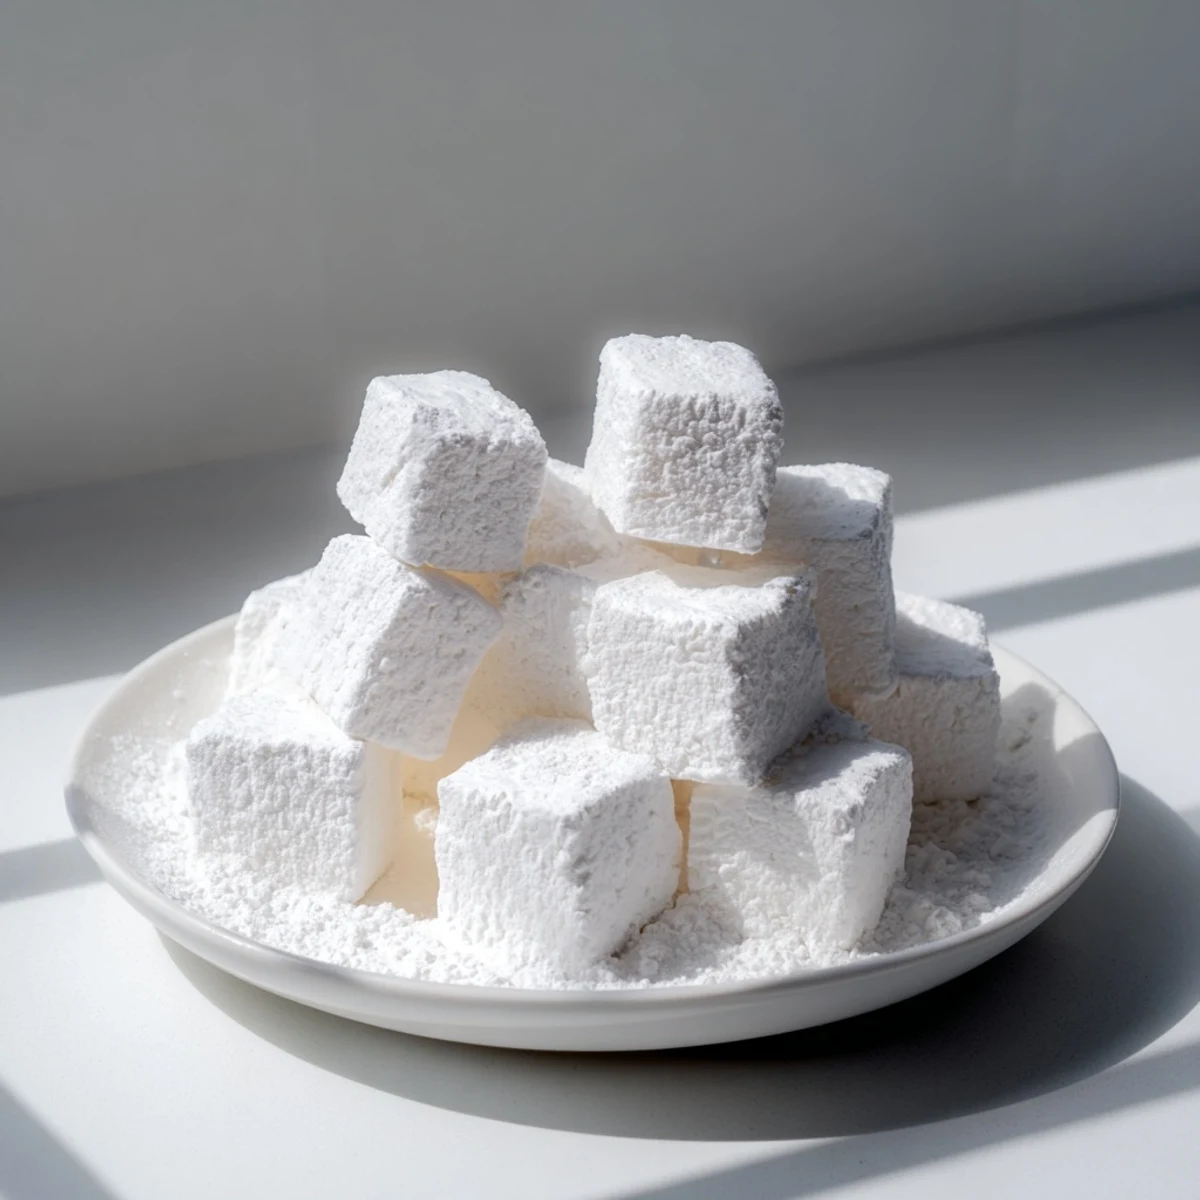
Save Cutting into that first slab is deeply satisfying—it separates cleanly into squares that bounce back when you poke them. I've learned to keep scissors handy for snipping pieces directly into mugs of hot cocoa.
Getting Creative With Flavors
Peppermint extract makes incredible holiday marshmallows that taste like candy canes melted into hot chocolate. I once made raspberry swirl marshmallows by folding in jam before they set, creating a beautiful pink marble effect that looked almost too pretty to eat.
The Toasting Factor
Homemade marshmallows toast differently than store-bought—they caramelize more evenly and develop this golden, crispy exterior while staying creamy inside. My kids now refuse s'mores made with anything else, and honestly I'm right there with them.
Storage And Gifting
These keep surprisingly well in an airtight container for up to a week, though they rarely last that long in my house. I've started packaging them in mason jars with pretty ribbons for unexpected gifts.
- Toss cut marshmallows in extra coating to prevent sticking during storage
- Add a small packet of silica gel if shipping them to friends
- Try dipping them in melted chocolate for an extra special treat
 Save
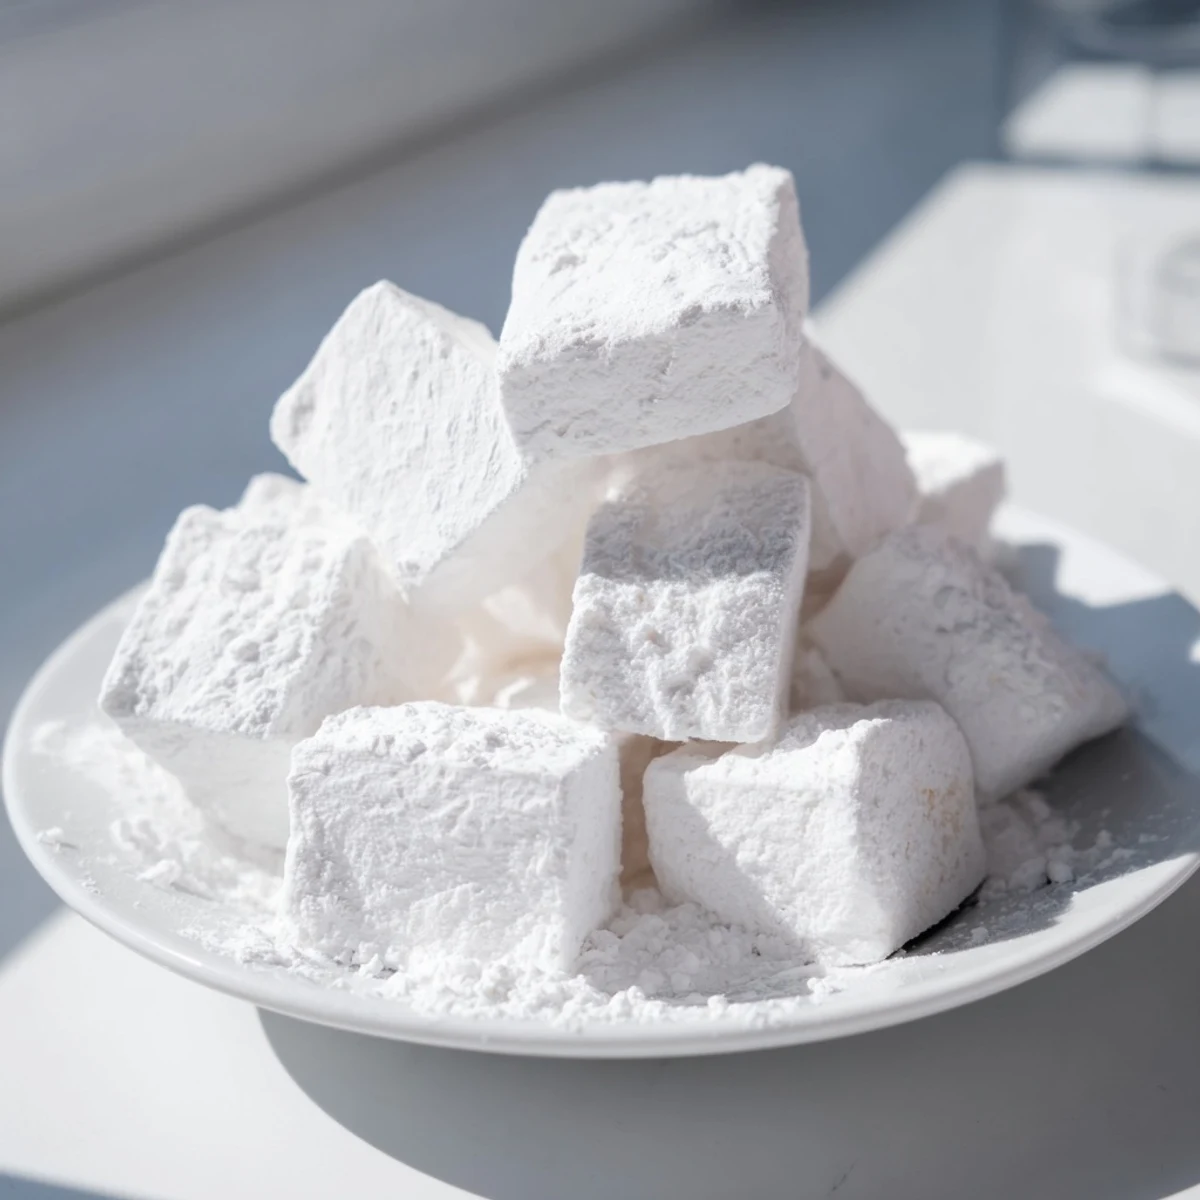
Save There's something deeply satisfying about making something from scratch that most people only know from plastic bags at the grocery store. Once you go homemade, there's no going back.
Recipe FAQs
- → How do I know when the sugar syrup reaches the right temperature?
-
Use a candy thermometer to monitor the syrup temperature. You need it to reach exactly 240°F (115°C), which is the soft-ball stage. This typically takes 10-12 minutes of boiling. Don't stir during this phase, as it can cause crystallization.
- → Can I make these without a stand mixer?
-
A stand mixer is highly recommended because you need to whip the mixture for 8-10 minutes on high speed. A hand mixer might work, but you'll need strong endurance and it may overheat. The whipping is crucial for achieving that fluffy texture.
- → Why do my marshmallows feel sticky?
-
Sticky marshmallows usually mean they didn't set long enough or the coating mixture wasn't applied generously. Ensure they sit for at least 4 hours (overnight is better) and coat all sides thoroughly with the confectioners' sugar and cornstarch blend before storing.
- → How long do homemade marshmallows last?
-
Stored in an airtight container at room temperature, these will stay fresh for up to 1 week. Avoid refrigeration as it can make them tough. If they start to feel sticky again, simply toss them in fresh coating mixture.
- → Can I substitute the corn syrup?
-
Glucose syrup works as a direct substitute. Honey or maple syrup can be used but will add distinct flavors and alter the texture slightly. Corn syrup helps prevent crystallization and provides that classic chewy-stretchy consistency.
- → What's the purpose of blooming the gelatin?
-
Blooming softens the gelatin granules and ensures they'll dissolve evenly when the hot syrup is added. This step takes about 10 minutes and is essential for proper texture. Skipping it can result in lumpy marshmallows.