 Save
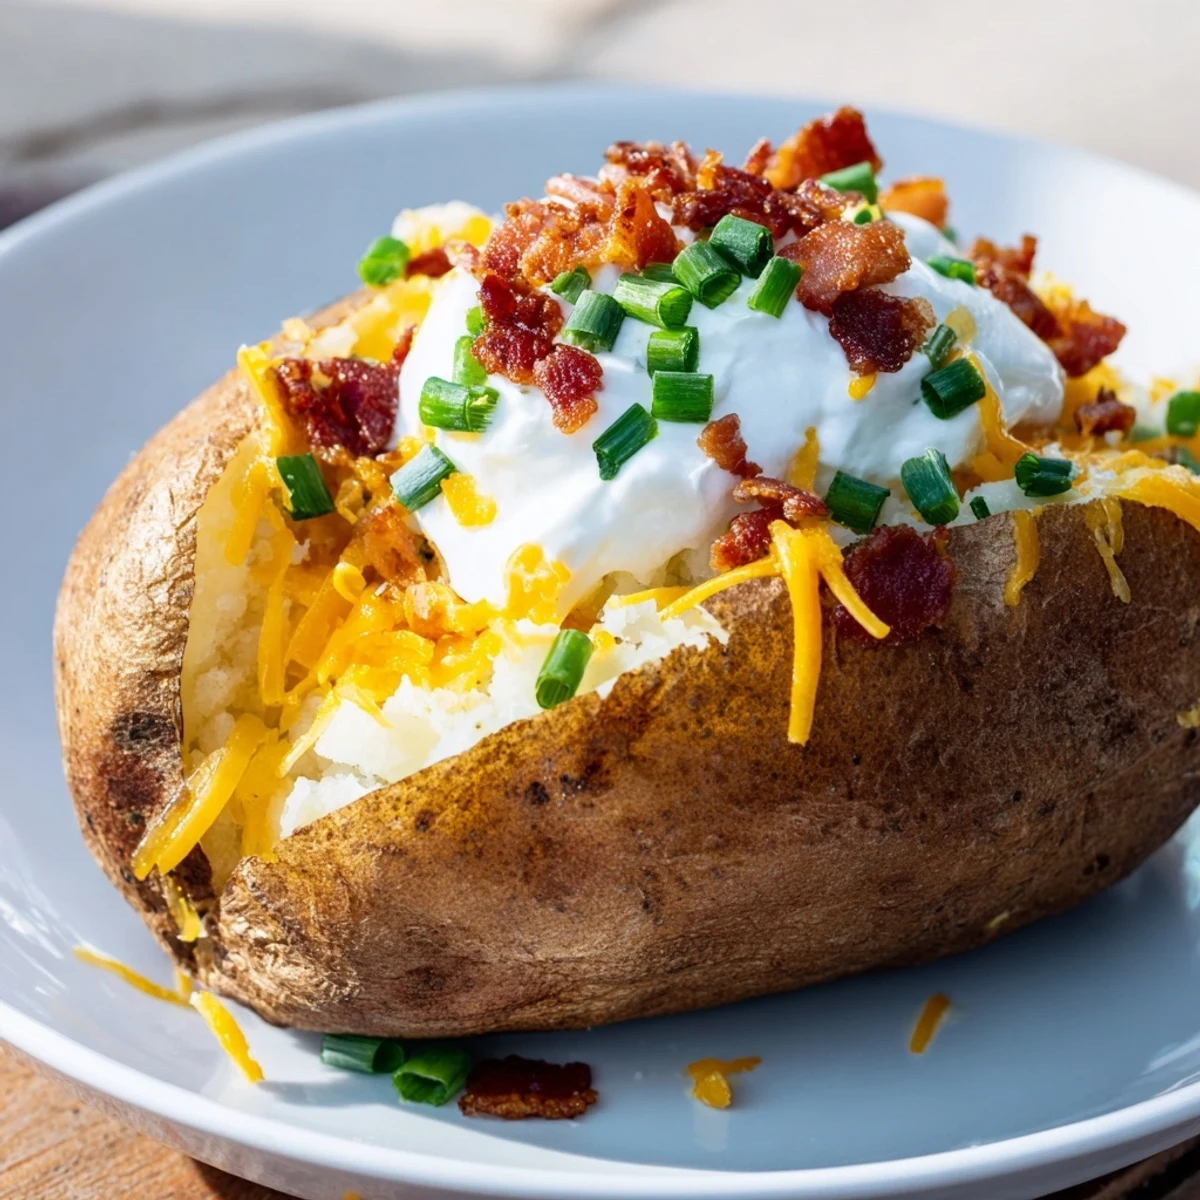
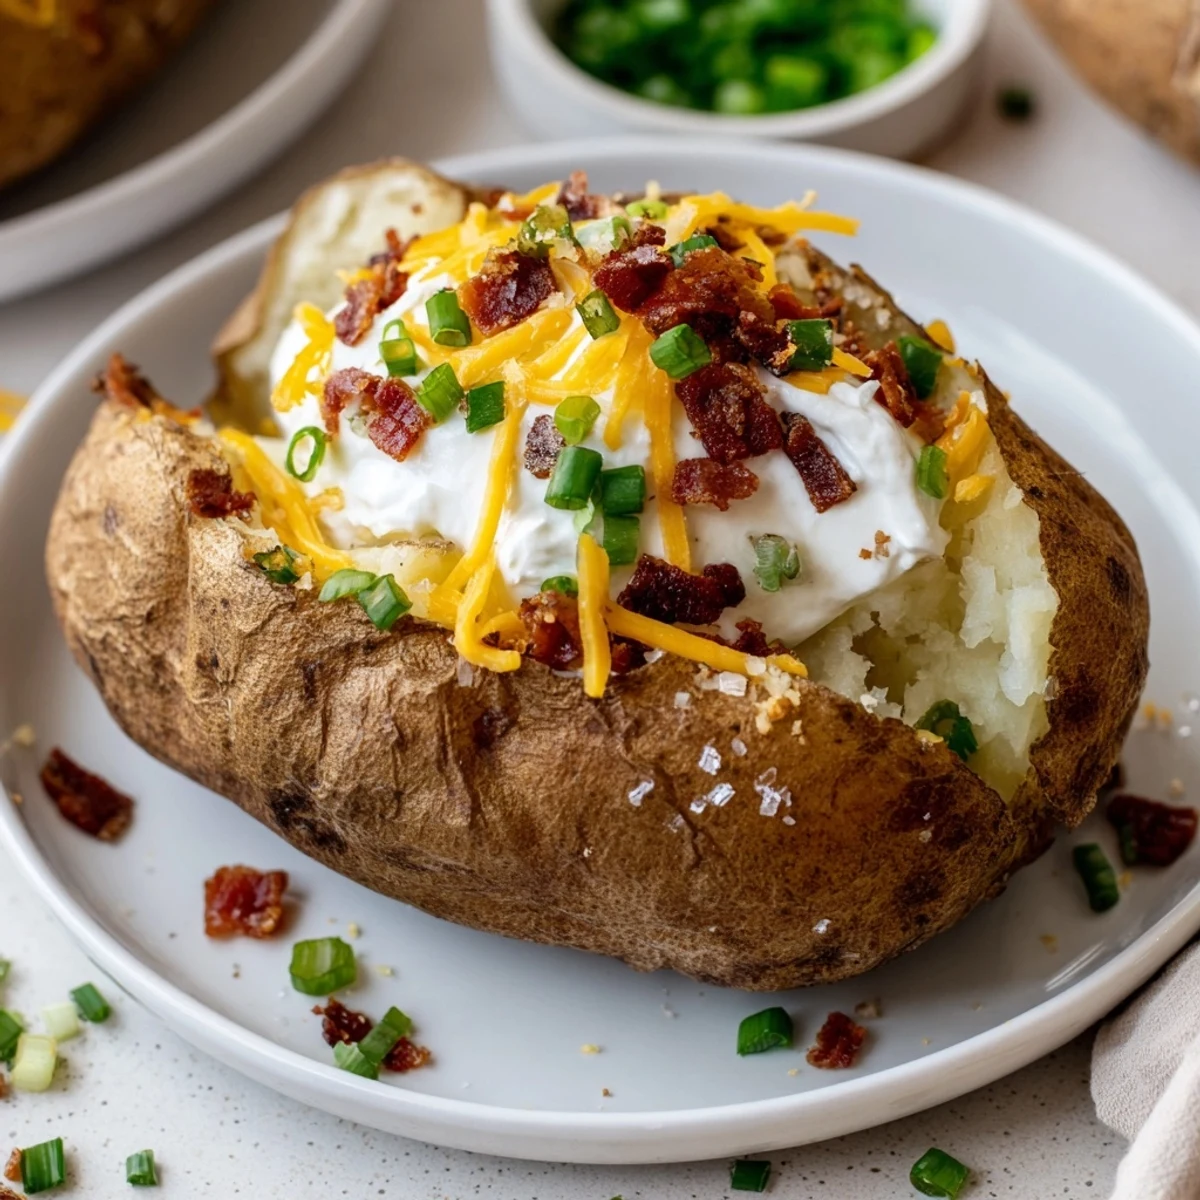
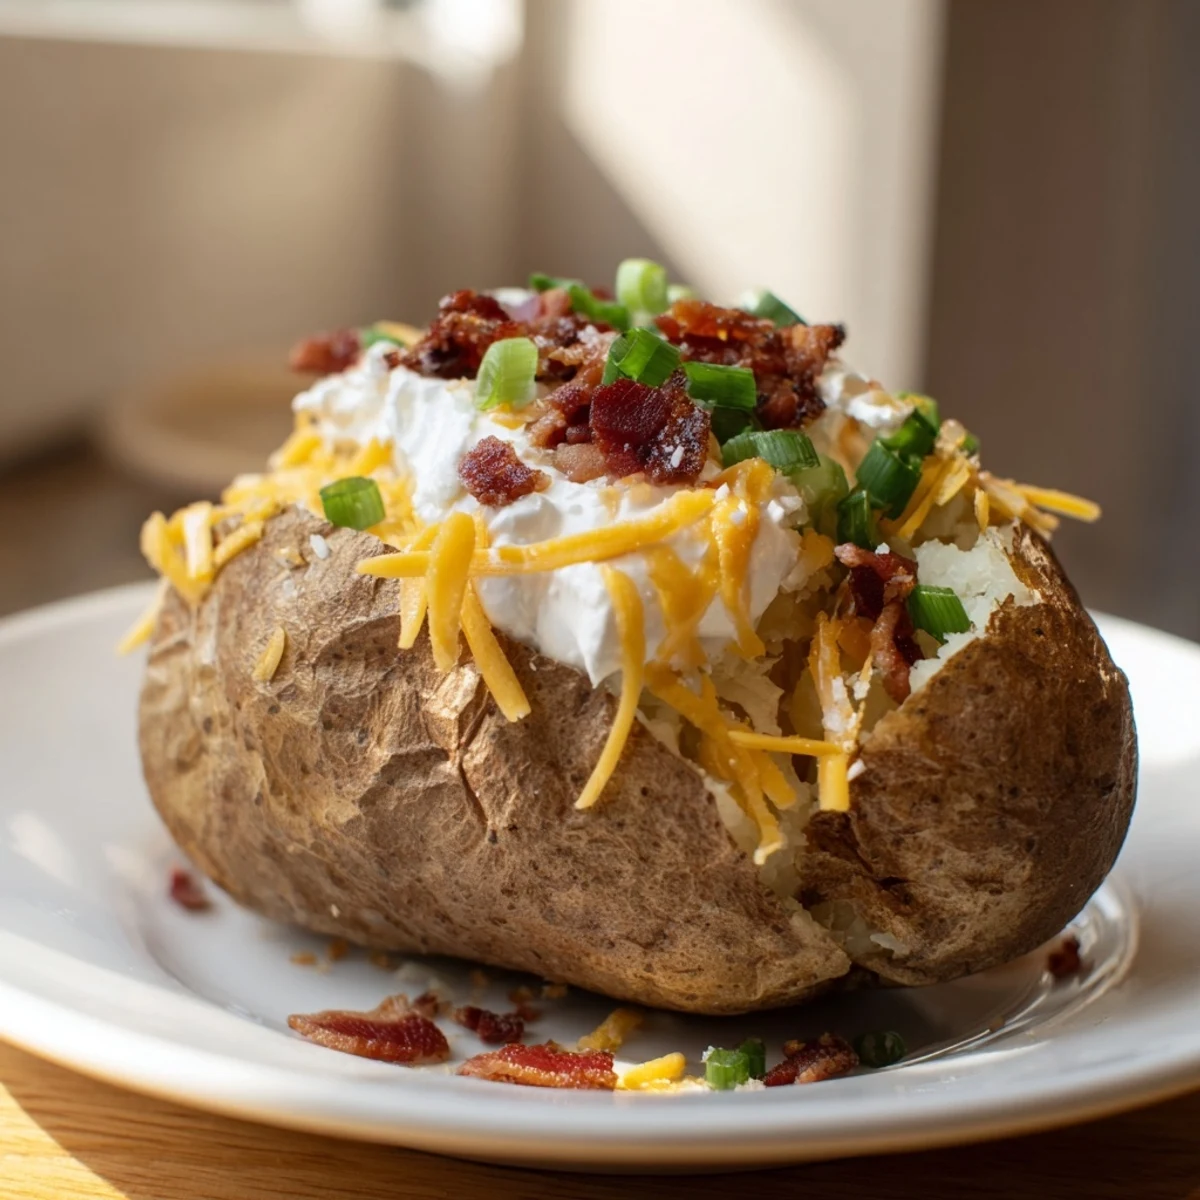
Save This baked potato bar offers perfectly crisp baked russet potatoes paired with a wide selection of toppings such as cheddar cheese, sour cream, bacon, fresh veggies, and chili options. Guests can personalize their servings to suit individual tastes, from classic butter and chives to steamed broccoli or spicy jalapeños. Ideal for gatherings and easy to assemble, this versatile dish combines simple preparation with abundant flavor and texture variety.
The year my cousin hosted a Super Bowl party, she put out a baked potato bar instead of the usual wings and nachos. Everyone stood around the table loading up their potatoes, debating whether chili belongs on top of broccoli or if sour cream should touch the salsa. Those fluffy, crisp skinned potatoes disappeared faster than anything else on the table, and the conversation about perfect topping combinations lasted through the fourth quarter.
Last winter I made these for a family gathering when the power went out during a snowstorm. We baked the potatoes before the outage and kept them warm in the cooler, then ate by candlelight while piling on toppings from the still cold fridge. Somehow the whole chaotic situation became one of the best meals we have ever shared together.
Ingredients
- 8 large russet potatoes: The starchy interior creates that perfect fluffiness when baked, so do not substitute with waxy varieties
- 2 tbsp olive oil: Rubbing this on the skin helps it become paper thin and incredibly crisp
- 1 tbsp coarse sea salt: The large crystals cling to the oiled skin better than fine salt and give each bite a satisfying crunch
- 1 cup sour cream: Let this come to room temperature before serving so it melts nicely into the hot potato
- 1 cup shredded cheddar cheese: Sharp cheddar gives you more flavor punch per bite than mild varieties
- 8 slices bacon: Cook until completely crisp so it crumbles easily instead of turning into chewy bits
- 1/2 cup chopped green onions: Add these right before eating so they stay bright and fresh
- 1/2 cup unsalted butter: Cutting this into small pieces helps it melt faster when guests load up their potatoes
- 1/2 cup chopped fresh chives: These add a mild onion flavor without the harshness of raw onion
- 1 cup steamed broccoli florets: Steam just until tender crisp so they still have some texture
- 1 cup chili: Keep this hot in a slow cooker or on the stove throughout the party
- 1/2 cup salsa: Fresh salsa works better than cooked varieties here
- 1/2 cup sliced black olives: These add a nice salty brine that cuts through all the rich toppings
- 1/2 cup diced tomatoes: Seed them first so they do not make the potato soggy
- 1/4 cup pickled jalapeños: These bring the heat that some guests are secretly hunting for
- 1 cup shredded Monterey Jack cheese: melts beautifully and has a milder flavor for kids or sensitive palates
- Freshly ground black pepper: A generous grinding right before eating wakes up all the flavors
- Smoked paprika: A light dusting adds a smoky depth without any added heat
Instructions
- Get the oven ready:
- Preheat your oven to 425°F (220°C) and position a rack in the center position
- Prep the potatoes:
- Prick each potato several times with a fork, rub them all over with olive oil, and sprinkle generously with coarse sea salt
- Bake until perfect:
- Place potatoes directly on the oven rack and bake for 55 to 65 minutes, until the skins are super crisp and a fork slides easily through to the center
- Set up the toppings bar:
- While potatoes bake, cook and crumble the bacon, chop all the vegetables, steam the broccoli, and warm the chili in a small pot
- Prep for serving:
- When the potatoes are done, slice each one open lengthwise and gently fluff the insides with a fork
- Let everyone build:
- Arrange all the toppings in bowls and let guests create their own loaded potato masterpieces
 Save
Save My nephew who usually refuses to eat anything green tried a loaded potato with just a tiny bit of broccoli on it. He ended up going back for thirds and declared it the best dinner ever, proving that when people can choose their own adventure, even picky eaters might surprise you.
Setting Up Your Bar
Arrange toppings in small bowls in the order they should go on the potato, starting with butter and cheese that need melting power, followed by the cold toppings last. I learned to group related items together like all the cheeses in one section and all the crunchy toppings nearby so guests can see the logical flow.
Keeping Everything Hot
The potatoes hold heat remarkably well, but keeping all the toppings at the right temperature makes a huge difference. I keep hot items like chili and butter on a warming tray or in separate slow cookers, while cold toppings sit on a bed of ice to stay fresh throughout the party.
Make Ahead Strategy
You can bake the potatoes completely earlier in the day and just reheat them at 350°F for about 15 minutes before serving. The toppings can all be prepped the night before, stored in separate containers, and simply set out when you are ready to eat.
- Wrap baked potatoes in foil if reheating so they steam slightly and get fluffy again
- Put bacon in the oven for the last 10 minutes while potatoes reheat so it stays crisp
- Have extra baked potatoes ready since people often go back for seconds
 Save
Save There is something so satisfying about building your own perfect bite, and this potato bar turns dinner into a fun interactive experience. Watch as guests swap topping combinations and debate the best layering techniques long after the food is gone.
Recipe FAQs
- → How do I bake the potatoes for a crispy skin?
-
Preheat the oven to 425°F (220°C). Rub the potatoes with olive oil and coarse sea salt, then bake directly on the oven rack for about 55–65 minutes until skins are crisp.
- → What toppings work best with baked potatoes?
-
Classic options like cheddar cheese, sour cream, bacon, green onions, and butter complement the potatoes well, while steamed broccoli, chili, and jalapeños add variety and flavor.
- → Can this dish accommodate vegetarian diets?
-
Yes, omit bacon and opt for vegetarian chili to keep the dish vegetarian-friendly while maintaining delicious topping choices.
- → How can I make this gluten-free?
-
Ensure all toppings, especially chili and processed items, are gluten-free by checking labels carefully before serving.
- → What tools are recommended for serving this spread?
-
Use an oven for baking, a fork to fluff insides, sharp knife for slicing, and small bowls with spoons or tongs for easy topping selection.