 Save
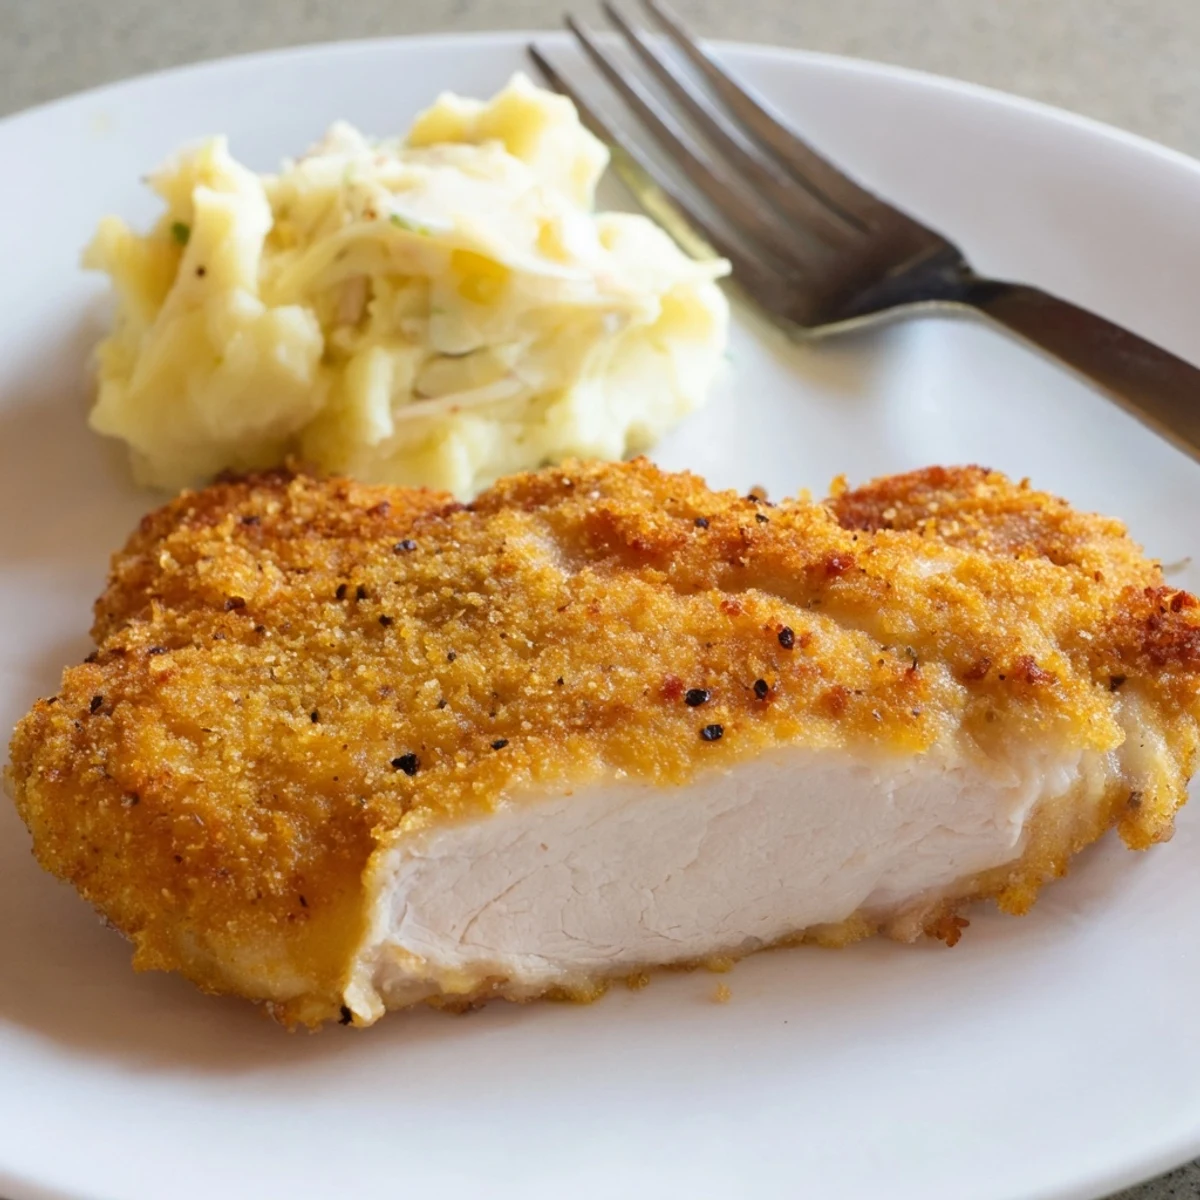
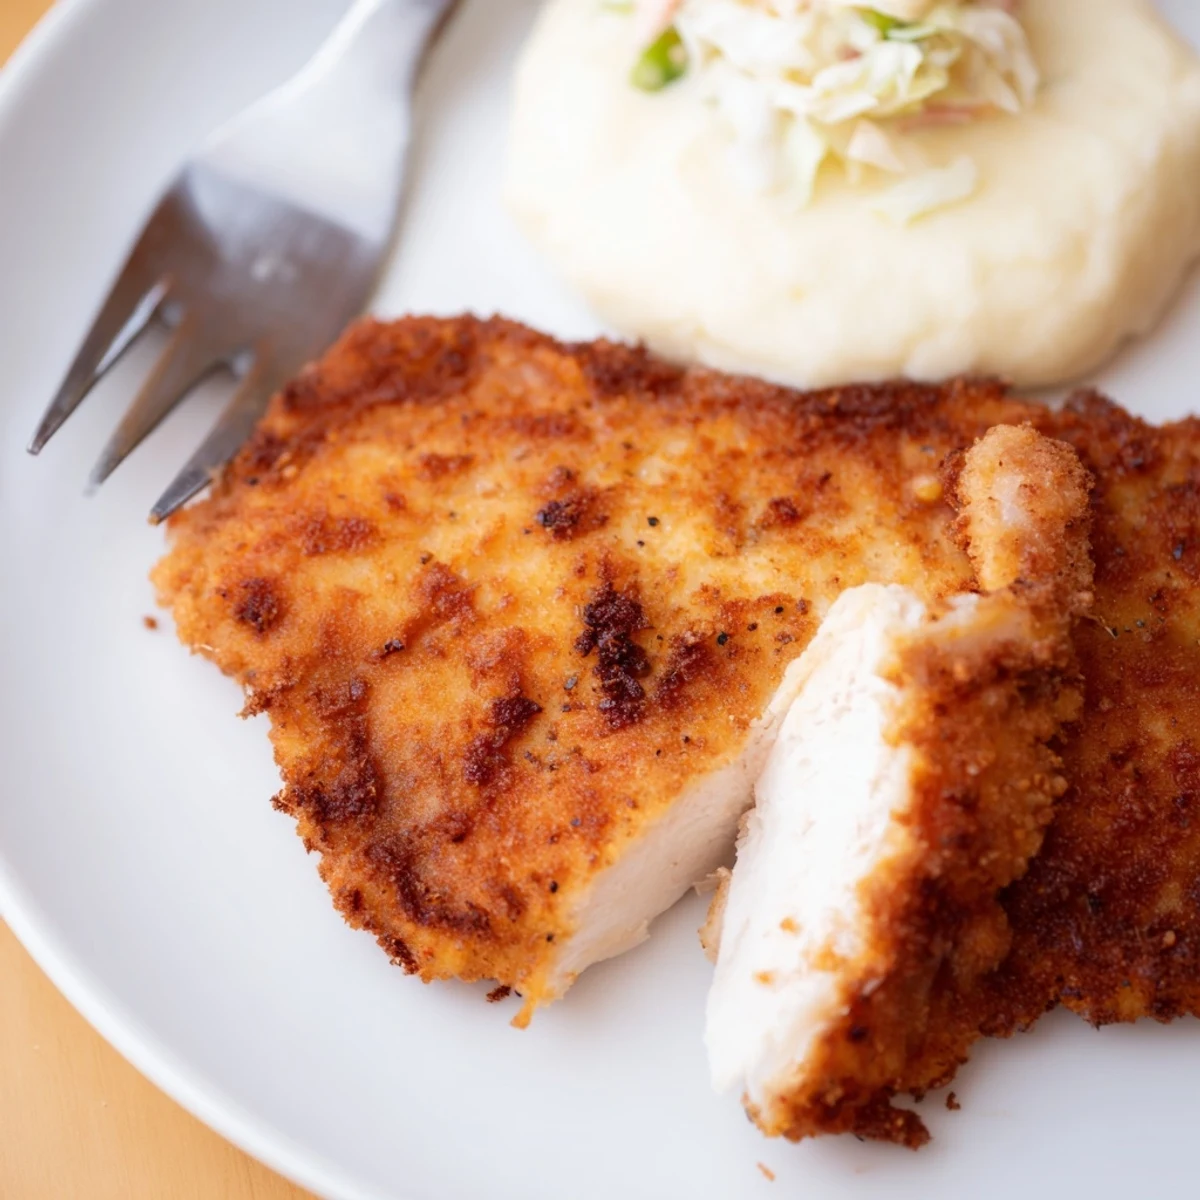
Save These buttermilk-brined chicken breasts are pounded to an even 1/2-inch thickness, soaked in tangy buttermilk, then dredged in a seasoned blend of flour and cornstarch for extra crispness. Fry in hot oil at 350°F until a golden crust forms and the internal temperature reaches 165°F. Let rest briefly to lock in juices. Serve with mashed potatoes, coleslaw or on a sandwich roll; increase cayenne for more heat and swap gluten-free flour as needed.
The sizzle of chicken hitting hot oil is one of those sounds that instantly pulls people into the kitchen, and nobody ever believes how simple it is to get that shatteringly crisp crust at home. My neighbor once knocked on my door just to ask what I was cooking because the smell had drifted through the open window. Fried chicken breast has a reputation for drying out, but a quick buttermilk soak changes everything. This recipe takes about thirty minutes from start to finish and feeds four people happily.
One Sunday afternoon my friend Dave wandered over while I was frying a batch and ended up standing over the stove eating pieces straight from the paper towels before I could even plate anything. We never did get around to setting the table that day.
Ingredients
- 4 boneless skinless chicken breasts: Pound them even so the thick parts cook through before the thin edges burn.
- 1 cup buttermilk: This is the tenderizer and flavor carrier, do not skip it.
- 1 teaspoon salt plus half teaspoon black pepper for brine: Season the marinade generously because it is the only chance to flavor the meat itself.
- 1 cup all purpose flour: The base of the coating that creates structure around the chicken.
- Half cup cornstarch: This is what makes the crust light and crispy instead of heavy and bready.
- 1 teaspoon paprika: Adds a subtle warmth and that golden color people expect from fried chicken.
- 1 teaspoon garlic powder: Layers in savory depth without burning like fresh garlic would.
- Half teaspoon cayenne pepper optional: Just enough tingle to keep things interesting without overwhelming anyone.
- 1 teaspoon salt plus half teaspoon black pepper for coating: Seasoned flour is non negotiable, bland crust ruins everything.
- Vegetable oil for frying about 2 cups: You need enough oil to come halfway up the chicken for even browning.
Instructions
- Pound the chicken flat:
- Slide each breast between two sheets of plastic wrap and give it firm even whacks with a mallet or rolling pin until it is about half an inch thick. Listen for that satisfying thwack and watch for spots that still look thicker than the rest.
- Make the buttermilk bath:
- Whisk the buttermilk with salt and pepper in a bowl big enough to hold all four breasts, then submerge the chicken completely. Cover and tuck it into the fridge for at least thirty minutes though a few hours is even better if you have the time.
- Mix the coating:
- Combine flour, cornstarch, paprika, garlic powder, cayenne if you are using it, salt, and pepper in a wide shallow bowl. Whisk it well so no pockets of plain flour remain because that causes uneven browning.
- Dredge with purpose:
- Shake off excess buttermilk from each breast then press it firmly into the flour mixture on both sides. Really push the coating into every crevice with your palms, the more contact the better the crust adheres.
- Heat the oil:
- Pour oil into a large skillet or deep pan to about half an inch deep and bring it up to 350 degrees Fahrenheit. Drop in a tiny pinch of flour and if it sizzles immediately you are ready to go.
- Fry in batches:
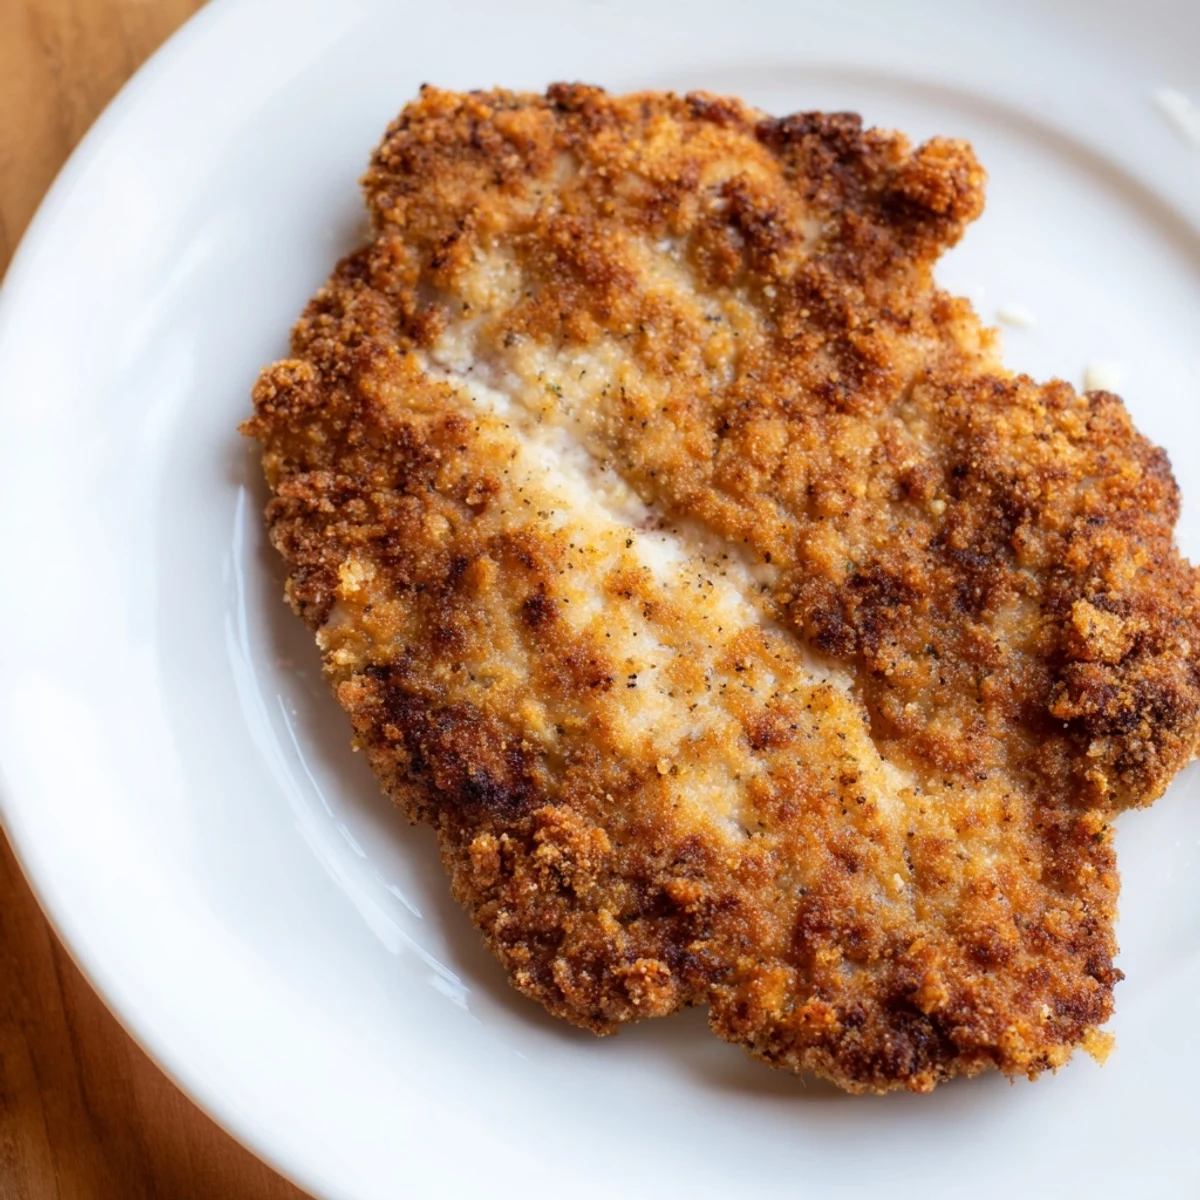
- Lay chicken into the oil gently away from yourself and cook six to seven minutes per side until deeply golden and the internal temperature hits 165 degrees Fahrenheit. Never crowd the pan because the oil temperature drops and you end up with greasy chicken instead of crispy.
- Rest before serving:
- Transfer each piece to a paper towel lined plate and let it sit for two to three minutes so the crust sets and the juices redistribute. That brief patience makes the difference between a soggy bottom and perfection.
 Save
Save The first time I made this for a potluck I carried the platter in with a ridiculous amount of pride, and it disappeared before the store bought desserts even got unwrapped.
Serving Suggestions Worth Trying
Pile this chicken onto a toasted brioche bun with pickles and a swipe of honey mustard and you have something that rivals any restaurant sandwich. Mashed potatoes and coleslaw are the classic moves for good reason, the creamy and crunchy sides balance every bite perfectly.
Making It Your Own
Swap the paprika for smoked paprika if you want a deeper campfire flavor, or add a tablespoon of hot sauce to the buttermilk for a marinade that pulls double duty on tenderness and heat. Gluten free flour blends work well here, just check that yours includes a binder like xanthan gum.
Storing and Reheating Leftovers
Leftover fried chicken keeps in the refrigerator for up to three days and reheats beautifully in a 375 degree Fahrenheit oven for about ten minutes. The microwave will make you sad, avoid it.
- Place leftover pieces on a wire rack set inside a baking sheet so the bottom does not steam soft.
- Let refrigerated chicken sit at room temperature for fifteen minutes before reheating so it warms evenly throughout.
- Fried chicken straight from the fridge makes an incredible cold sandwich the next day, do not overlook this move.
 Save
Save Once you nail this method you will find yourself reaching for it on weeknights and weekends alike because it never stops being satisfying. Happy frying and enjoy every crunchy bite.
Recipe FAQs
- → How long should I marinate the chicken?
-
Marinate at least 30 minutes for noticeable tenderness; up to 4 hours improves texture and flavor. For maximum juiciness, marinate overnight in the refrigerator.
- → Why add cornstarch to the coating?
-
Cornstarch lightens the flour mix and creates a crisp, delicate crust that browns well while sealing in juices for a crunchy exterior and tender interior.
- → What oil and temperature are best for frying?
-
Use a neutral oil with a high smoke point, such as vegetable or canola. Heat to about 350°F (175°C) and fry in batches to maintain oil temperature and even browning.
- → How do I ensure the chicken stays juicy?
-
Pound breasts to an even thickness, brine or soak in buttermilk to tenderize, avoid overcrowding the pan, cook to 165°F (74°C), and rest for a few minutes before serving.
- → Can I make this without gluten?
-
Yes. Substitute a gluten-free flour blend or rice flour for the all-purpose flour and keep the cornstarch to preserve a crisp crust.
- → Best way to reheat leftovers without losing crispness?
-
Reheat in a preheated oven at 375°F (190°C) on a wire rack or use an air fryer for a few minutes to restore the crust while warming the interior evenly.