 Save
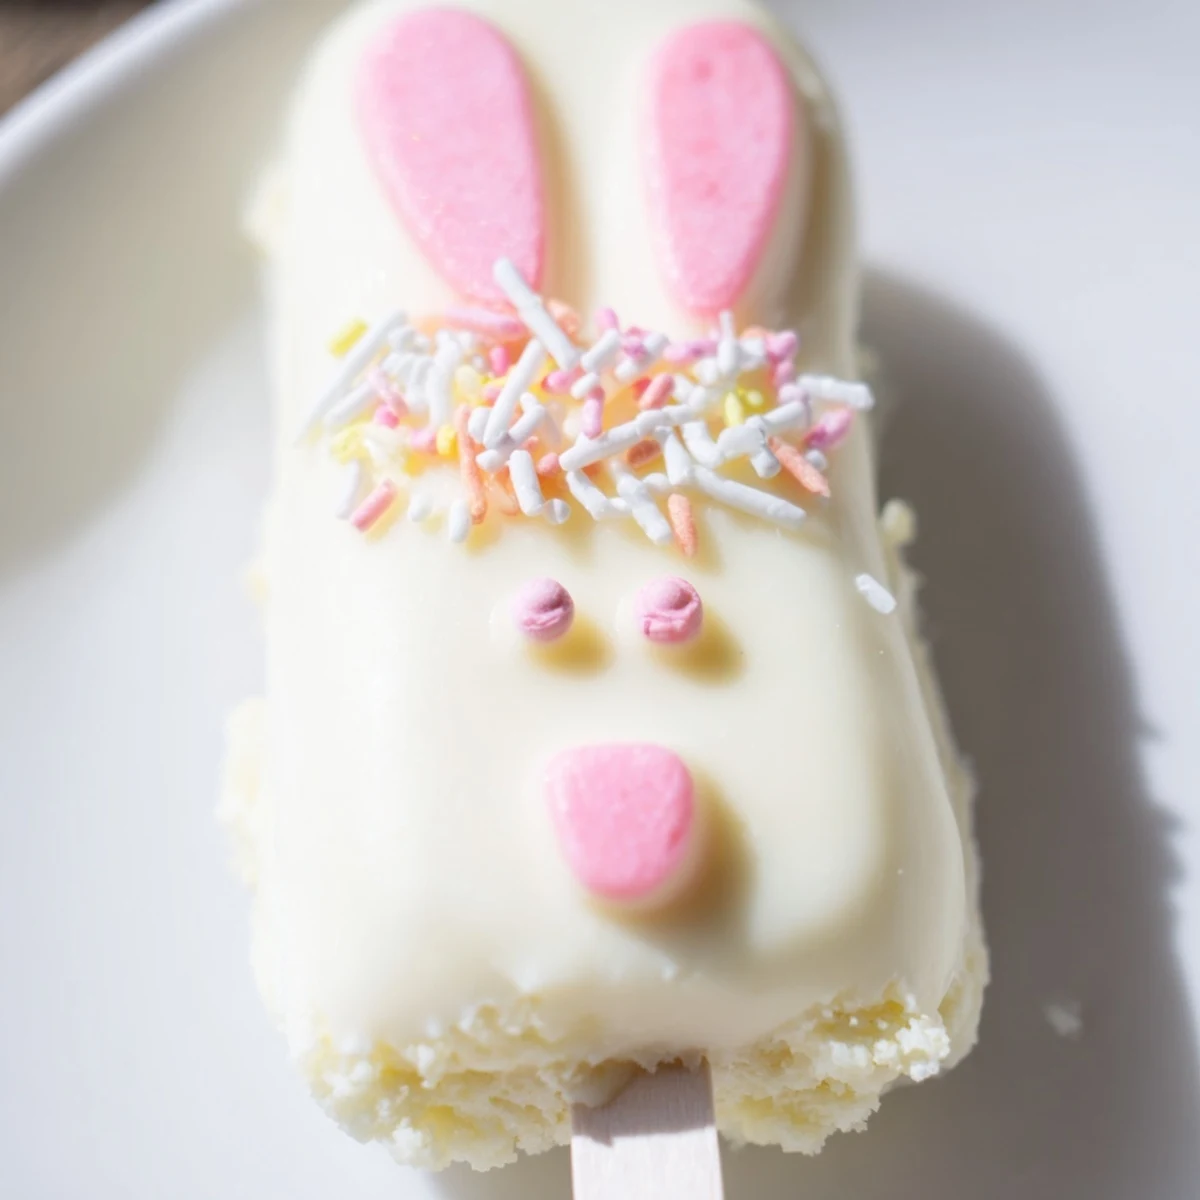
Save These delightful bunny-shaped treats combine moist vanilla cake crumbs with creamy white chocolate coating for the ultimate Easter dessert. Simply mix cake with cream cheese, butter, and powdered sugar to form a dough, shape into bunny faces, then dip in melted white chocolate. Decorate with candy eyes, sprinkles, or fondant ears to bring these festive creations to life. Perfect for Easter baskets, dessert tables, or as a fun family baking activity. The process is straightforward—mix, shape, chill, dip, and decorate. Each batch yields eight adorable cakesicles that are sure to bring smiles to children and adults alike.
Last Easter, my kitchen counter looked like a sugary crime scene with white chocolate splattered everywhere and sprinkles trailing from the sink to the sofa. The kids were losing their minds with excitement, and honestly, so was I. There is something ridiculously satisfying about turning leftover cake into something that makes everyone grin before they even take a bite.
My youngest daughter insisted we make a whole bunny family, complete with names and backstories for each one. By the time we finished decorating, the kitchen smelled like warm vanilla and pure joy, and we had eight adorable chocolate faces staring back at us from the counter. The best part was watching her sneak little tastes of the melted chocolate when she thought I was not looking.
Ingredients
- Vanilla cake crumbs: These form the base of your cakesicles and using homemade or high quality store bought cake makes all the difference in flavor
- Cream cheese and butter: The binding agents that transform dry crumbs into a moldable dough that holds its shape beautifully
- Powdered sugar: Adds just the right amount of sweetness without making the mixture too sweet
- Vanilla extract: Pure vanilla extract enhances all the flavors and gives that classic bakery taste
- White chocolate melts: These create that smooth professional looking coating and taste significantly better than almond bark
- Cakesicle sticks: Essential for the authentic popsicle look and make eating so much more fun
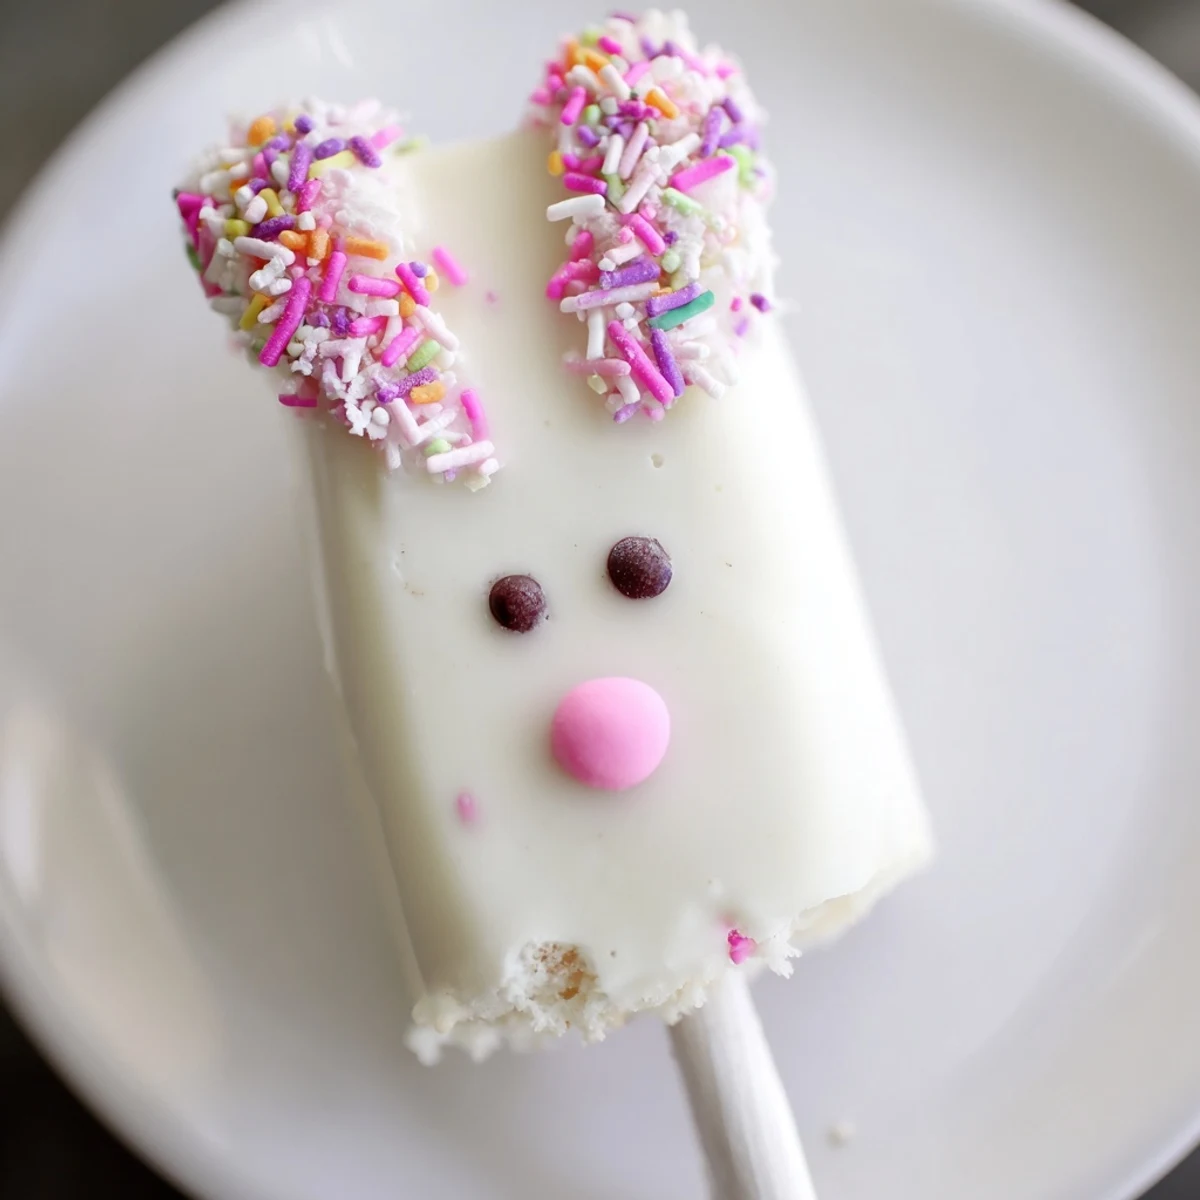
- Decorations: Candy eyes sprinkles and fondant let your creativity shine and make each bunny unique
Instructions
- Mix the cake dough:
- Combine cake crumbs cream cheese butter powdered sugar and vanilla in a bowl mixing until the mixture holds together like soft dough
- Shape bunny faces:
- Divide into 8 equal portions and form each into a flattened oval shape pressing gently to create smooth edges
- Add sticks and chill:
- Insert a cakesicle stick into each shape and refrigerate for 20 to 30 minutes until completely firm
- Melt the chocolate:
- Melt white chocolate in 30 second intervals in the microwave stirring between each until completely smooth and glossy
- Coat the cakesicles:
- Dip each chilled cake shape into melted chocolate tapping gently to remove excess while keeping the stick upright
- Decorate immediately:
- Add candy eyes sprinkles or fondant features while the chocolate is still soft so everything adheres perfectly
- Set and serve:
- Let cakesicles set completely at room temperature or speed things up with 10 minutes in the refrigerator
 Save
Save That Easter afternoon turned into an impromptu tasting party with neighbors dropping by to see the bunny creations. The kids were so proud presenting their handiworks and watching faces light up when people took their first bite. Somehow the treats disappeared twice as fast as we expected which I consider the highest compliment possible.
Getting The Right Texture
The consistency of your cake mixture should feel like play dough not too sticky and not too crumbly. If it seems too dry add another teaspoon of softened cream cheese and mix again until it holds together perfectly when you squeeze a small amount in your hand.
Mastering The Chocolate Dip
The temperature of your chocolate matters more than you might think. It should be warm and fluid but not hot which can cause the chilled cake centers to crack and fall apart into the coating. Working quickly and confidently gives the smoothest professional looking results.
Creative Decoration Ideas
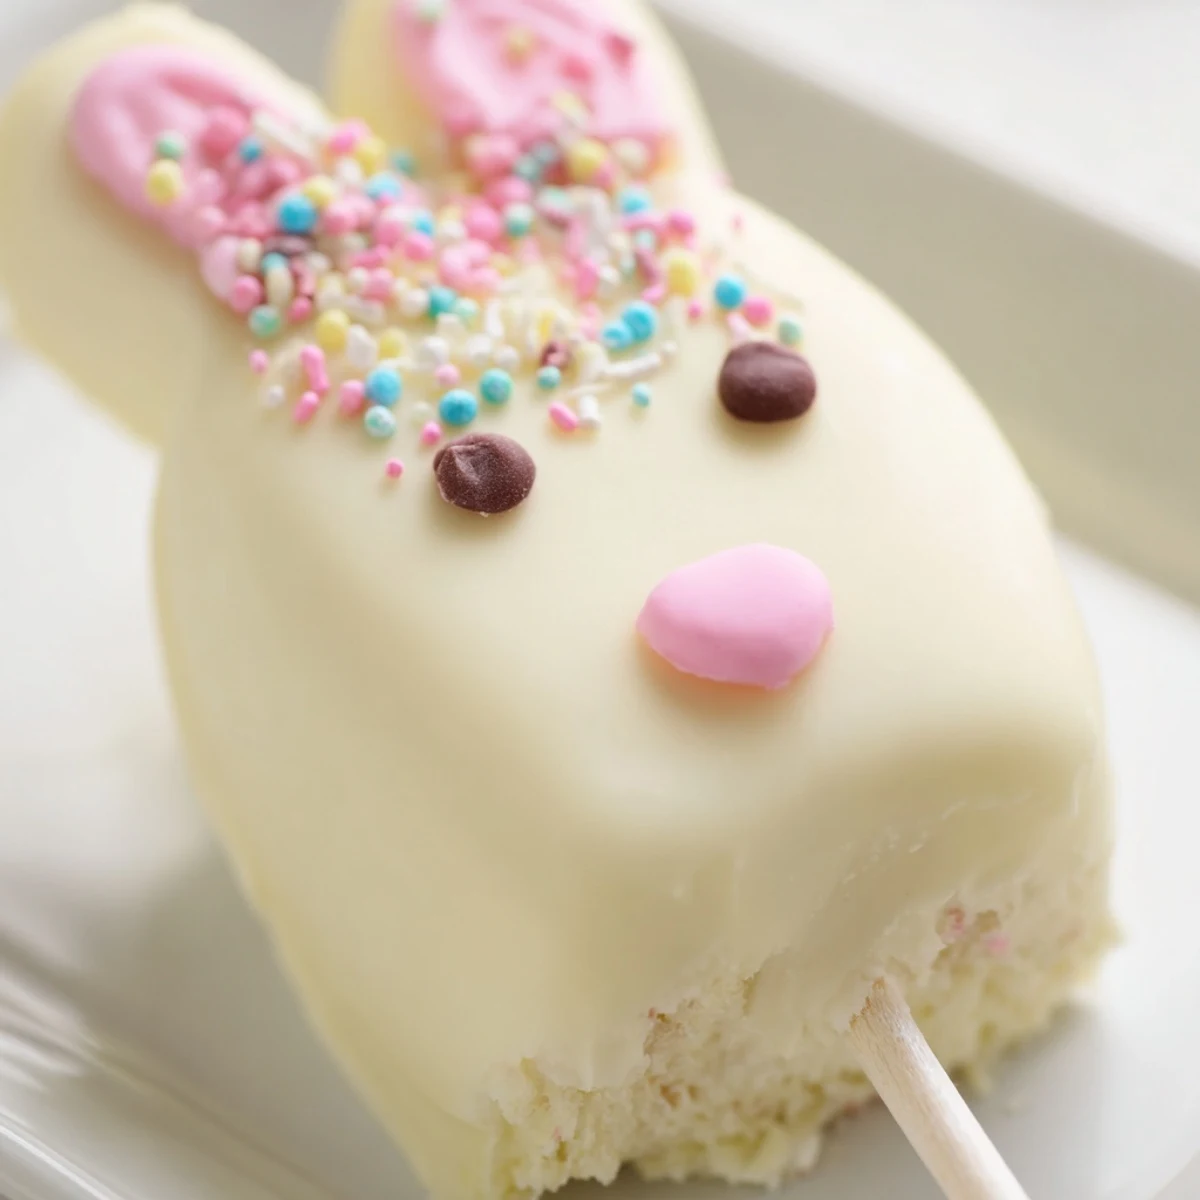
Beyond the classic candy eyes you can use edible markers to draw whiskers and freckles after the chocolate sets. Swirling a tiny bit of pink food coloring into the white chocolate creates a gorgeous marbled effect that looks especially elegant. For ears consider using white chocolate-dipped pretzel sticks or shaped fondant in matching or contrasting colors.
- Let the cakesicles come to room temperature for 10 minutes before serving for the best texture
- Set up your decorating station before you start dipping so you can work quickly
- Keep a small bowl of warm melted chocolate handy for any last minute touch ups or repairs
 Save
Save These bunny cakesicles have become such a beloved spring tradition that I already have requests for next year. Seeing how something so simple brings so much happiness to my family reminds me why I started baking in the first place.
Recipe FAQs
- → What are cakesicles?
-
Cakesicles are cake pops shaped like popsicles, made by combining cake crumbs with frosting to form a dough, molding them into various shapes, inserting sticks, then coating in melted chocolate or candy melts.
- → How long do these treats stay fresh?
-
Store your bunny cakesicles in an airtight container in the refrigerator for up to 3 days. Bring to room temperature before serving for the best texture and flavor experience.
- → Can I use different cake flavors?
-
Absolutely! While vanilla pairs beautifully with white chocolate, try chocolate, lemon, strawberry, or red velvet cake crumbs for unique flavor combinations that still look adorable in bunny form.
- → Do I need a special mold?
-
A cakesicle mold helps create uniform shapes, but it's not essential. You can hand-shape the dough into flattened ovals or bunny faces using your hands or cookie cutters for a rustic, homemade look.
- → What's the best way to melt white chocolate?
-
Melt white chocolate in a microwave-safe bowl in 30-second bursts, stirring between each interval. This prevents scorching and ensures smooth, evenly melted coating perfect for dipping.
- → Can I make these ahead for Easter?
-
Yes! Prepare these treats 1-2 days before your Easter celebration. Store them layered between parchment paper in an airtight container in the refrigerator until ready to serve or display.