 Save
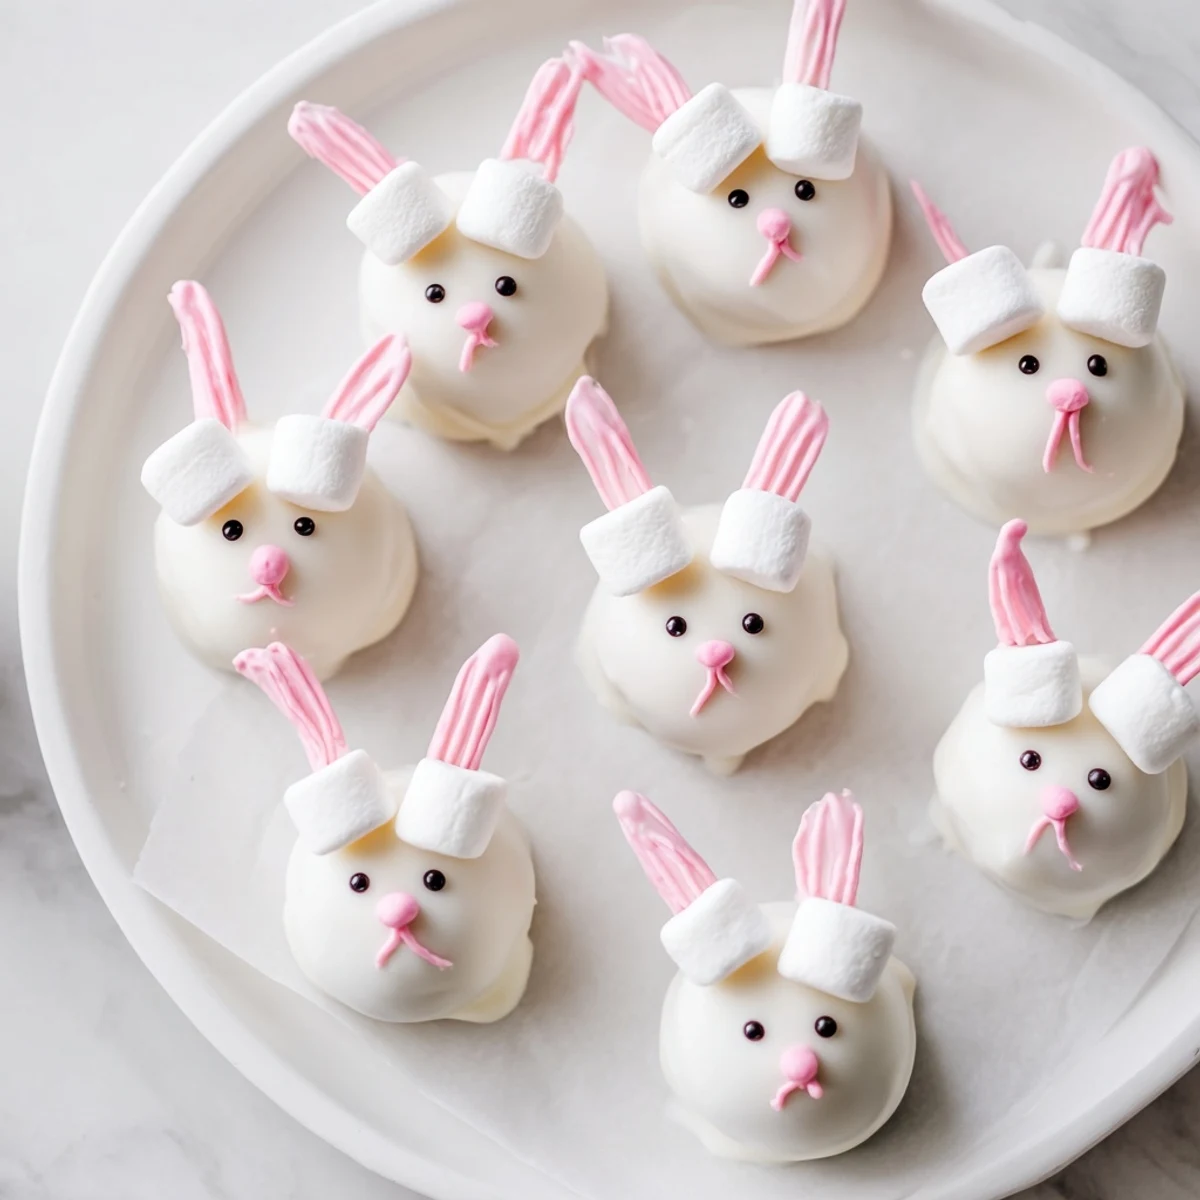
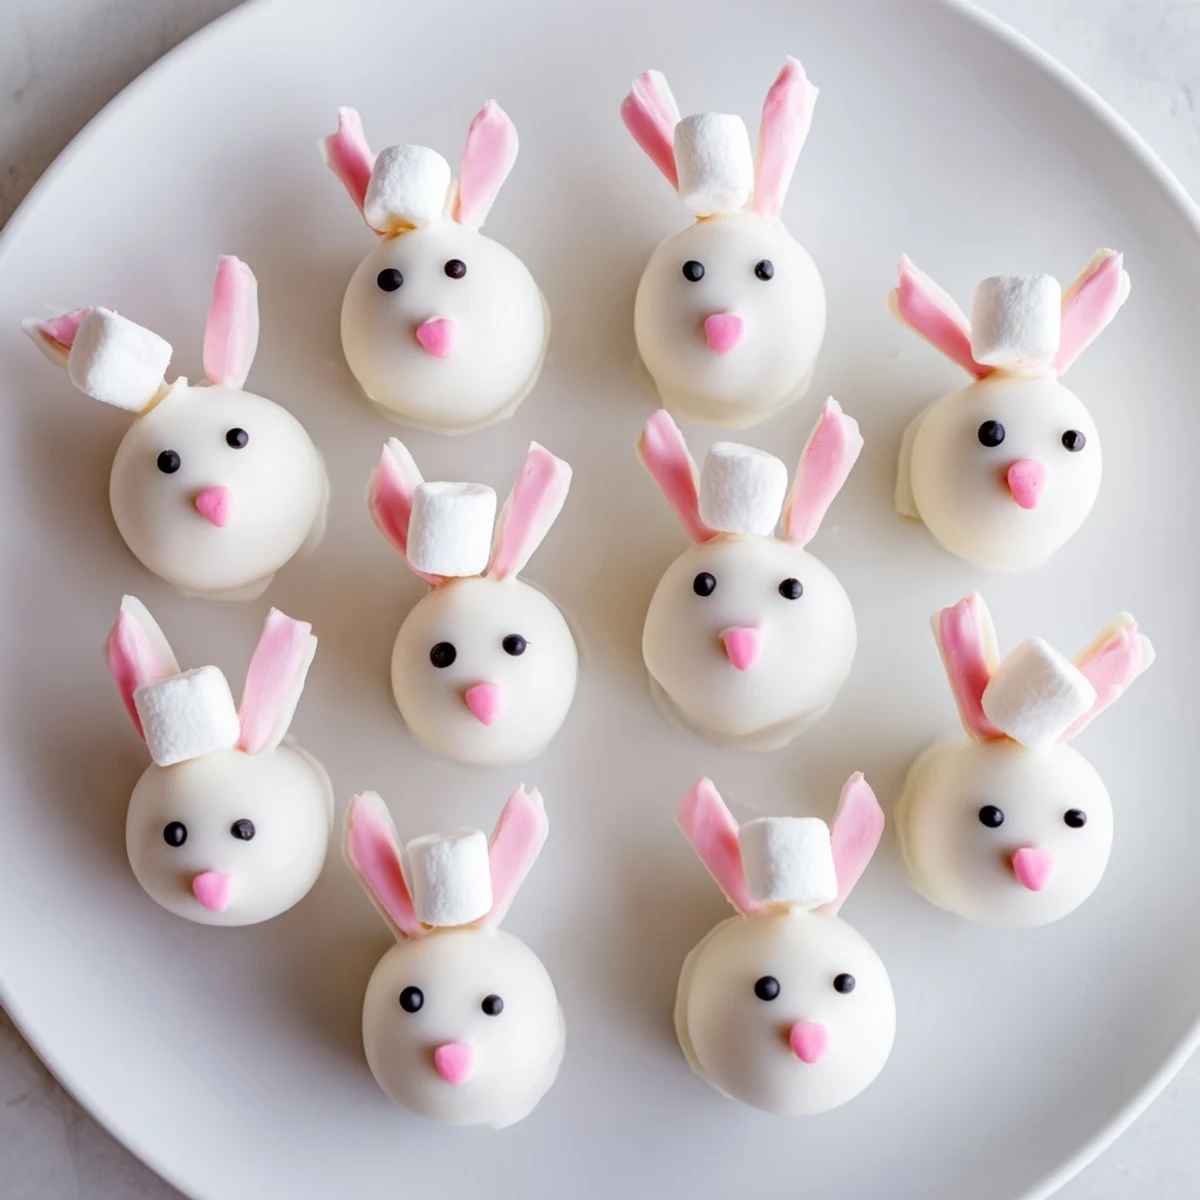
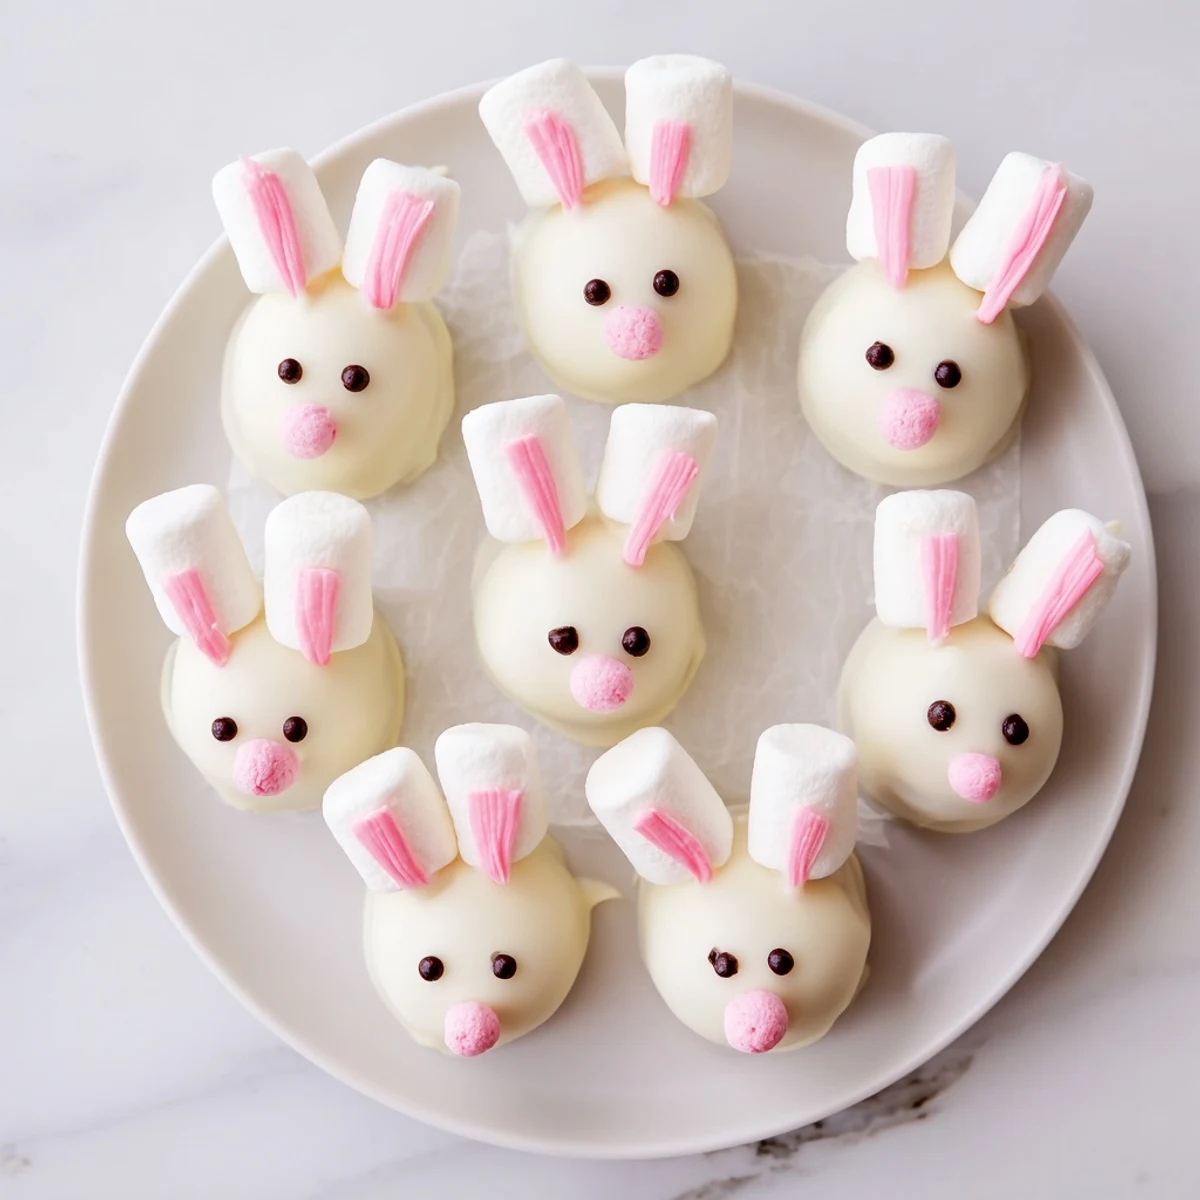
Save Create the most adorable spring dessert with these bunny-shaped Oreo truffles. Crushed Oreo cookies blend with creamy cheese to form a rich chocolate dough, shaped into whimsical bunny heads and dipped in smooth white chocolate. Each treat features marshmallow ears, fluffy tails, pink candy noses, and cute dotted eyes for irresistible charm.
These no-bake conersions come together quickly—simply blend, roll, shape, chill, dip, and decorate. Perfect for Easter baskets, spring brunch spreads, classroom treats, or as a fun activity with children. Customize ears with pink candy melts, switch coating to milk or dark chocolate, or add pretzel crunch to the filling.
The result yields twenty-four portioned treats that stay fresh for days when refrigerated. Best served chilled for the ideal creamy texture, making them convenient to prepare ahead for celebrations.
The kitchen counter looked like a miniature sugar-coated crime scene. I had white chocolate spatters, marshmallow bits everywhere, and twenty-three bunny faces staring back at me with blank expressions. My daughter walked in, took one look at the chaos, and asked if we'd started a candy factory. Honestly, after three hours of dipping ears and drawing tiny eyes, I felt like we had.
Last spring, I brought a platter to our neighborhood potluck thinking theyd be cute filler among the main dishes. Within ten minutes, I had three different neighbors asking for the recipe, and someone actually followed me home to see if I had extras. Now theyre the most requested treat at every gathering.
Ingredients
- 36 Oreo cookies: Regular Oreos work best here because the filling-to-cookie ratio creates the perfect dough texture
- 225 g cream cheese, softened: Room temperature is non-negotiable unless you want arm pain from trying to blend cold cheese into crumbs
- 400 g white chocolate or candy melts: Candy melts are more forgiving for beginners since they set faster and dont seize as easily
- Pink candy melts or food coloring: The melted candy method creates smoother details than trying to paint with gel coloring
- Mini marshmallows: Kitchen shears make cutting these into ear slivers so much cleaner than a knife
- Edible black food marker: Keep extras on hand because these tend to dry out quickly and a dead marker mid-decoration is frustrating
Instructions
- Pulse and blend:
- Process those Oreos until theyre basically sand, then add the cream cheese and keep going until everything comes together into a dark, fudge-like dough that holds its shape when squeezed
- Shape your bunnies:
- Scoop about a tablespoon of mixture, roll into balls, then gently elongate them into slight ovals to form those characteristic bunny head shapes
- Prep the marshmallow pieces:
- Cut mini marshmallows in half for tails and slice others lengthwise into thin slivers for ears, keeping them separated so you can grab them quickly later
- Freeze before dipping:
- Place all your shaped bunnies on a parchment-lined sheet and freeze for at least 30 minutes because trying to dip soft truffles into warm chocolate is basically asking for them to fall apart
- Melt the coating:
- Heat your white chocolate in 30-second intervals, stirring between each round, until its completely smooth and fluid enough to coat but not so hot it melts your frozen centers
- Dip and attach:
- Drop each frozen ball into the chocolate, lift it with a fork, tap off excess, then immediately press two ear marshmallows and one tail marshmallow into the wet coating before it starts setting
- Add the details:
- Once the white chocolate has hardened for about ten minutes, use a toothpick dipped in pink to dot noses and color the inside of each ear
- Bring them to life:
- Draw tiny eyes with your black marker and chill everything for another 30 minutes so the chocolate fully sets before serving
 Save
Save My niece helped me make a batch last year, and we accidentally made one with three ears. Nobody would eat it because it was the ugly duckling of the platter until my dad claimed it as his special bunny. Now making a three-eared mistake is basically tradition.
Working with Candy Melts
Candy melts are designed to be user-friendly, but they can still be finicky. Ive learned that stirring gently instead of vigorously prevents air bubbles from forming, and keeping the bowl over a pan of warm water maintains the perfect working temperature without overheating.
Storage Solutions
These need to stay refrigerated because the cream cheese filling can get soft at room temperature. I layer them between parchment paper in an airtight container, and theyve actually stayed fresh for nearly a week when stored properly.
Decoration Alternatives
Not everyone loves marshmallows, and sometimes I just want a different look. Ive tried sprinkling the dipped balls with pastel nonpareils instead of attaching marshmallow features, and pressing chopped nuts into the bottom half creates a textured nest effect.
- Crushed graham crackers make great textured bunny fur when pressed into the bottom half before the chocolate sets
- Shredded coconut dyed pink or yellow can replace marshmallow tails for a fluffier look
- Edible glitter on the ears gives them a magical appearance that kids absolutely love
 Save
Save Every time I make these, I think theyll turn out weird and lopsided, and every time they end up being the cutest things on the dessert table. Thats probably why they keep making an appearance year after year.
Recipe FAQs
- → Can I make bunny Oreo balls ahead of time?
-
These chocolate treats stay fresh in the refrigerator for up to five days when stored in an airtight container. Prepare them a day or two before your spring gathering for convenient planning. For longer storage, freeze undecorated spheres for up to two months, then thaw and coat.
- → What can I use instead of white chocolate coating?
-
Milk chocolate or dark chocolate provide delicious alternatives to white coating. Dark chocolate adds sophisticated richness while milk chocolate offers classic sweetness. Colored candy melts in pastel shades create festive spring variations without additional tinting.
- → How do I prevent the coating from cracking?
-
Ensure chilled spheres are completely cold before dipping—thirty minutes in the freezer achieves ideal temperature. Melt coating slowly in thirty-second intervals, stirring thoroughly between each burst. Avoid over-melting which causes seizing. Let excess coating drip off gently rather than tapping against the bowl edge.
- → Can children help decorate bunny Oreo balls?
-
Young hands excel at attaching marshmallow ears and tails while coating remains slightly tacky. Use food-safe markers or gel pens for drawing eyes and noses. Consider offering various sprinkles for creative customization. Adult supervision handles the hot melted coating and food processor steps.
- → Why use regular Oreos instead of Double Stuf?
-
Regular Oreos provide ideal crumb-to-cream ratios for proper dough consistency. Double Stuf contains excessive filling resulting in overly soft mixture that won't hold shape. The standard version ensures sturdy spheres that maintain their bunny form during coating and decoration.
- → What tools are essential for shaping bunny heads?
-
A food processor creates uniform fine crumbs for smooth texture. Parchment paper prevents sticking during chilling phases. Toothpicks serve double duty—applying pink candy details and attaching tiny decorations. Small scissors help cut marshmallows precisely for ears and tails.