 Save
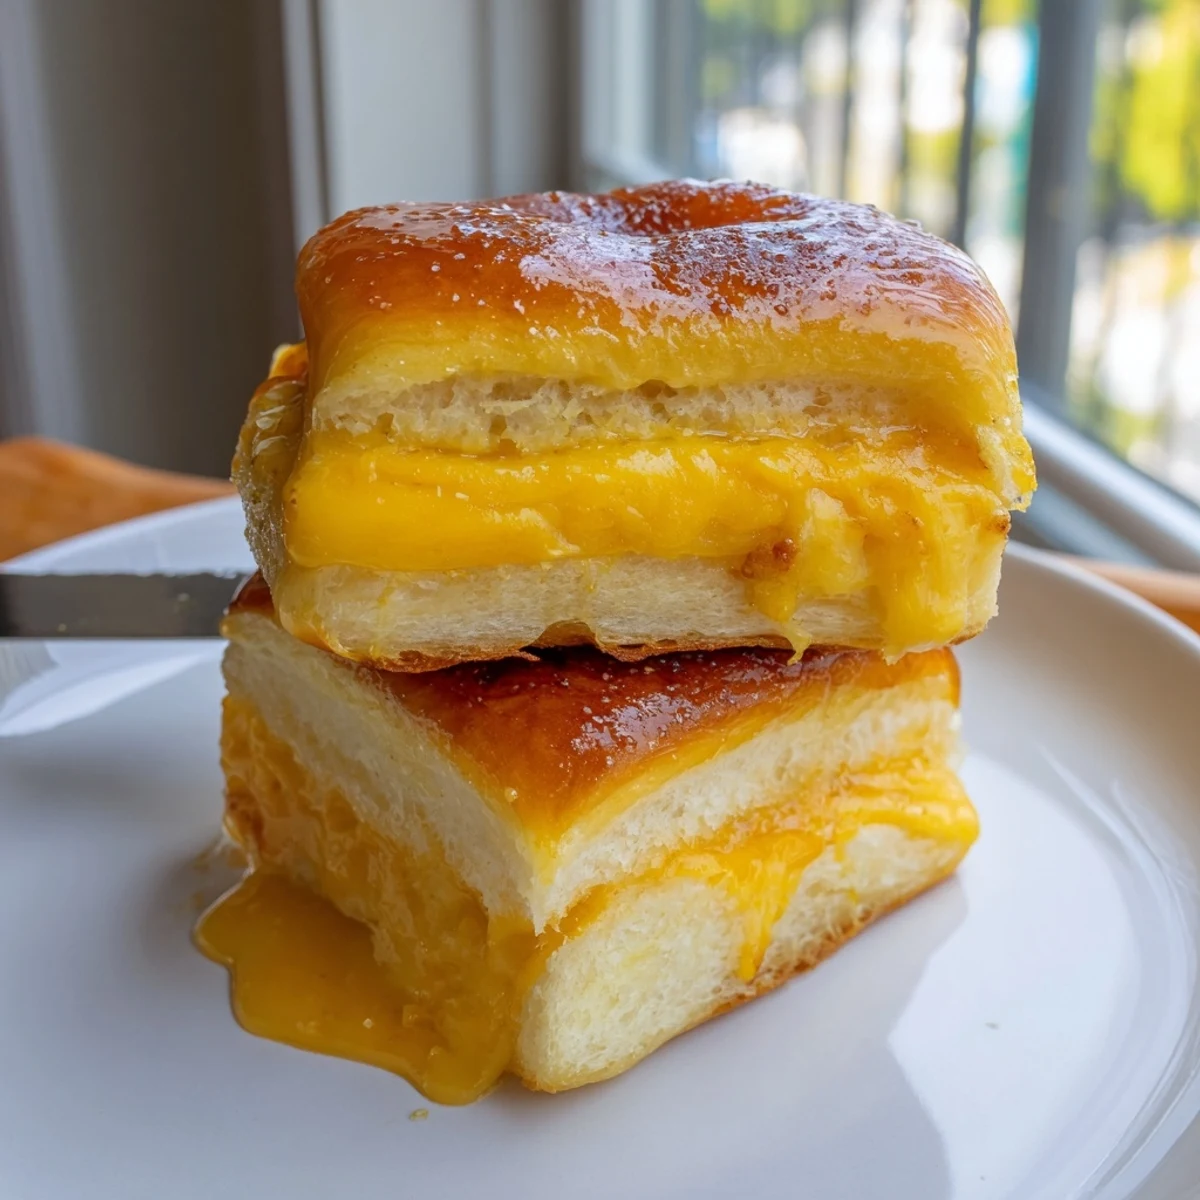
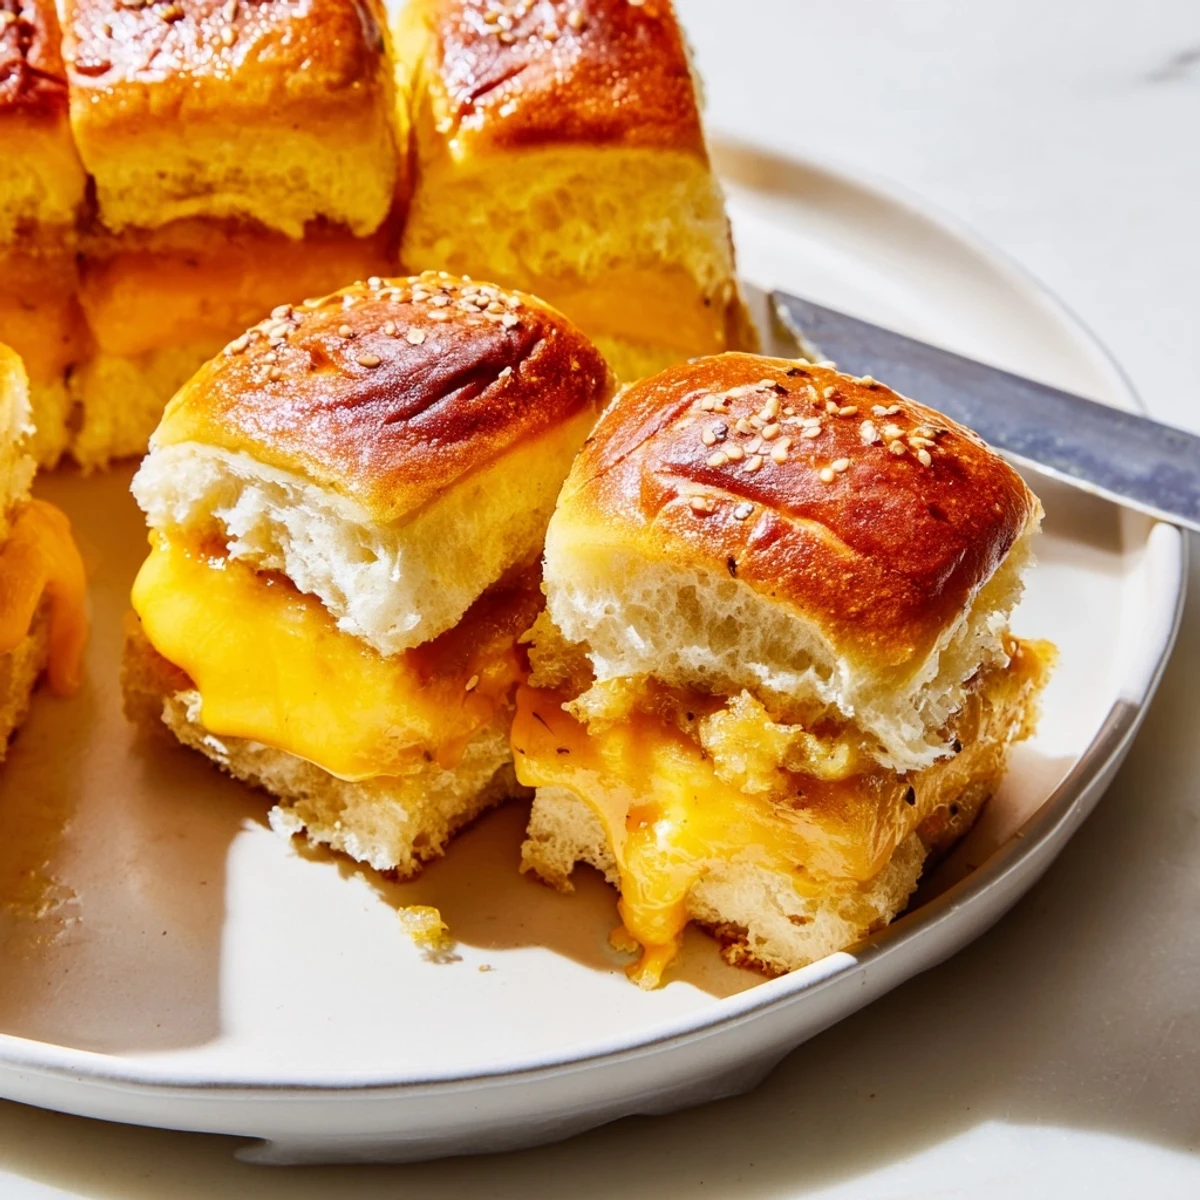
Save Turn a pack of Hawaiian sweet rolls into 12 bite-sized grilled cheese sandwiches layered with sliced cheddar (and deli ham if desired). Slice the roll block in half, layer cheese and optional ham, brush the top with melted butter mixed with mustard, honey and a pinch of garlic powder, then bake at 350°F until cheese melts and tops are golden. Allow to cool 2 minutes before cutting and serve warm with soup or dipping sauce.
There&aposs a particular sound I love hearing on lazy weekend afternoons: the soft sizzle of butter hitting a hot pan and the scent of melting cheese. These mini grilled cheese Hawaiian rolls first came about when lunchtime needed a playful upgrade. I wandered into the kitchen looking for something a bit less ordinary than the typical sandwich. What happened was a tray of gooey, golden-topped sandwiches that disappear almost as fast as they come out of the oven.
One evening, a few friends stopped by announced and hungry: I had just enough time to preheat the oven before everyone crowded around the kitchen. We stood together, waiting for the smell of toasty bread and buttery cheese to fill the room. Someone joked that we should make mini versions of all our favorite snacks; suddenly, these were the highlight, disappearing by the handful, laughter echoing between each bite.
Ingredients
- Hawaiian sweet rolls: Their pillowy texture and subtle sweetness balance the rich cheese beautifully; pull the whole pack apart only after baking for neater mini sandwiches.
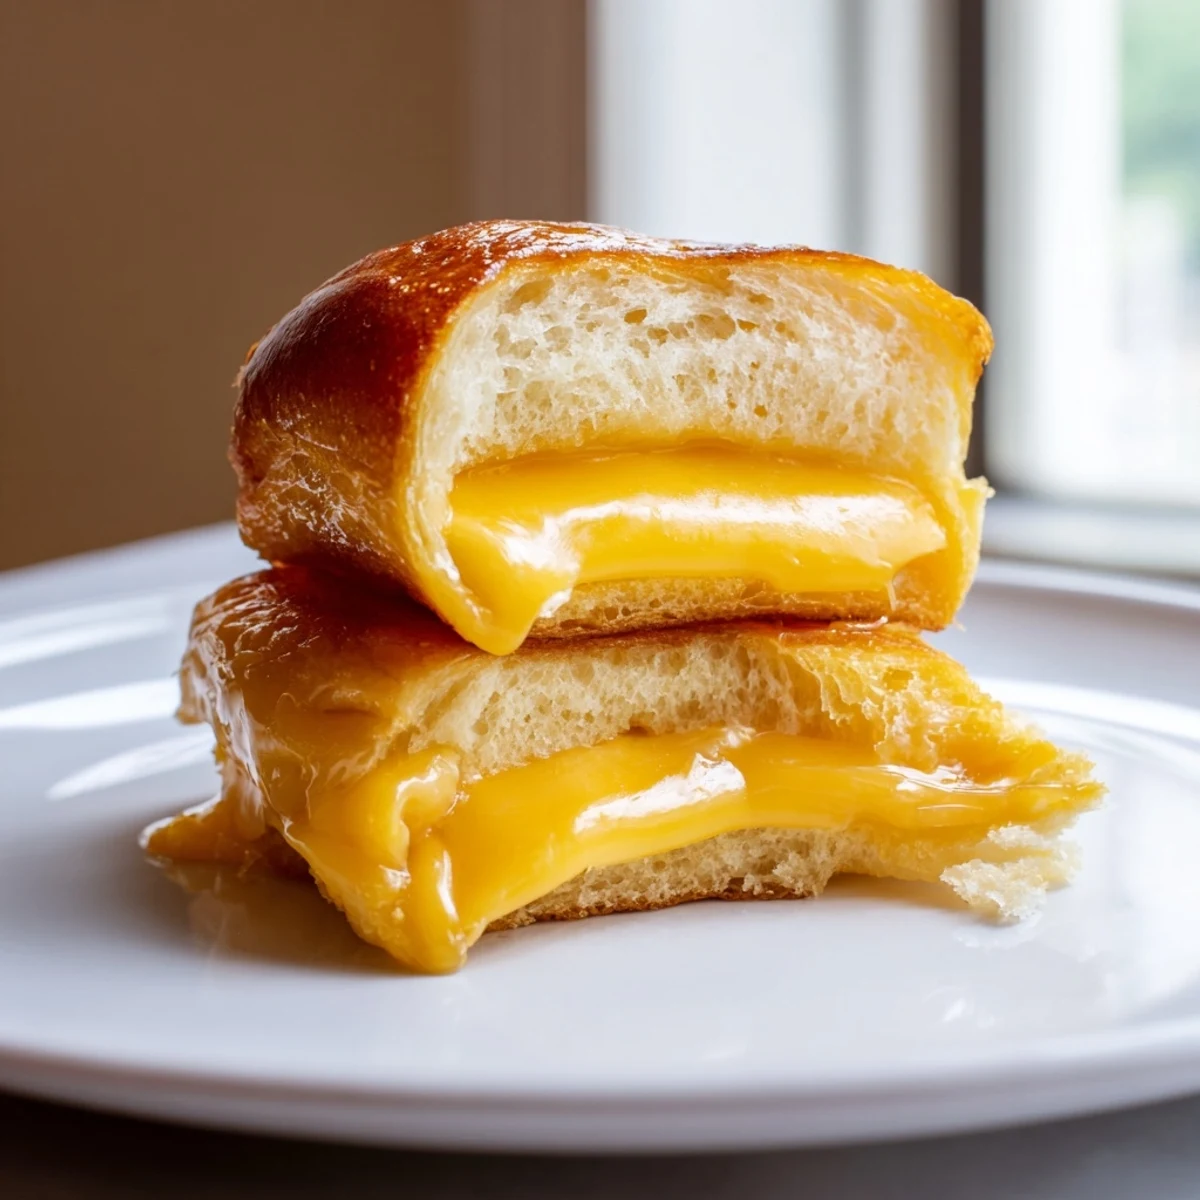
- Sliced cheddar cheese: Sharp or mild cheddar both melt wonderfully—they create that satisfying cheese-pull in every bite.
- Unsalted butter, melted: Brush generously over the tops before baking for deep golden color and delicious crispiness.
- Deli ham or turkey (optional): Perfect for non-vegetarians craving a savory upgrade—just stack slices under the cheese.
- Dijon or yellow mustard (optional): Adds zip without overpowering the sweetness of the rolls when mixed into the butter.
- Honey (optional): Just a drizzle in your butter blend and everything takes on a deeper sweetness that always surprises people.
- Garlic powder (optional): A tiny sprinkle on top brings a warm aroma—don&apost go overboard, a little goes a long way.
Instructions
- Get Ready to Bake:
- Set your oven to 350°F (175°C) and line a baking sheet with parchment paper so cleanup stays easy.
- Slice the Rolls:
- Keep all 12 rolls together—use a serrated knife to carefully slice the whole block horizontally, separating top from bottom.
- Layer the Good Stuff:
- Place the bottom halves on your baking sheet, then evenly layer on the cheddar cheese and any deli meats if you&apost using them.
- Close It Up:
- Set the tops of the rolls over your cheese and fillings, pressing down just slightly so everything stays neat.
- Add Buttery Magic:
- Whisk together your melted butter with mustard, honey, and garlic powder if using, then brush the tops of the rolls liberally so every bite gets that golden finish.
- Bake to Perfection:
- Slide the tray into your oven and bake 10–15 minutes, until the tops turn golden and the cheese bubbles eagerly beneath.
- Slice and Serve:
- Let sit just a couple minutes: then separate into mini sandwiches and serve while the cheese is perfectly stretchy.
 Save
Save When school let out early for a snow day last year, these were the first thing I made with my little sister, both of us giggling as the kitchen warmed up. We dunked our sandwiches in mugs of tomato soup, marveling at the stringy cheese and making up funny names for each mini roll.
How to Keep Them Extra Melty
It took me a few tries before I realized the trick is not to overbake—they&aposre done as soon as the tops are golden and the cheese just begins to melt out the sides. Letting them sit just two minutes before cutting means you get all the ooze with none of the burnt fingers.
Favorite Variations We&aposve Tried
Different cheeses completely change the vibe: pepper jack gives a mild kick, while provolone melts into creamy layers. Once, I slipped in a few slices of tomato and a sprinkle of caramelized onions for an extra savory punch—no one ever complained about the upgrade.
Serving Ideas and Last Little Tricks
If you&aposre feeding a crowd, these pair beautifully with a pot of soup or a big salad, and bite-sized means they&aposs gone in seconds at parties. I often make a double batch because otherwise there&aposs never enough!
- Keep parchment under the rolls to make cutting and clean-up a breeze.
- Slice with a gentle sawing motion to prevent smushed corners.
- Give the tops one last brush of butter just after baking for an extra glossy finish.
 Save
Save Share these hot out of the oven and watch them disappear: there&aposs something irresistible about warm, melty cheese paired with sweet bread. Let the kitchen fill with friends and laughter—these mini sandwiches guarantee good company, every time.