 Save
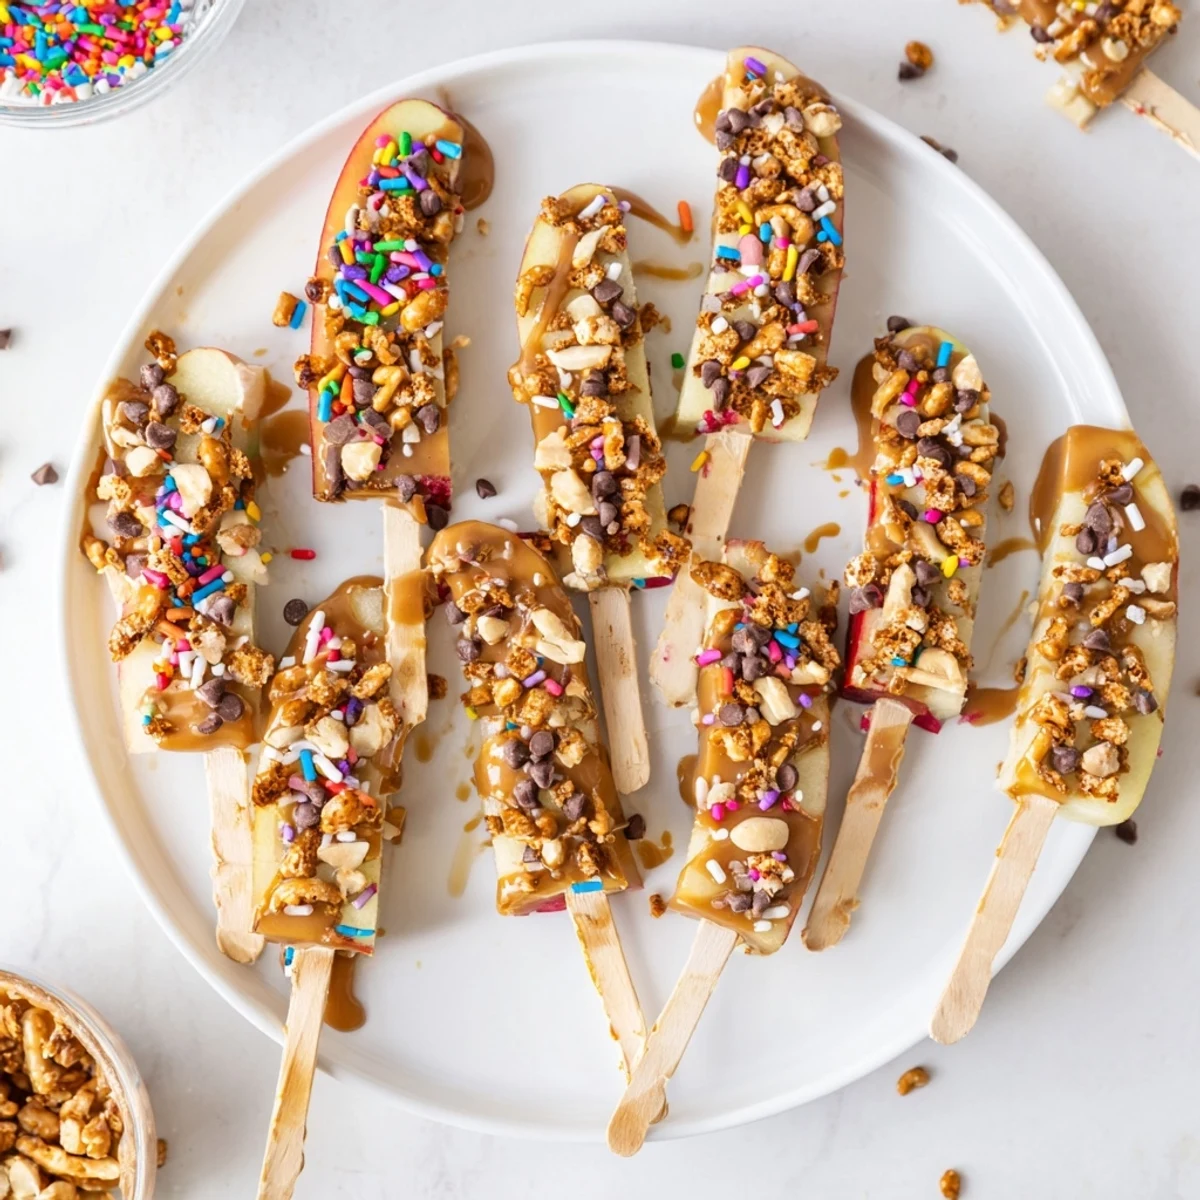
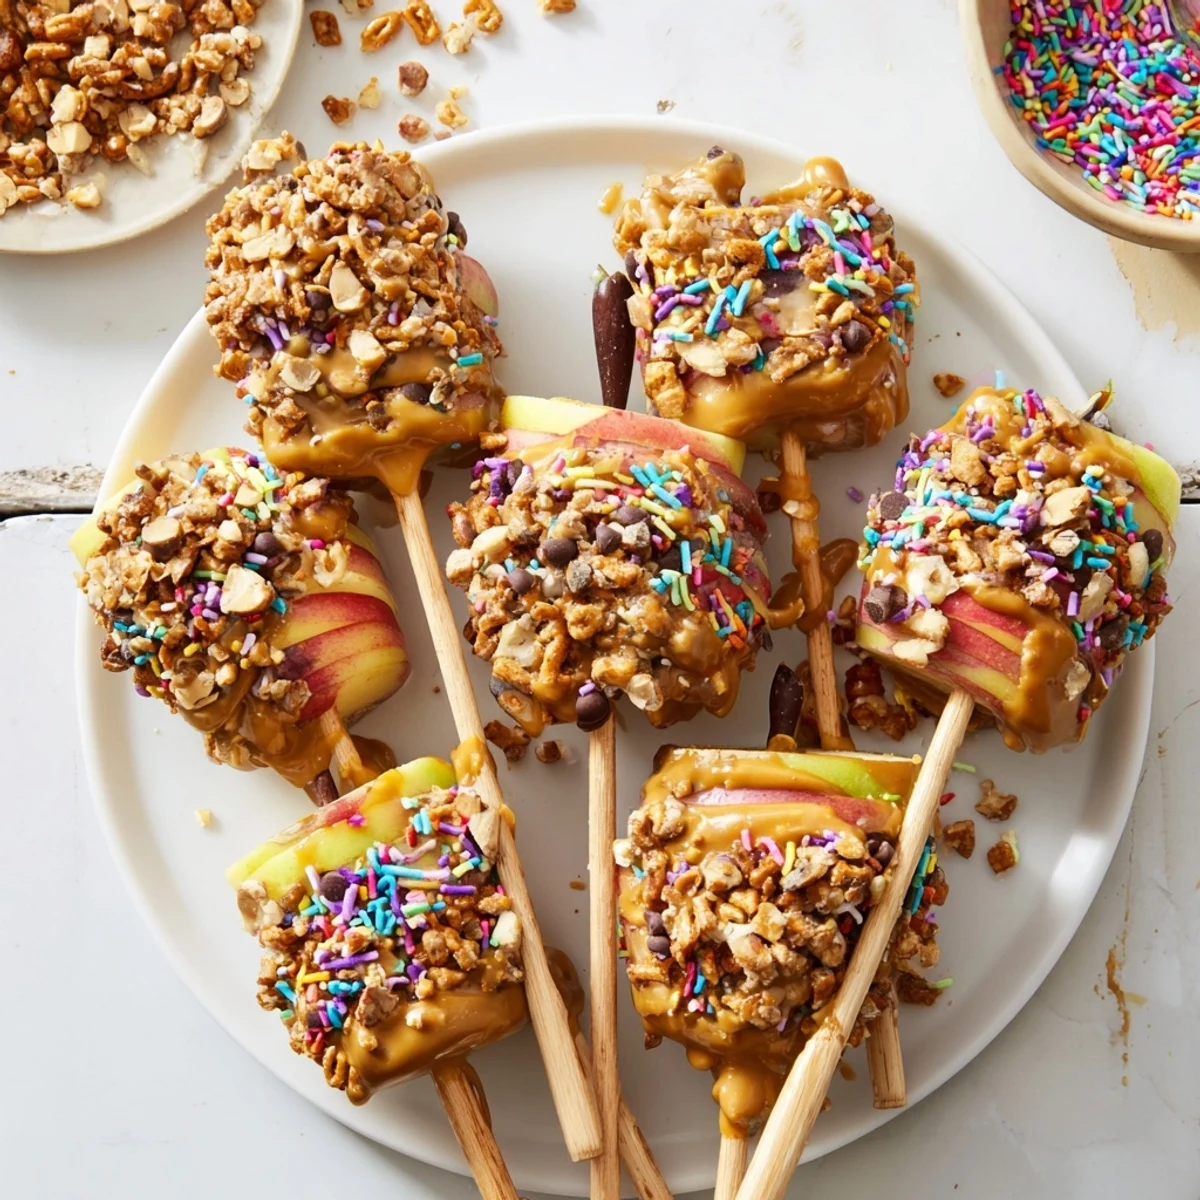
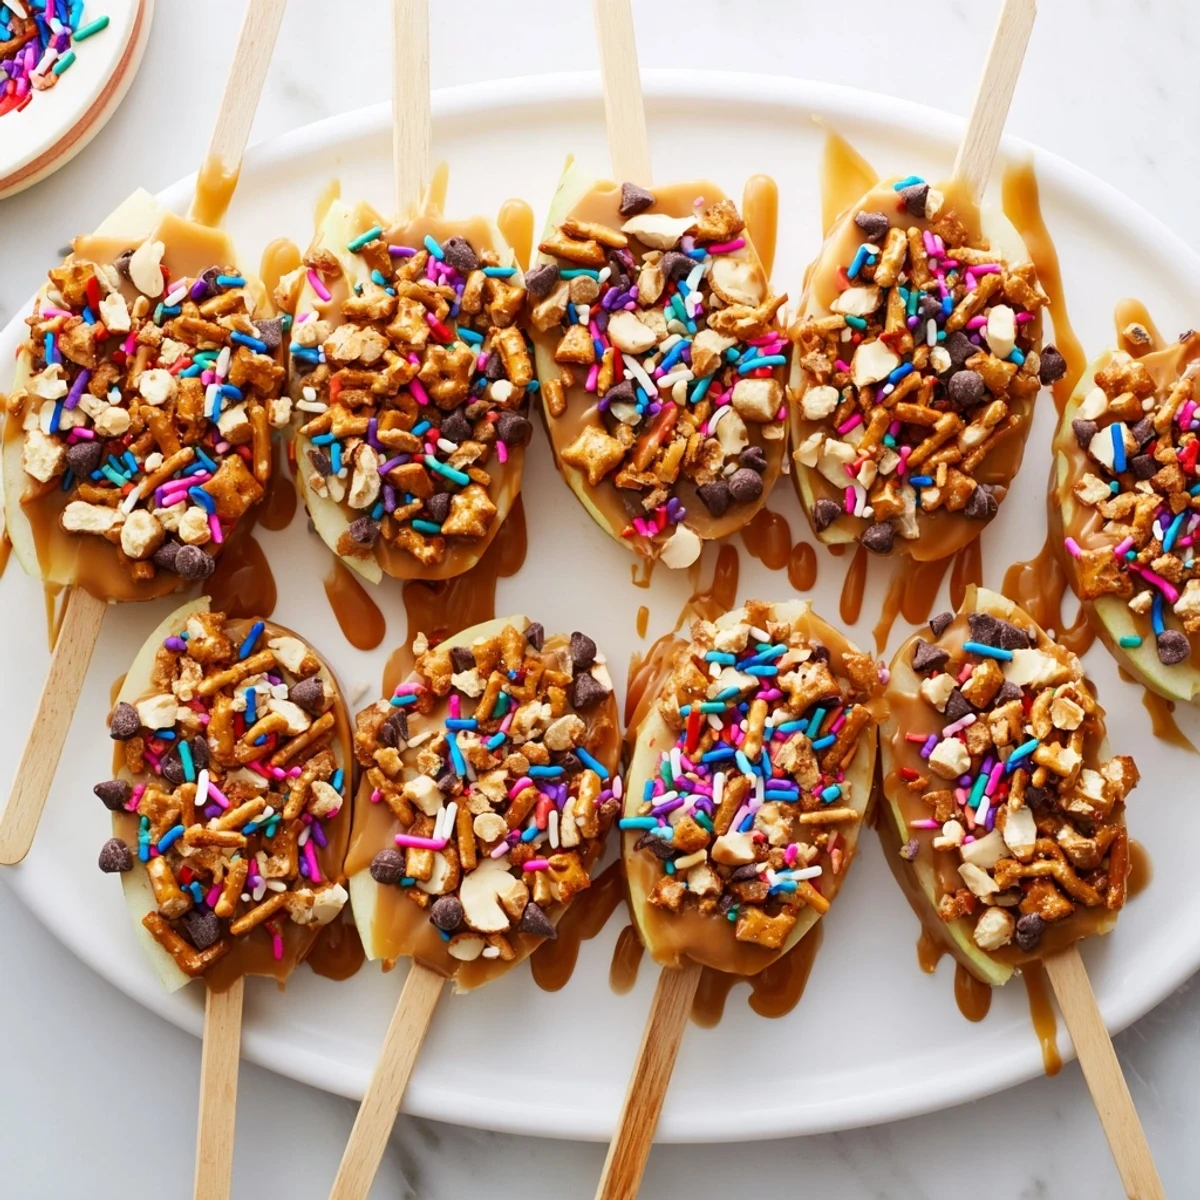
Save Transform crisp apple slices into playful handheld treats by coating them in layers of creamy peanut butter and warm melted caramel. The natural tartness of Granny Smith or Honeycrisp apples balances perfectly with sweet, sticky toppings. Insert wooden sticks into thick apple wedges, dip first in slightly warmed peanut butter, then drizzle with homemade caramel sauce made from melted caramels and heavy cream. Finish immediately with mini chocolate chips, roasted peanuts, rainbow sprinkles, or crushed pretzels for texture and visual appeal. Chill for 10 minutes to set the coatings before serving.
The first time I made these, I'd planned them as a Halloween treat but ended up eating half the tray myself while standing at the kitchen counter. Something about the combination of cold crisp apple hitting warm salty peanut butter and sweet caramel makes time disappear.
Last autumn I brought a batch to my nephews birthday party, and the other adults looked at me like I'd brought proper restaurant desserts. By the time I turned back from setting down the platter, half were already gone and my sister was messaging me for the recipe.
Ingredients
- 2 large crisp apples: Granny Smith brings that tart brightness that cuts through the sweet, but Honeycrisp works beautifully too. The key is apples that snap when you bite them.
- 10 wooden lollipop sticks: Push them in gently but firmlyabout halfway through the slice does the trick without splitting the fruit.
- 1/2 cup creamy peanut butter: Warming it slightly makes all the difference between a thick clumpy layer and a gorgeous silky coating.
- 1/2 cup soft caramels: The little wrapped ones melt down perfectly with cream. Dollar store caramels work just fine here.
- 2 tablespoons heavy cream: This keeps the caramel from seizing and gives it that gorgeous drape texture.
- Optional toppings: Mini chocolate chips, chopped roasted peanuts, rainbow sprinkles, crushed pretzelswhatever makes you happy.
Instructions
- Prep the apple slices:
- Wash and dry those apples thoroughly, then cut each one into 5 thick slices about half an inch each. Remove the seeds and core, then pat the slices completely dry with paper towels so everything sticks properly.
- Add the sticks:
- Push a wooden stick into the rounded side of each slice, going about halfway through. Work slowly so the apple doesn't crack on you.
- Warm the peanut butter:
- Pop the peanut butter in the microwave for 10 to 20 seconds until it's loose and drizzly. You want it coating consistency, not soup.
- Melt the caramel:
- Unwrap those caramels and toss them in a microwave safe bowl with the heavy cream. Heat in 20 second bursts, stirring each time, until everything's melted together into smooth golden perfection.
- Coat and decorate:
- Dip each apple slice into the peanut butter first, using a spoon to spread it evenly. Let any excess drip off, then repeat with the caramel. Immediately scatter your toppings while everything's still sticky and gorgeous.
- Set and serve:
- Arrange the finished pops on a parchment lined tray and refrigerate for at least 10 minutes so the coatings firm up. Serve them chilled or at cool room temperature.
 Save
Save My neighbor's daughter asked if she could have 'the recipe' after trying one at our block party. When I told her how simple they were, she looked at me like I'd revealed a magic trick.
Making Them Your Way
I've swapped in almond butter and cashew butter with great results, and sunflower seed butter makes this completely nut free for school events. The beauty is that once you have the apple and coating concept down, you can go in so many directions.
Topping Ideas That Work
Crushed graham crackers bring a s'mores vibe, while chopped salted peanuts enhance that salty sweet contrast. Sometimes I do half with sprinkles for the kids and half with something more sophisticated like sea salt or crushed toffee for the adults.
What I've Learned
The first few times I made these, I tried dipping directly into jars of peanut butter and ending up with thick uneven coats. Warming it separately and using a spoon to spread changed everything.
- Line your tray with parchment before you start dipping
- Set up all your toppings in small bowls before the caramel even hits the microwave
- Have everything ready to go because the caramel wait for no one
 Save
Save These are the kind of treats that make people's eyes light up before they even take a bite. I hope they become a regular in your rotation too.
Recipe FAQs
- → Which apple varieties work best?
-
Granny Smith and Honeycrisp apples are ideal because they're firm enough to hold the coatings without becoming mushy. Their tartness also balances the sweet peanut butter and caramel layers perfectly.
- → Can I make these ahead of time?
-
These are best enjoyed within a few hours of making them. The natural juices from apples can soften the peanut butter and caramel coatings if stored too long. If you must prep ahead, keep components separate and assemble just before serving.
- → What nut-free substitutions can I use?
-
Replace peanut butter with cookie butter, sunflower seed butter, or tahini. Skip the peanut topping and use sprinkles, crushed pretzels, or chocolate chips instead. Always check that your caramel brand is nut-free.
- → Why chill apples before dipping?
-
Cold apple slices hold coatings better and help the warm peanut butter and caramel set more quickly. The temperature contrast also prevents the coatings from sliding off too quickly during application.
- → How do I prevent the caramel from hardening too much?
-
Adding heavy cream to the melted caramels creates a softer, smoother sauce. If your caramel stiffens while dipping, microwave in 10-second increments until fluid again. Work quickly when coating.
- → Can I use store-bought caramel sauce?
-
Yes, though melting wrapped caramels with cream yields a thicker coating that clings better to apples. Store-bought sauce may run off more easily, so chill the finished pops longer to set.